For this unit, I have been given the scenario of working for a production company, and being responsible for creating innovative special effects makeup designs that include bald caps – for an upcoming production. In this document, I have provided some basic information about bald caps, what they are, and how they may be used. This will give my readers an understanding of the purpose of this product, before I research deeper into themes and potential design ideas.
What is a bald cap?
Bald caps are a SFX makeup product used across the creative industry to create the appearance of a bald, or partially bald head. They can be used on their own, or combined with wigs to create the appearance of thinning hair, or to alter one’s face shape before wig application.
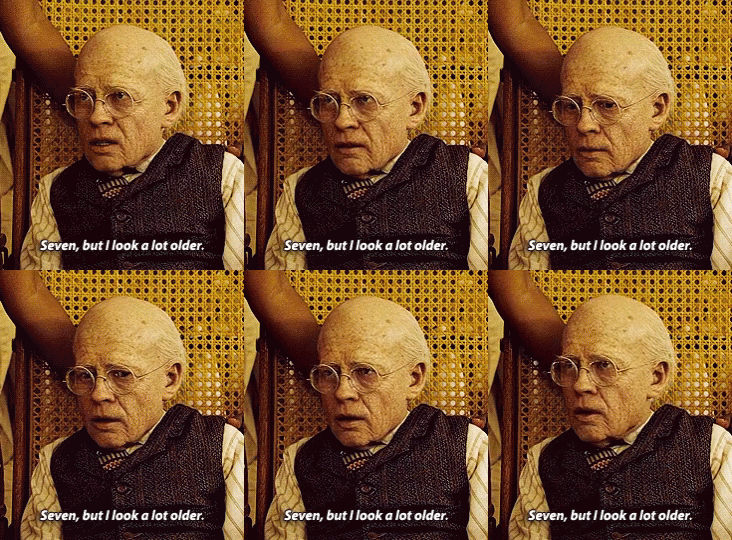
When creating human characters, bald caps are often used to create the illusion of aging, or illness. Alternatively, they may be used to alter one’s face shape when replicating a famous figure.

Alternatively, bald caps are often used in the fantasy and horror genres to alter the shape of the face, allowing for creation of all kinds of in-human creatures.

Kinds of bald cap
Silicone bald caps

These bald caps are bespoke, custom made to an individual’s head, and usually cost around £1500. These caps are designed to blend seamlessly into an actor’s head, as they are custom made to their specific features. Therefore, in theory these caps should be easy to apply, as they should fit your client like a glove. However, due to their costly price these caps are only usually used in high budget film productions.
Vinyl caps

These bald caps are often made from glatzan, a type of plastic. These make for a much cheaper alternative, as they cost between £10 and £20, they are also much easier to source. These caps are created with dissoluble edges, meaning they blend almost seamlessly with the skin. Furthermore, these caps have to be cut to shape, meaning they could also be used to cover the brows and ears. Although these caps are a great, lower budget alternative, they are extremely thin and delicate so must be handled with care prior to application. These caps are also often applied underneath silicon bald caps, for an easier application.
Latex bald caps

Latex bald caps are most commonly used in theater work. As latex isn’t dissoluble, it doesn’t blend as seamlessly with the skin, making it the poorer choice of the two when creating flawless looks for up close presentation – for film and TV. However, theatrical makeup doesn’t need to look good up close, just from afar. Therefore, these caps are a perfect tool for makeup artists working in stage performance. These caps are blended into the skin using layers of liquid latex. This product can also be used to create a homemade latex bald cap. Another negative of these caps is that they are not as flexible as glatzan or silicone, meaning they don’t move as naturally with the face. This makes them great for shorter theater performance, or photography work , but not so great for long 10-14 hour days on a film set.
Bald cap application
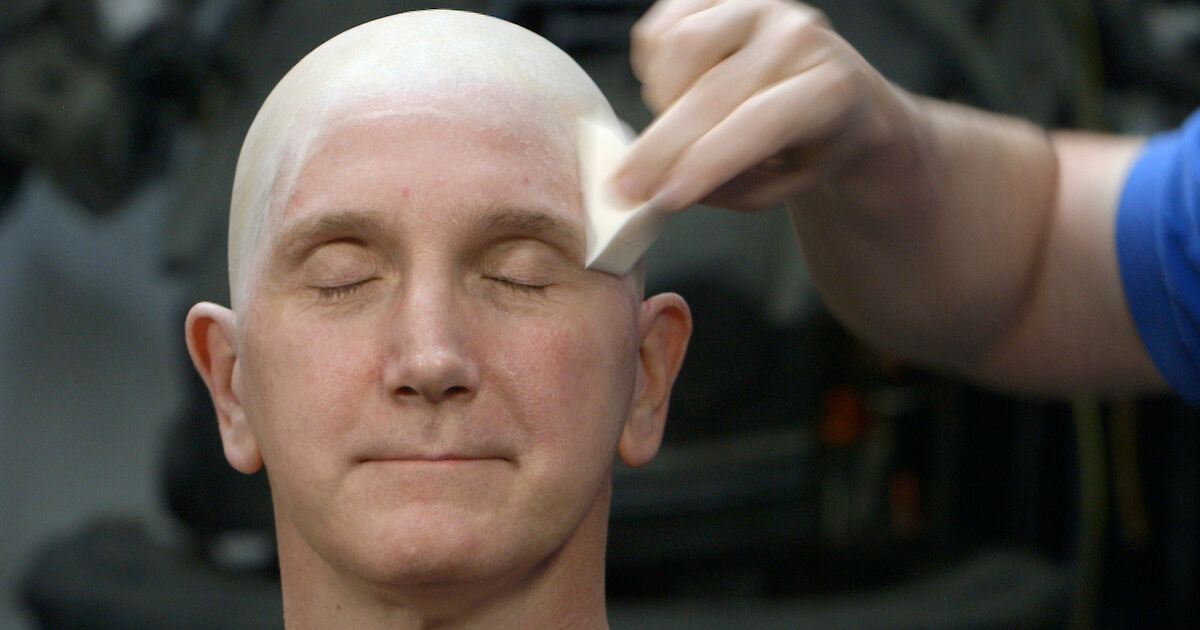
Here I have written a step by step guide for applying a bald cap.
Step 1 – Prepare the hair (by using hair wrapping techniques), and skin (by cleansing). It is important not to moisturize the skin before any kind of SFX application, as it will prevent the adhesive from creating a strong bond to the skin.

Step 2 – Apply the bald cap over the head to ensure it fits how you desired.
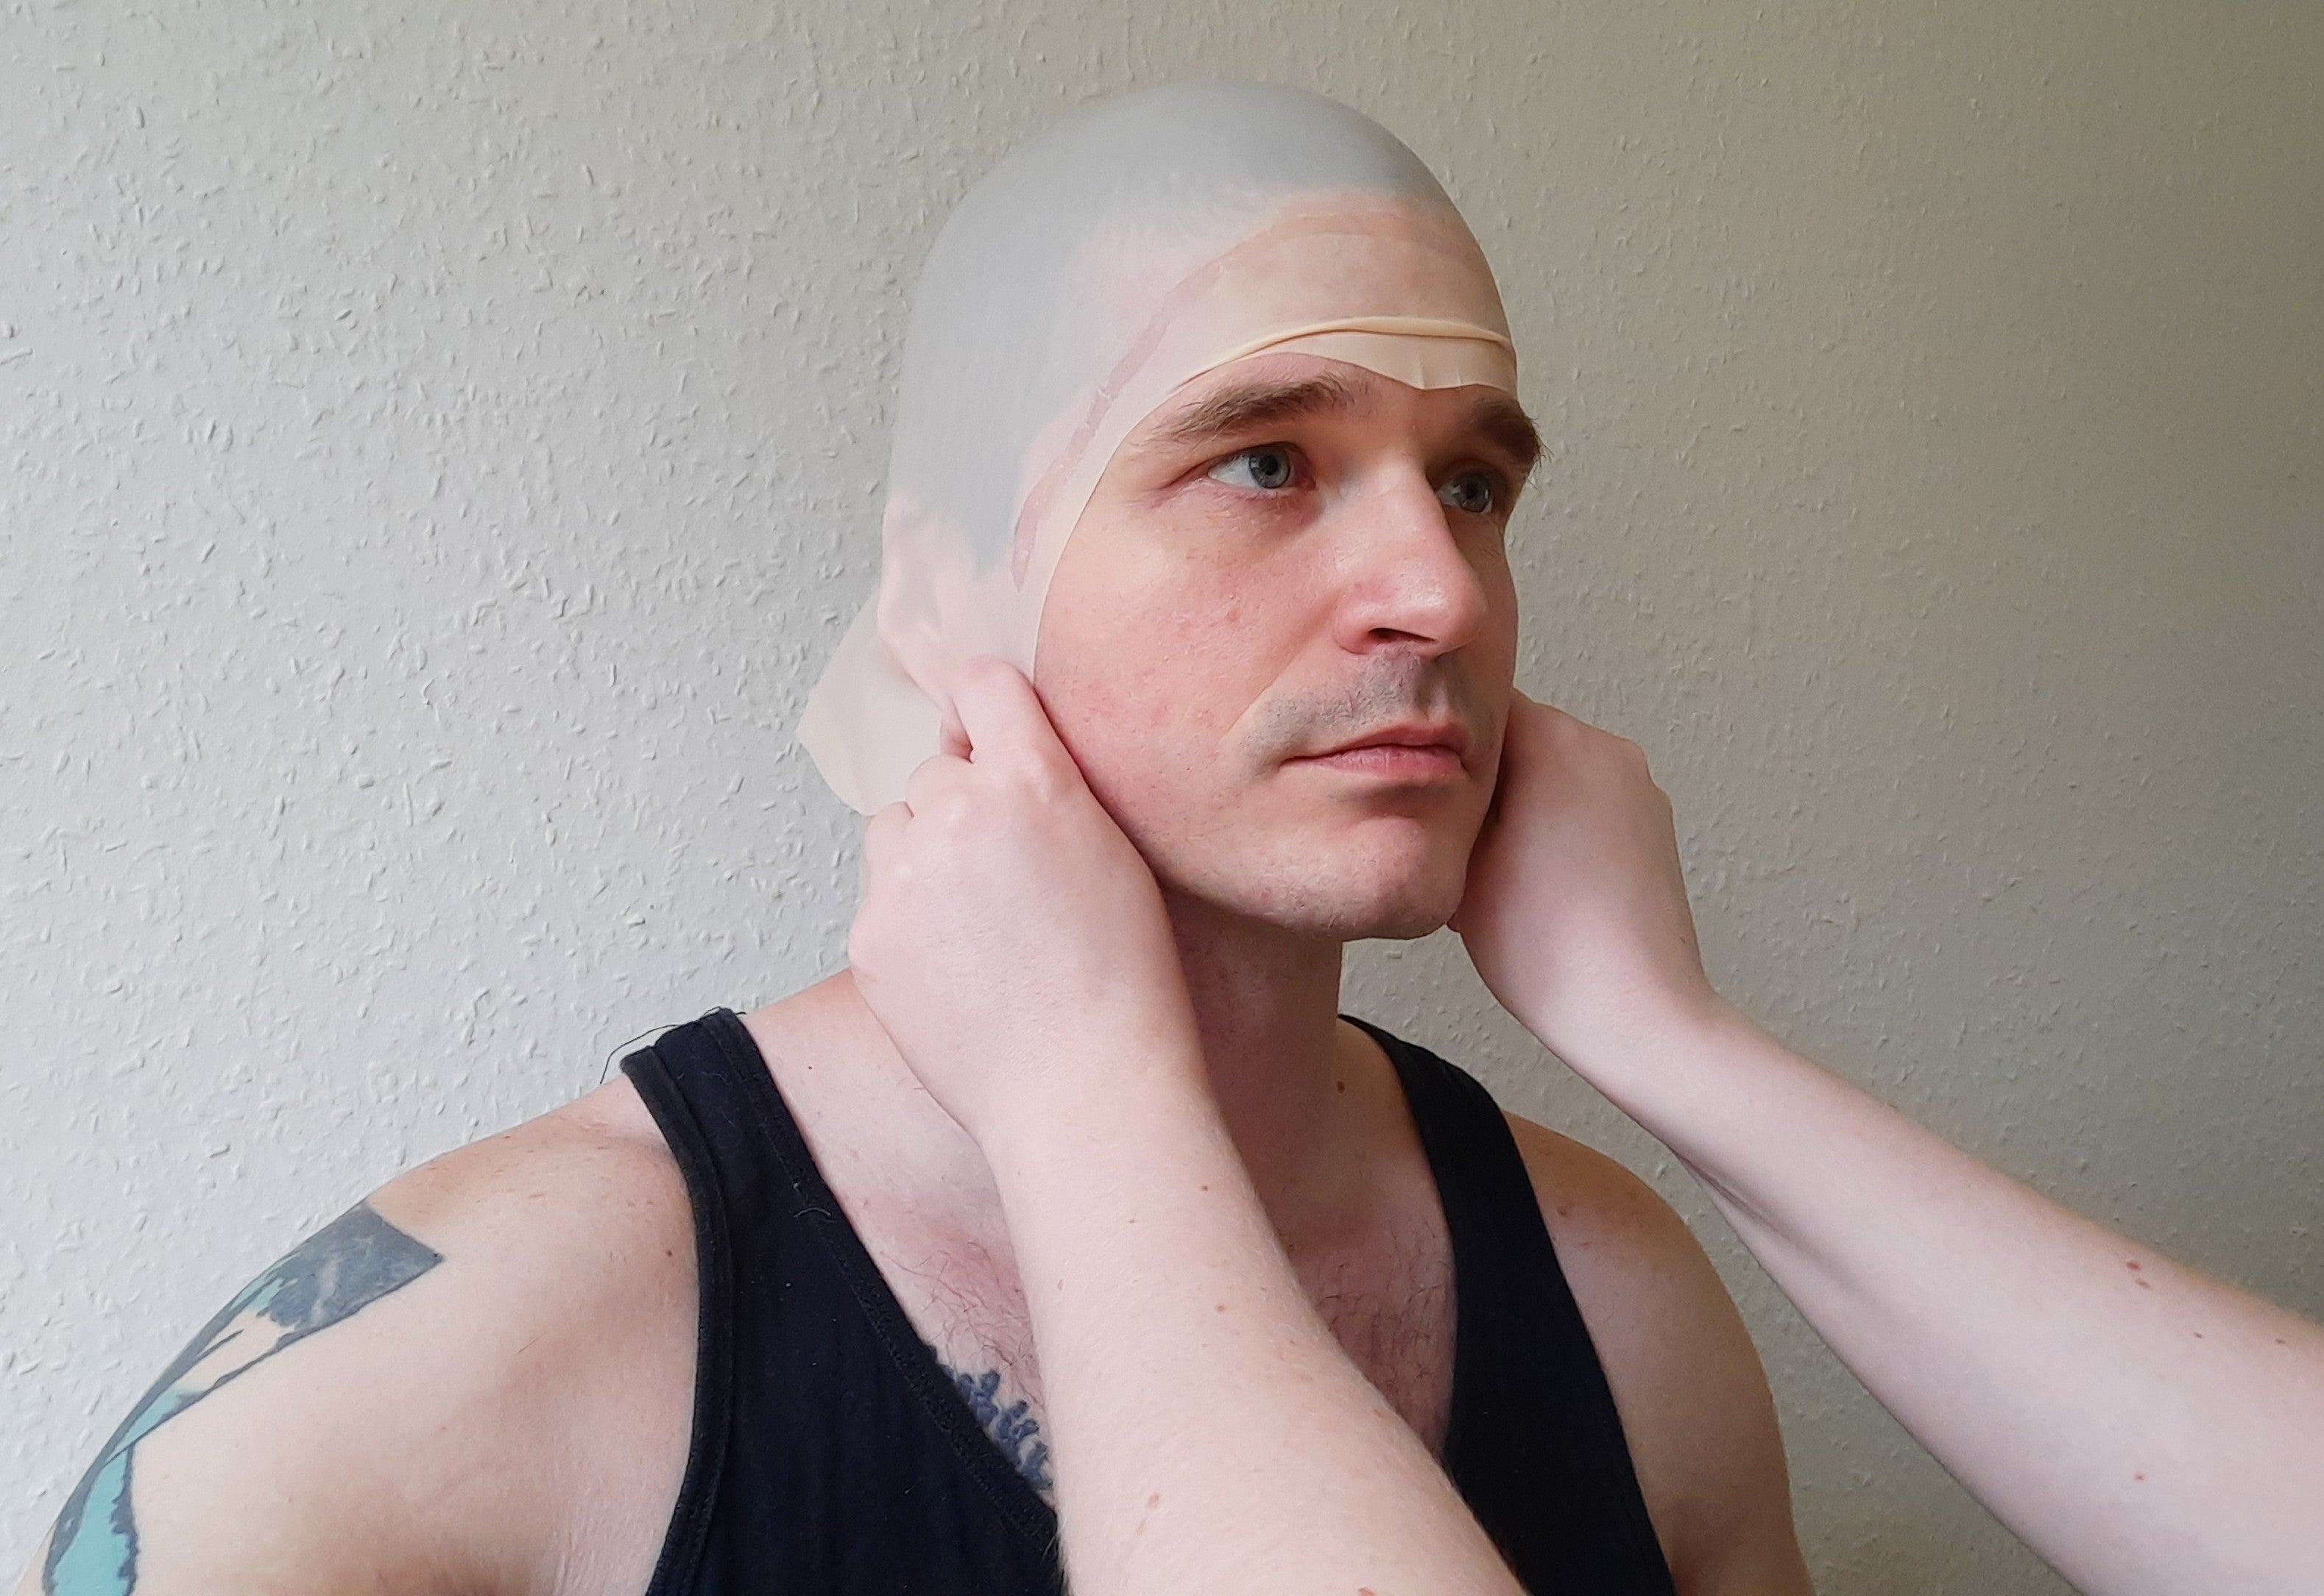
Step 3 – Use a makeup pencil to outline the hair line, and ears. This will ensure you know where to cut the bald cap. Also use this pencil to mark any areas of the head that may need to be padded with cotton wool.


Step 4 – Remove the cap and apply adhesive below the hairline.
Step 5 – Apply the bald cap over the head, sticking the front section on to the adhesive you previously applied.
Step 6 – Next, apply the adhesive to the sides of your hair line, down towards the ears.
Step 7 – Cut around the ears
Step 8 – Apply adhesive to the sides and back of the head and apply the bald cap securely in place.
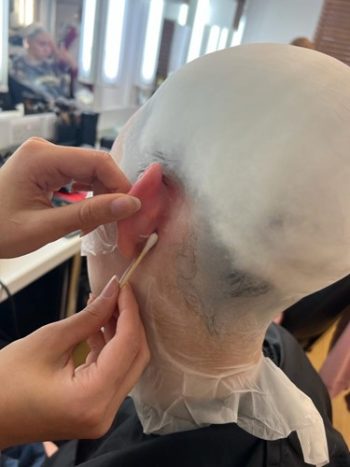
Step 9 – Cut any excess off of the bald cap.

Step 10 – Use acetone or liquid latex to blend the remaining edges of the bald cap.
Tools and equipment
Here I have created a list of the essential tools and equipment you need for creating a bald cap makeup look.
Hair
Tail comb – Needed to achieve clean sections in the hair.
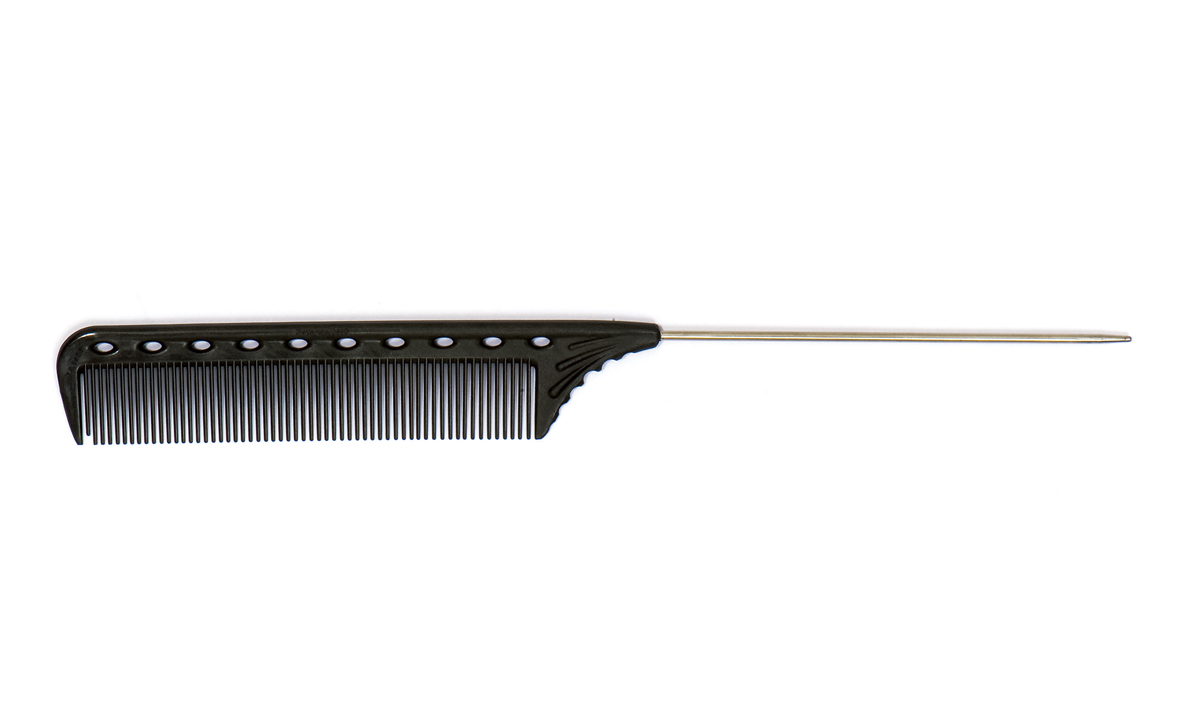
Wide tooth comb – To comb the hair into place.

Cutting comb – To comb the hair into place.

Sectioning clips – To keep sections of hair separate, and out of the way until needed.

Fine pins and grips – To secure pin curls in place.


Bowl and brush – To store, and apply gel on to the hair more precisely.

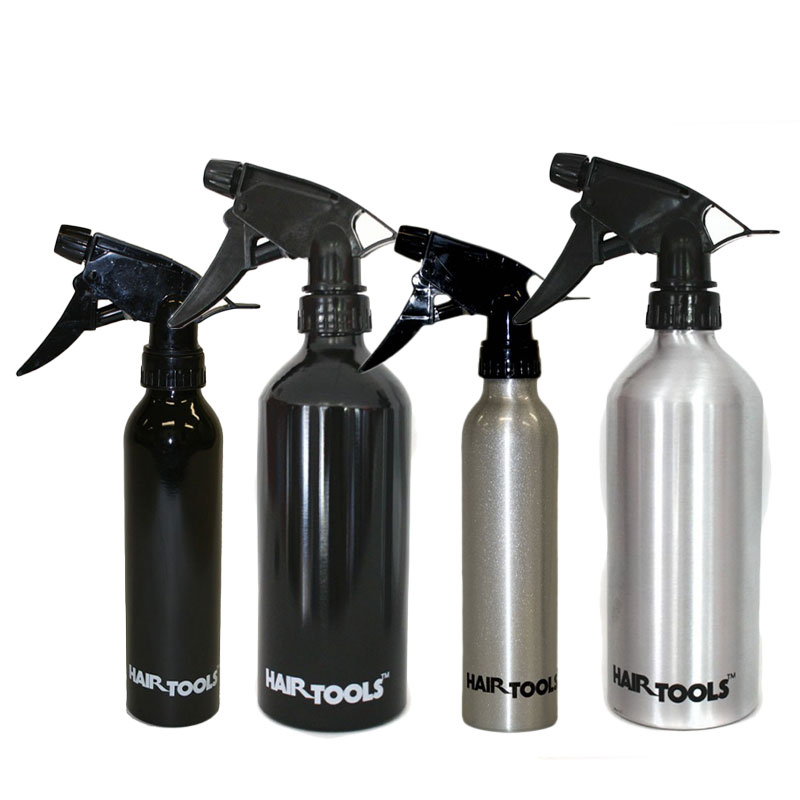
Water spray bottle – To wet the hair.
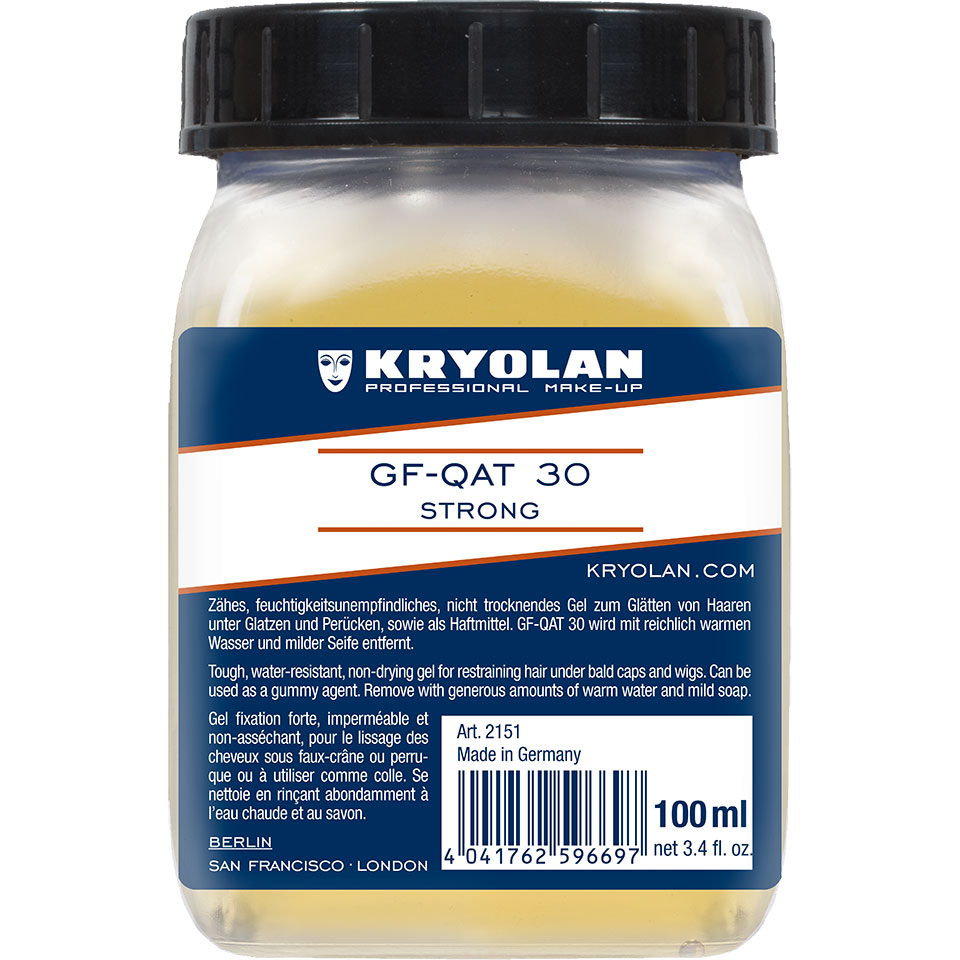
Gafquat (or alternative hair gel) – To secure the hair in place.
Makeup
Cleanser – To prepare the skin.
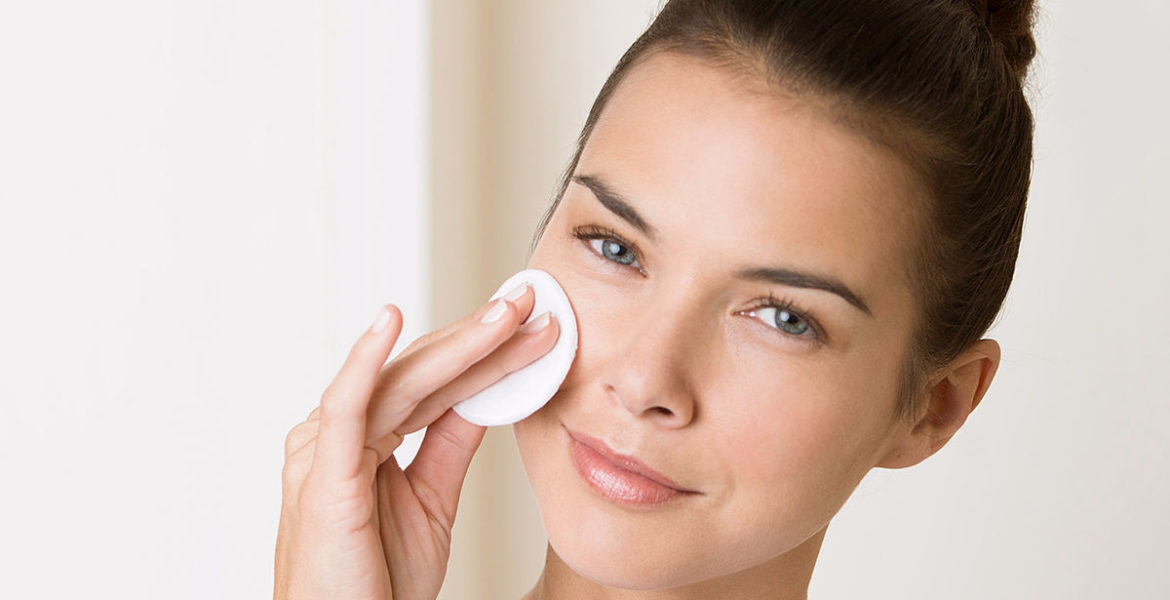
Cotton wool – To pad out areas of the bald cap if needed.

Bald cap of choice – To apply to the head.

Adhesive and suitable remover (Spirit gum) – To adhere the bald cap to the skin.

Acetone or latex – To blend the bald cap onto the face.

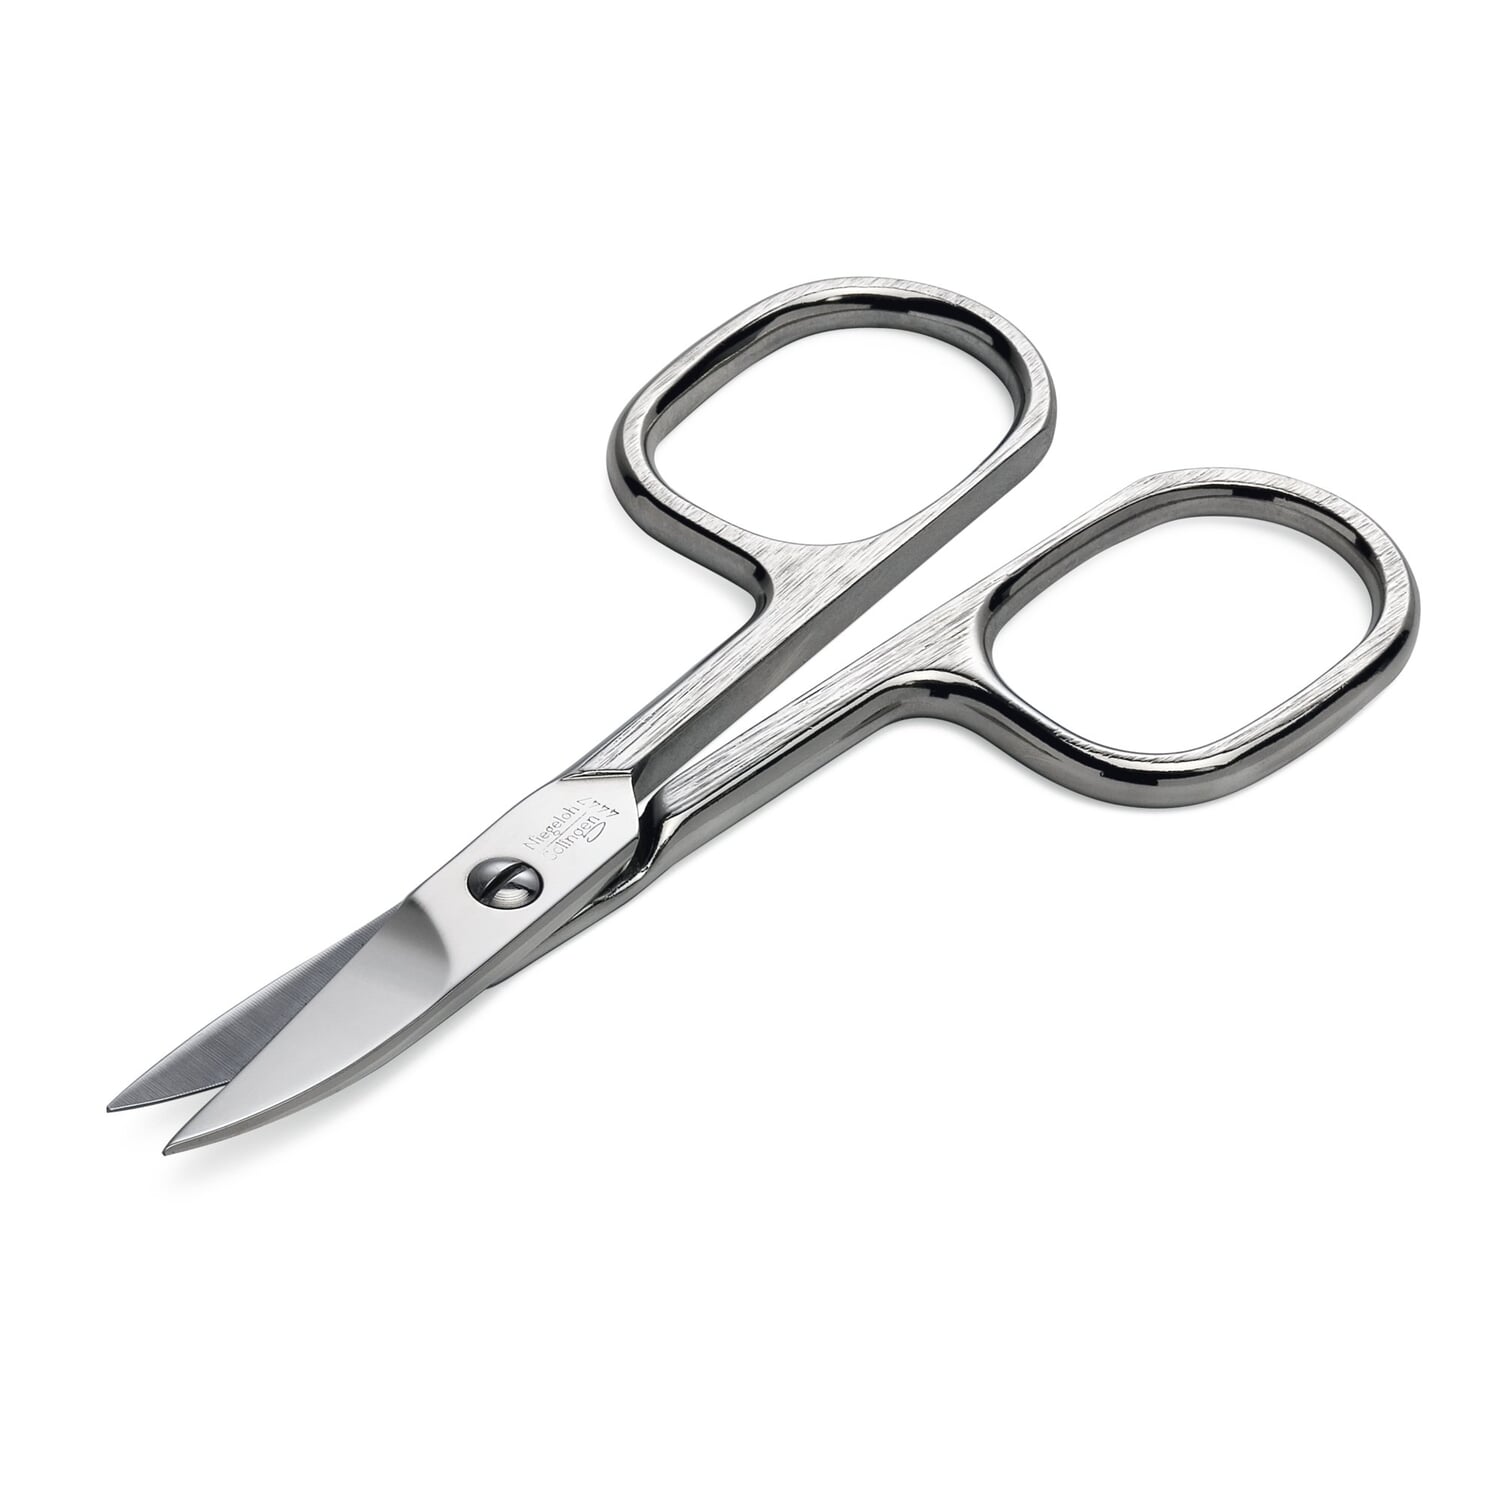
Scissors – To cut the bald cap to shape and size.
Lip or eye pencil – To create a cut and/or fill line on the bald cap.

Base colors (grease paints, water paints or foundation) – To color the bald cap.

Hair prep
Factors to consider
Hair length – Short, medium, long, extra long? Above or below shoulder? One length or layered? Do they have a fringe? This will help determine which wrapping techniques to use.

Density of hair – Fine(thin), medium, coarse(thick)? This will help to determine which wrapping techniques you will need to use, and how you section the hair during the wrapping process.

Hair extensions – Does the client have hair extensions? Are they removable? How can the hair be wrapped to avoid damage to the extensions? What styling products may be used as safer alternatives?

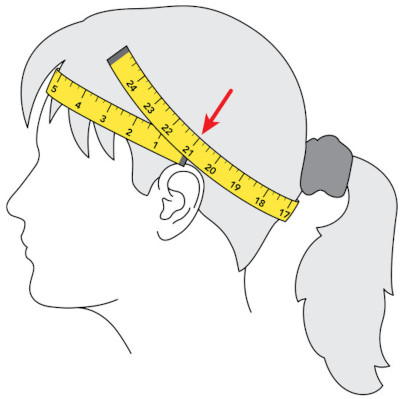
Head size – Determines what size bald cap you will need (s/m or m/l).
Hairline – Do they have a low or receding hairline? Is there any way you can fix this by trimming their hair? This will determine the size bald cap you use, as a larger one may be needed to hide a lower hairline.

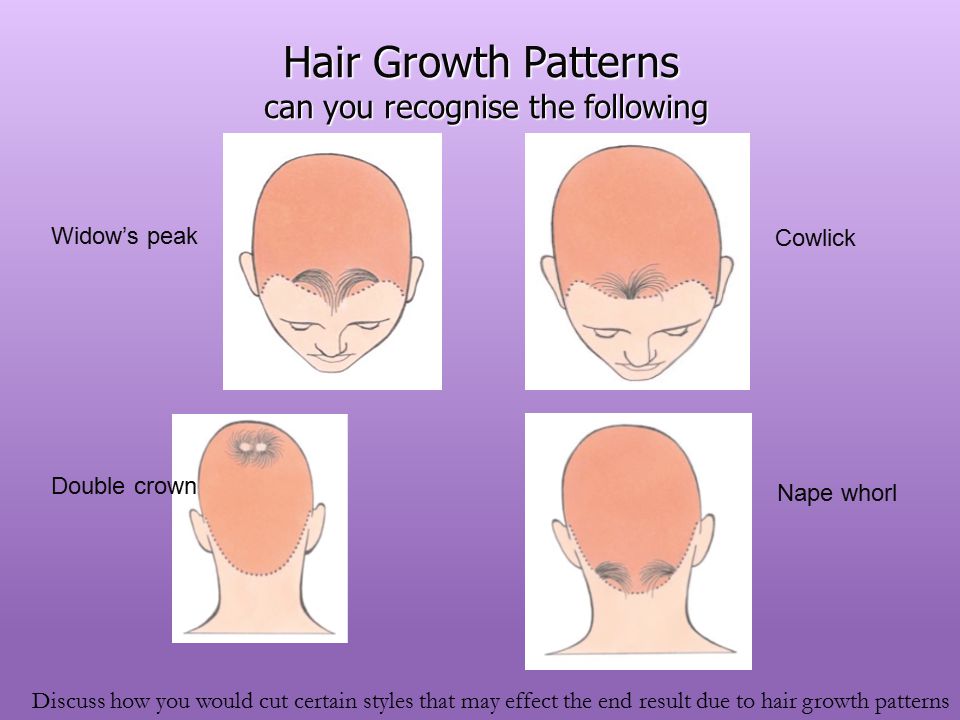
Growth patterns – does your client have a ; cowlick, widows peak, nape whorl, double crown or pattern baldness? This may affect the size of the bald cap, and the wrapping technique that is used. Will also affect the direction of which the hair is wrapped.
Products- Ensure the client is not allergic to any products, alternatives may have to be found.
:max_bytes(150000):strip_icc()/are-allergies-hereditary-5198808-FINAL-303287add8e64b79b628298ebbace3a7.jpg)
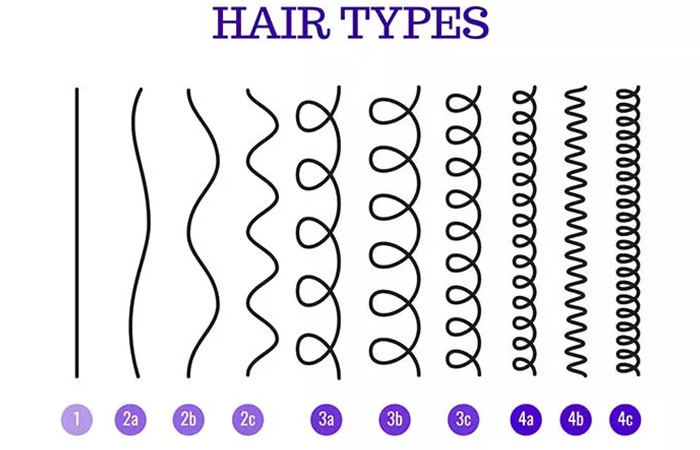
Hair type – Helps determine which wrapping technique to use, and how much time you will need to prep the hair. Caucasian, Asian, or Afro-Caribbean (textured)?
Scalp condition – May prevent or cause adaptations to the service. Does your client have; normal, oily, dry, dandruff, or product build up on their scalp?
:max_bytes(150000):strip_icc()/scalp-conditions-5186741-FINAL-d8d55d90d26a4a1cbe7c2f3f3e6d0723.jpg)
Diseases and disorders – May prevent or cause adaptations to the service. Is it contagious or non contagious? Could there potentially be a case of cross contamination? Could it cause damage to your products?
Contagious diseases and disorders will cause the prevention of a treatment. These include all bacterial, fungal and viral conditions, along with any parasites. Some examples of these issues include;
Bacterial – Impetigo, sebaceous cysts.

Viral – Warts, herpes.
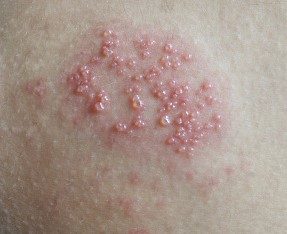
Fungal – Tinea capitis (ringworm).
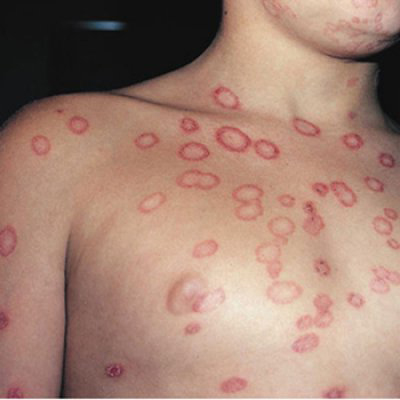
Animal parasites – Pediculosis capitis (head lice), scabies.

Non contagious diseases and disorders may cause adaptations to a treatment or service. These may include using alternate products, or avoiding certain areas. Examples of non contagious issues include;
Psoriasis, alopecia, pattern baldness, dandruff, eczema, allergies and acne.

Hair wrapping techniques
Hair wrapping – A square section of the hair should be taken from the crown of the head, and clipped out of the way. The remaining hair should be taken in small sections and wrapped up, and around the head. Once all the remaining hair is wrapped, the square section should be wrapped into a pin curl in the center of the crown, filling the remaining space. This technique is best for textured hair, as it is the least damaging process.


Hair wrap with pin curls – Firstly, a triangle section from the front of the head is taken, and clipped out of the way. Next, another triangular section is taken from the crown of the head, and placed into multiple, small pin curls. The remaining hair is wrapped around the pin curls, then the section from the front of the hair is smoothed backwards, over the top of the pin curls. This is best used on short-mid length hair, as longer hair would have to then be tucked back under the cap.


Slick back – On people with much shorter hair, the hair can just simply be slicked straight backwards. This technique is often used on men, or those with buzz cuts. This just helps to ensure there are no lumps or bumps under the cap, making for a smooth finish.


