Health and safety

For this task, I have created a document explaining some of the key health and safety considerations when creating SFX makeup. Although any kind of makeup application requires an MUA to follow strict health and safety protocols, SFX makeup brings even stricter and more important rules into play, as the majority of products used are, in some way, potentially hazardous to one’s health and/or environment.

Here is an image of a poster I created detailing the specific health and safety considerations when creating a SFX design.

Patch Testing

Even though patch testing is an important step in any makeup application, it becomes even more vital when using strong chemicals and adhesives for special effects work. A client must be patch tested at least 24-48 hours before an appointment – even if they have used this product in the past (more than 3 months ago), to ensure they have not developed an allergy or sensitivity to the product. A patch test should be carried out on a sensitive area of the skin, either on the inside of the elbow or behind the ear. The thinner, more sensitive skin in these areas helps to give the most accurate reading, as if you were to test on an area with thicker skin it may not react on a patch test – however if you applied the product in a more sensitive area during your application process their skin may flare up. A patch test does not completely rule out the possibility of a reaction, but ensures it is extremely unlikely for one to occur. Furthermore, if a client does react to a product you have not patch tested they could take legal action against you, costing you potentially thousands of pounds.

COSHH (Control Of Substances Hazardous to Health)

Once again, the COSHH legislation plays a huge part in any makeup application, however it becomes of an even higher importance when it comes to creating SFX makeup looks. Since the vast majority of products used for SFX makeup are potentially hazardous to one’s health or environment it is extremely important to follow the COSHH regulations at all times. You must ensure to store, handle, apply, remove, and dispose of any product safely and correctly. For example, flammable products such as IPA and Acetone should be kept in a COSHH cupboard ( a locked metal cupboard, kept away from direct heat or light sources) at all times. Additionally, any product used should be removed with its suitable remover. Not only will using incorrect products for removal cause skin irritation, but could also cause harmful chemical reactions to take place on the skin – potentially causing long term damage to a client’s health.

Taking extra caution

When using these hazardous products, you must ensure to take extra caution around specific areas, such as the eyes, nose, and mouth. A product can enter directly into a person’s bloodstream, potentially causing substantial and long term health issues, if excessively inhaled or swallowed in large quantities. Furthermore, if a client was to have a chemical enter their eye they could, in the worst case scenario, become blind. Therefore it is vital to take extra precautions when using these products on and around the face.

Emergency situations

As you are working with potentially extremely dangerous products, it is vital to familiarize yourself with what to do in an emergency situation. Firstly, it is extremely important to be aware of who the first aider, and health and safety officer are – allowing you to contact them as soon as possible in the case of an emergency. Furthermore, you must ensure to have a phone accessible at all times in case you need to contact any form of emergency service. Additionally, you must be confident in knowing where to find first aid kits, eye baths, fire extinguishers, etc. Not only do you need to be familiar with these things so you can act swiftly in an incident, but if you are unaware of how to deal with a situation you are more likely to panic, in turn making your clients state even worse.

Adequate ventilation

As mentioned, the vast majority of SFX makeup products are potentially hazardous, therefore it is key to have a well ventilated work area. For the protection of you and your clients health, adequate ventilation is necessary to remove the risk of cross contamination, and inhalation of potentially dangerous chemicals. This is even more important with SFX makeup, as certain products (air brushes, acetone, IPA) can release potentially harmful chemicals into the atmosphere, contaminating the air we breathe. Without adequate ventilation you could potentially cause severe and long term health risks for yourself and/or your client.

Suitable removers

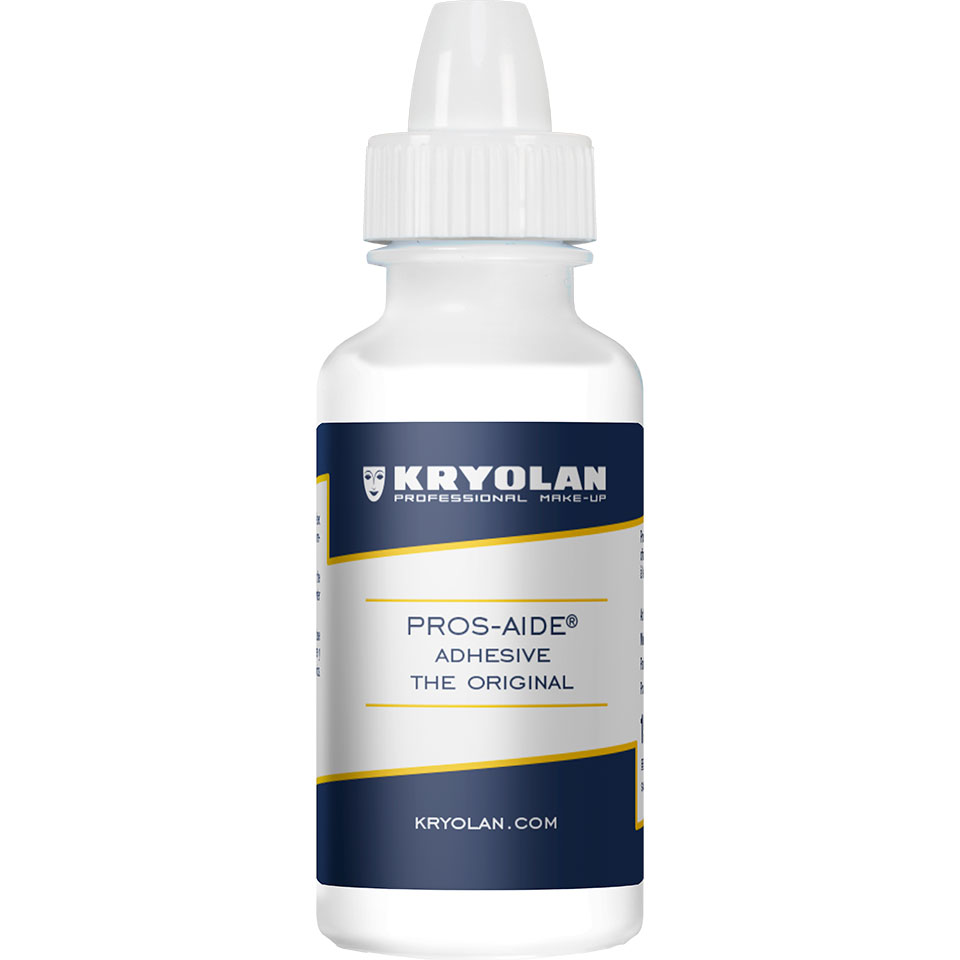
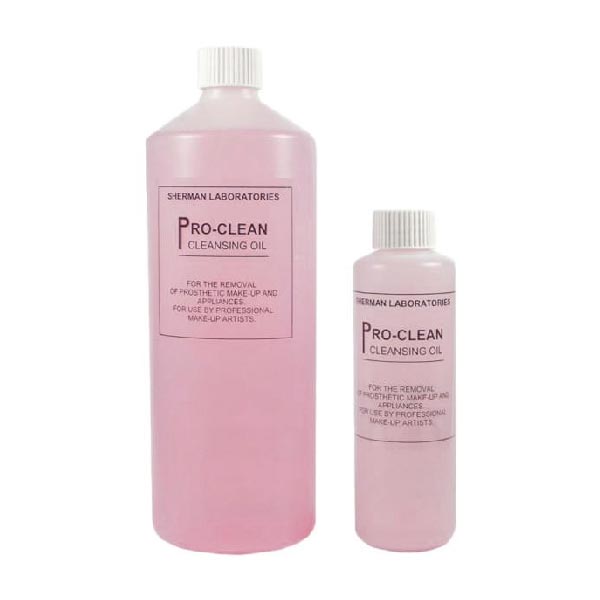
Lastly, it is vitally important that the correct remover is used when removing any makeup product. Unlike standard makeup that can be removed with any cleanser, toner and moisturizer, SFX makeup products include strong adhesives. Each of these adhesives has its own specific suitable remover, for example; MME is used to remove Spirit Gum, Pro-clean is used to remove Pros-aside, and Hydro-oil is used to remove Liquid Latex. Using the incorrect remover could potentially cause extreme skin irritation and sensitivity, making your client uncomfortable. Furthermore, using the incorrect remover may also create a chemical reaction on your clients skin, potentially burning them..

Below I have attached images of two posters outlining the general health and safety protocols that should be followed for any makeup application. A more in depth explanation of this can be found on my blog, under the unit 3&4 tab in my Year 1 section.

Evaluation

Below, I have created an in depth evaluation of my final outcome for the bald cap section of unit nine, including a breakdown of each element I have incorporated in to my design.

Overall look

Overall I am so impressed with the result of my final outcome. Although there are a few minor changes I would make if I were to re-create this look in the future, I believe the overall look was really effective, and clearly represented my theme.

Bald cap application

Considering this was only my second time applying a bald cap I am extremely pleased with the results of the look. There was only one small area of the bald cap, at the front of the head, that began to lift towards the end of the assessment. However, I adapted my design in order to incorporate and camouflage this fault with a vein, which worked really effectively. Everywhere else on the bald cap, the edges blended seamlessly into the skin, and I only had a few small wrinkles in the cap – towards the back of the head, at the bottom of the neck. 

Brain

For one of my SFX techniques, I created the illusion of an exposed brain using gelatin. I chose to use gelatin to create this effect, instead of using a pre-made prosthetic, as the product is much more flexible allowing for a more realistic finish. Firstly, I am really happy with the outcome of this effect, and feel my placement was much better than the attempt in my formative assessment. However, I do believe the coloring in my formative assessment was more effective. This is because the yellows and blacks in the coloring of my formative assessment add so much more depth and realism to the brain.

Eye laceration

Adding another SFX technique in my design, I created a missing eye laceration with sculpt gel. I chose to create this effect with sculpt gel instead of a pre-made prosthetic, as it allowed me to experiment with creating my own prosthetics – and looked exactly how I pictured. I am really pleased with the coloring in and around this wound, and personally believe it created a really effective result. However, I do believe it would have looked even more effective if I had also added bruising around the outside of the wound.

Cheek laceration 

I also added another sculpt gel laceration to the cheek. Initially, I planned to use a prosthetic for the wound, however after experimenting with creating my own wounds using sculpt gel during my formative assessment, I decided this technique was more effective. I really enjoyed working with this product, and love how I can create exactly what I am in-visioning, rather than adapting my design to suit a shop brought, ready made prosthetic. Furthermore, I am extremely happy with the result of the coloring, blood and wound filler, and think it worked really well in this design.

Sunken eye sockets

Next, I created the illusion of a slightly sunken eye socket, using a combination of grease paints and eye shadows. I decided to make this effect more subtle than in the original face plan, as I think it would have been too much if the area around the eye was overly dark – taking focus away from the wounds I had created. Overall I am happy with the result of this, however I do wish I had created heavier shadowing underneath the eye.

Bite

Additionally, I created a zombie bite on the neck, using soft putty. I am really impressed with the result of this, especially as I did not practice this technique in my formative assessment. Personally, I believe this created a great, realistic effect. Furthermore, I am extremely happy with the coloring on this wound.

Costume

As outlined in my final design plan, I tied my look together by dressing my model in plated body armor. Using chest plate armor, made for motocross, I added another level of fear and eeriness to my character. Personally, I believe this elevated my look to a whole new level.

Veins

After evaluating my formative assessment, I decided I wanted to add veins across the face and the back of the head, as I had a large area of empty space on the back of the bald cap that I wanted to fill. I feel this effect worked really well, however I do wish I had used a thinner (precision) brush and face paints (instead of eye shadows), to create a more realistic finish. Additionally, I adapted this technique to disguise a slight lift at the front of the bald cap, which worked really well. Overall, I am pleased that I included this into my design, but do wish I had experimented with different mediums as this would have allowed me to create an even more realistic finish.

Blood around mouth

For the final step of my assessment, I placed a Kryolan blood capsules into my client’s mouth, allowing blood to spread around the mouth area, and down the chin. I am so pleased I added this as this step really helped to pull the whole look together, and clearly showed the true, cannibalistic nature of the character I created. Usually, having two different coloured bloods in a look would make it less effective, however I love the effect it created in my design, as it established a clear line between the old blood around the wounds, and the fresh blood coming from the mouth.

Final Outcome

Below are the results of my final practical outcome. For these assessments I used a range of special effects techniques, allowing me to showcase some of the strongest skills I have developed throughout this unit. Overall, I am so impressed with the outcome of my assessment, and I believe pushing myself beyond my comfort zones was extremely worth it. Below are some images of the final outcome. A detailed evaluation will follow in the next post.

Final Design

Below, I have documented all the aspects of my final design, from my mood board to the costume I aim to create in my assessment.

Mood board

Once I had chosen the characters I wanted to base my design on, I created a detailed mood board. This allows me to visualize my thought process while designing my final look. On my mood board I included images of zombie creatures that have previously been created, as well as sketches I created to show what comes to my mind when thinking of the walking dead. I also added imagery of certain settings I associate with these characters, and added the three dimensional element of leaves, sticks and chains, which was really effective. Furthermore, I dripped blood down and across the board as I feel that blood is a key part of the design. Finally I added my developed face plan, and a brief explanation of what I am aiming to create and why.

 Makeup design

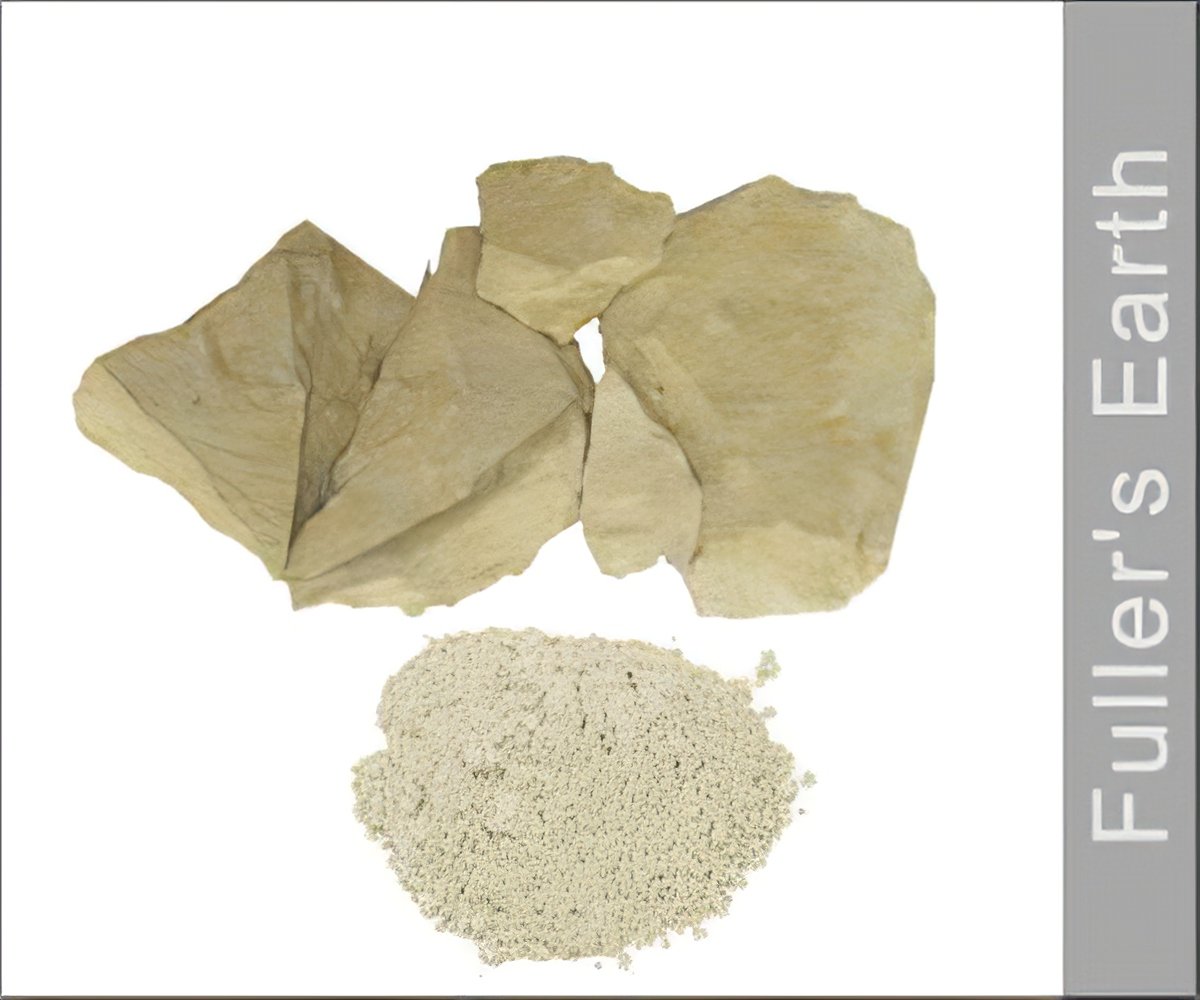
For my final make-up design, I created a more human-like zombie. Although I think the cartoon zombie effect still creates a really effective result, I believe having these creatures look more human-like makes them even creepier, as it becomes harder to tell apart the enemy. In this design, I have included a range of SFX techniques to showcase the abilities I have developed throughout this unit. These include; creating home made prosthetics from sculpt gel to create a laceration on the cheek and over the eye, using soft putty to create a bite on the neck, and the use of gelatin to create the illusion of an exposed brain. I also intend to add fullers earth over the back of the head, to create the effect of mud and debris over the rotting, flaking skin, as well as adding blood around the eye, nose, ear and mouth, to really emphasize the cannibalistic nature of this creature. Overall I am really happy with my final design and think this allows me to really effectively showcase some of my strongest skills.

Action plan

Below, I have created an action plan, outlining the series of events that I plan to follow in order to create my design under the assessment conditions.

Step 1 – Use hair gel to prep the hair, smoothing it as flat and close to the scalp as possible.

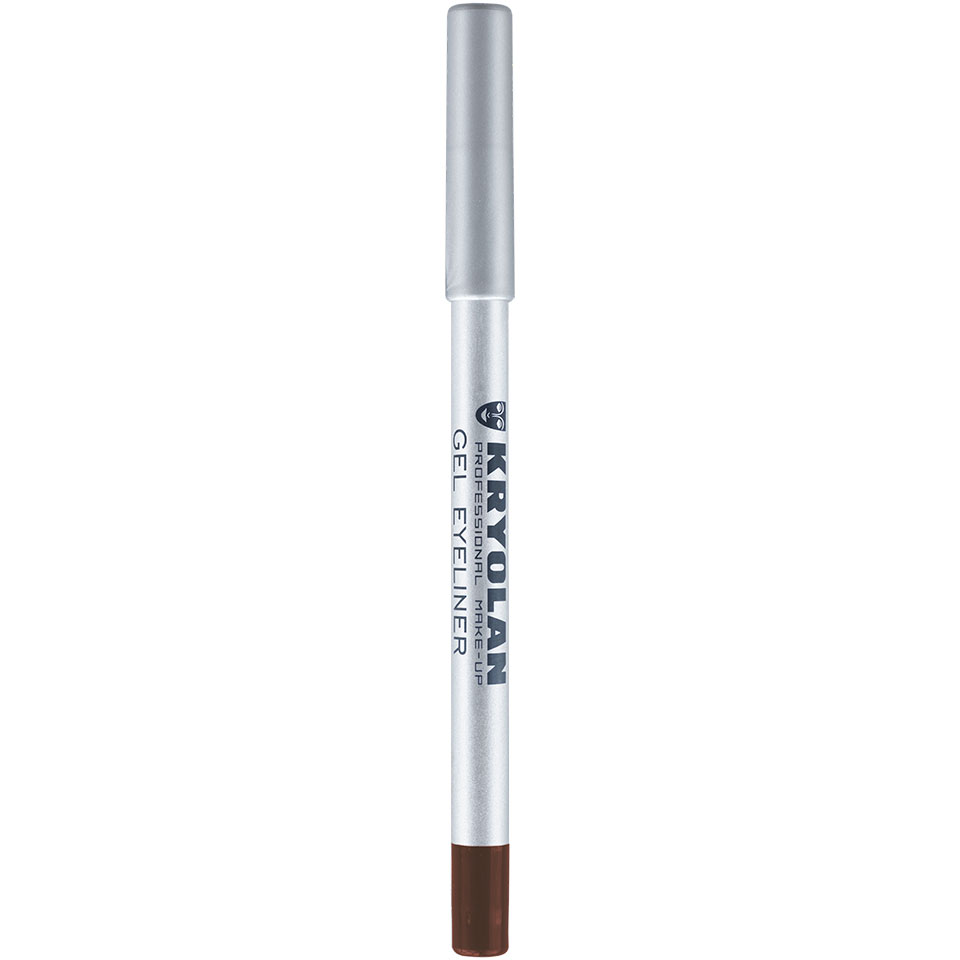
Step 2 – Ensure the bald caps fits, and use a liner pencil to create cut and fill lines to ensure the bald cap application is flawless.

Step 3 – Cut the bald cap to shape, using nail scissors.

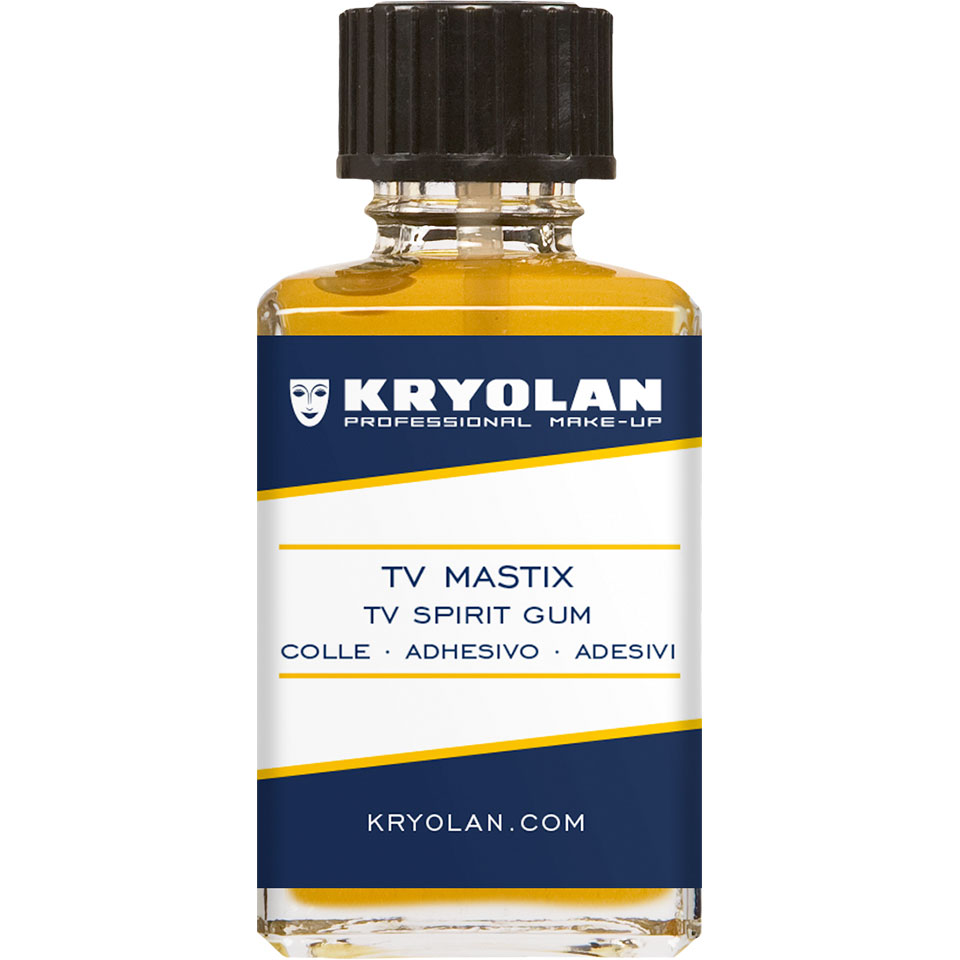
Step 4 – Use spirit gum to adhere the bald cap to the head.

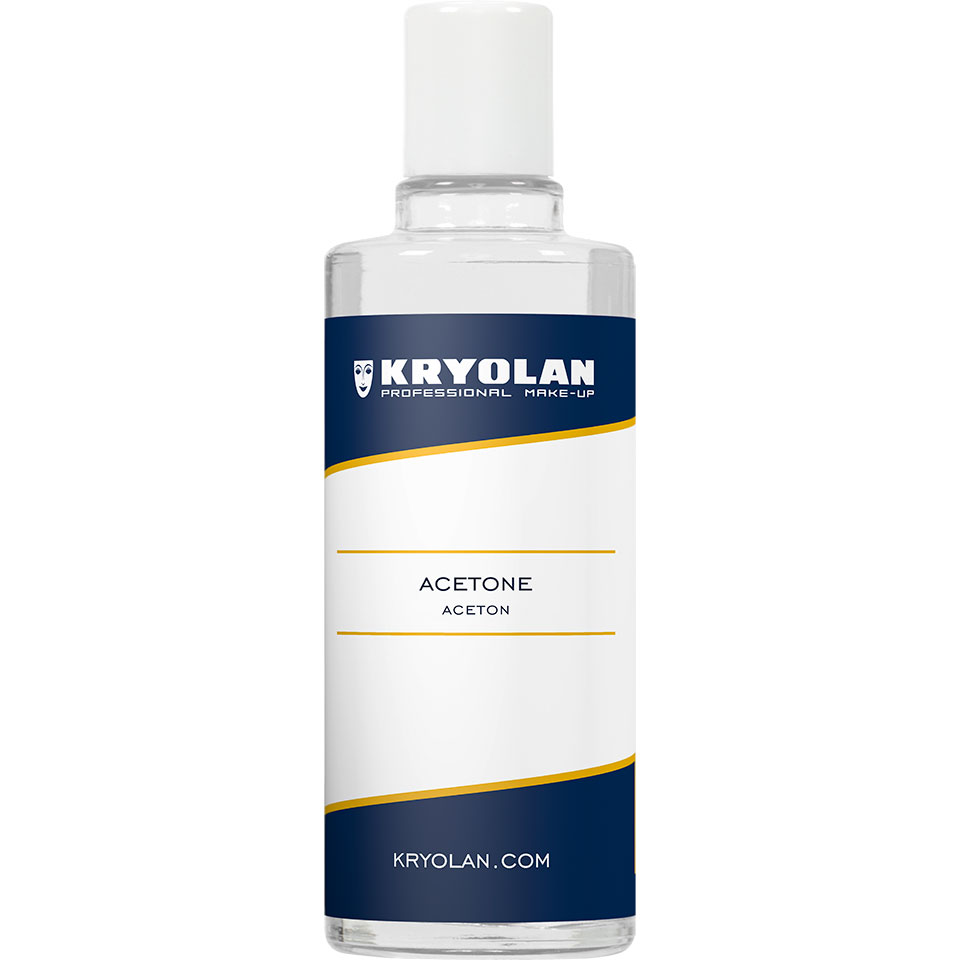
Step 5 – Use acetone to flawlessly blend the edges in to the skin.

Step 6  – Create the foundation of the wounds by applying sculpt gel, gelatin and soft putty.

Step 7 – Begin colouring the head and neck with base colours.

Step 8 – Add colouring to the wounds, to create depth and definition.

Step 9 – Add the vein and bruise detailing around the face.

Step 10 – Add blood and wound filler in to the wounds.

Step 11 – Apply fullers earth to the back of the bald cap.

Step 12 – Place a blood capsule in the clients mouth, creating the finishing touch of blood dripping from the mouth.

Step 13 – Dress client in costume.

Step 14 – Take images of each section, allowing me to clearly evaluate each section of my design.

Product list 

Below, I have created a list of the products I intend to use in my assessment.

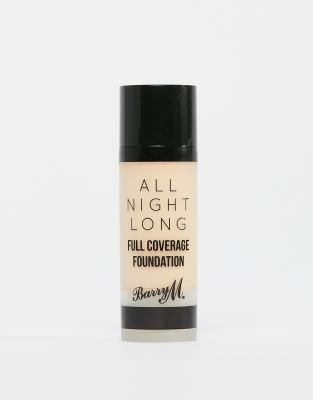
Foundation – A combination of the Barry M ; All Night long foundation, in the shade milk, and a green Technic colour corrector,

Powder – Kryolan ; translucent setting powder,

Wound coloring – Kryolan ; Supra Colour palette (red, purple, brown, green and yellow),

Brain – Gelatin (Dr. Oetker),

Bald cap – Kryolan ; Vinyl bald cap,

Liner pencil – Kryolan ; Lip and eye pencil in either brown or red,

Lacerations – Sculpt gel,

Bite – Kryolan ; soft putty,

Fullers Earth,

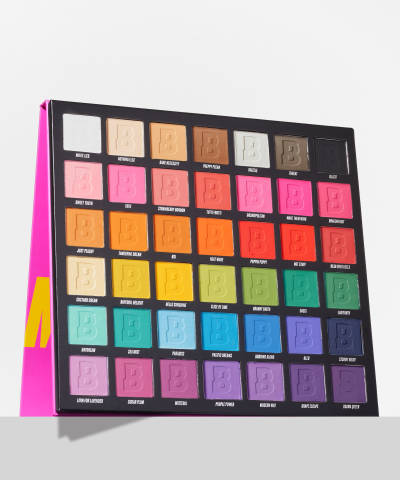
Eye shadow – Beauty bay ; Brights,

Pros-aide and pro-clean,

Spirit gum and MME,

Acetone,

Cleanser, toner, moisturizer

Hair prep – Schwarzkopf ; Oasis gel (3-G Force) and hair spray (2-Freeze)

Tools;

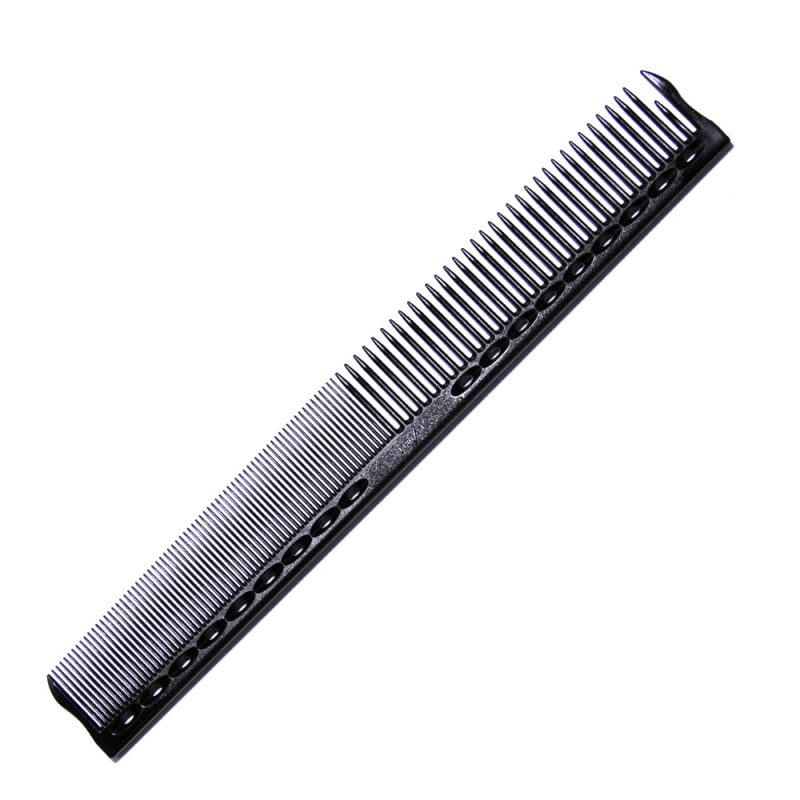
Combs – wide tooth, cutting and pin tail

Nail scissors

Cotton wool

Cotton buds

Gown

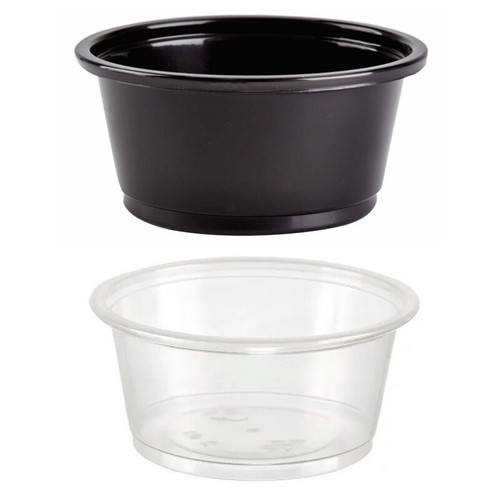
Disposable pots

Towel

Costume

To tie my whole look together, I intend to use a kind of armor as a costume. When creating my script breakdowns, I thought the episodes of the walking dead with the Gas Mask and Riot Gear zombies were incredible, as they brought a whole new sense and level of fear to these creatures. Therefore, I wanted to recreate the look and effect in my design, by finding a costume similar, helping me create a really strong final image.

Developed designs

After creating, evaluating and comparing my initial designs I decided I wanted to create a zombie inspired character for my bald cap assessment. Although I liked my other designs I feel creating a zombie best represents my chosen theme (the un-dead) and  allows me to showcase many more SFX techniques within my work.

Initial

As described in my previous post, for my initial zombie face plan, I created a typical, green, blood covered creature. For this design I would firstly create a green base, using darker greens and greys to create the illusion of sunken cheekbones and eye sockets. Next, I would apply a prosthetic laceration across the face, as well as blood, bruising and scars. Finally, to show the cannibalistic nature of the character I would add blood around the mouth.

Cartoon 

When developing my design, I was inspired by some previous creations of mine, to create a cartoon inspired look. To create this design, I would use mainly grease based and water based paints, with minimal prosthetics or other SFX techniques. After creating an even, green base, I would create wrinkles all over the face. Next, I would detail the exposed teeth and gums to make them appear realistic. Finally, I would add blood around the exposed mouth, and in some of the wrinkles to create depth. Although I like this design, and am pleased I experimented with something outside of the norm, I do not feel it is complex enough for my final assessment.

Final

The final design I created was a human-like zombie character. After conducting a script and character breakdown, I decided I personally believe it is much more unsettling when a zombie still appears almost human, compared to those who appear completely deformed and unrecognizable. Although either is terrifying, the idea that it is hard to tell your friend from a cannibalistic enemy, sounds like an unimaginably awful situation to me. For this design, I have included a large range of SFX techniques allowing me to showcase some of my strongest skills in this field. I am really excited to bring this design to life in my assesment.

Horror – initial designs

After conducting research in to my first three genre options (fantasy, horror and high fashion) I came to the conclusion that a theme under the horror genre would be best sited for my intentions of this assessment. I had previously decided I would like to use this assessment to showcase some of the SFX skills I have learnt through this unit, as well as bald cap application, and feel this genre allows me to create the best potential design. I chose to work with the theme The un-dead, initially creating face plans for three characters ; a demon, a vampire, and a zombie. Below I have attached images of each initial design, explaining and evaluated each.

Demon

As previously described above, when thinking of the horror theme, my initial thought goes to the un-dead. Therefore, for my initial design for under this genre I created a demon character. For this look I would firstly create a pale red base, stripping away any natural human appearance. Next, I would use intricate detailing to create bold lines of contour across the face, and above the eyebrows to create a menacing look. I would create a blocky, back smokey eye and lip to really help build the evil connotations of this character. Finally, I would use scar wax to create an inverted cross on the forehead, adding blood in to this wound, around the eyes, nose, mouth and neck. Although this design represents this genre well, I would like to push myself further by creating a design that represents this theme yet is slightly out of the norm.

Vampire

Next, I created a vampire inspired makeup design. For this look, I would firstly use a white foundation to strip the skin of it’s natural rosy color. Next, I would combine a grey and light red shade to contour the face, adding depth and dimension. Unlike the usual beauty make-ups, I would not blend this contour out, I would leave it bold and defined to help emphasize the menacing intentions of this character. Then, I would apply soft putty on the neck to create a vampire bite. Finally, I would add blood to the wound as well as around the mouth, nose, and under the eyes. I believe this design would look really effective as a bald cap makeup, however I still feel my options to incorporate further SFX techniques are more limited.
Zombie

For my initial zombie face plan, I created a typical, green, blood covered creature. For this design I would firstly create a green base, using darker greens and greys to create the illusion of sunken cheekbones and eye sockets. Next, I would apply a prosthetic laceration across the face, as well as blood, bruising and scars. Finally, to show the cannibalistic nature of the character I would add blood around the mouth. Out of all my designs, I feel creating a zombie character is the perfect opportunity for me to showcase the skills I have learned throughout this unit, as there are endless possibilities of specialist effects I may add in to my design. Furthermore, I feel I have achieved my goal of creating a character that is slightly out of the norm as I believe not many people immediately think of zombies when they think of the horror genre, as they unusually picture ghosts, ghouls and demons.

Initial designs

The three themes I have chosen to conduct my initial research into are fantasy, horror and high fashion. Below are the initial face plan designs I created for each theme.

Fantasy – Sea creature

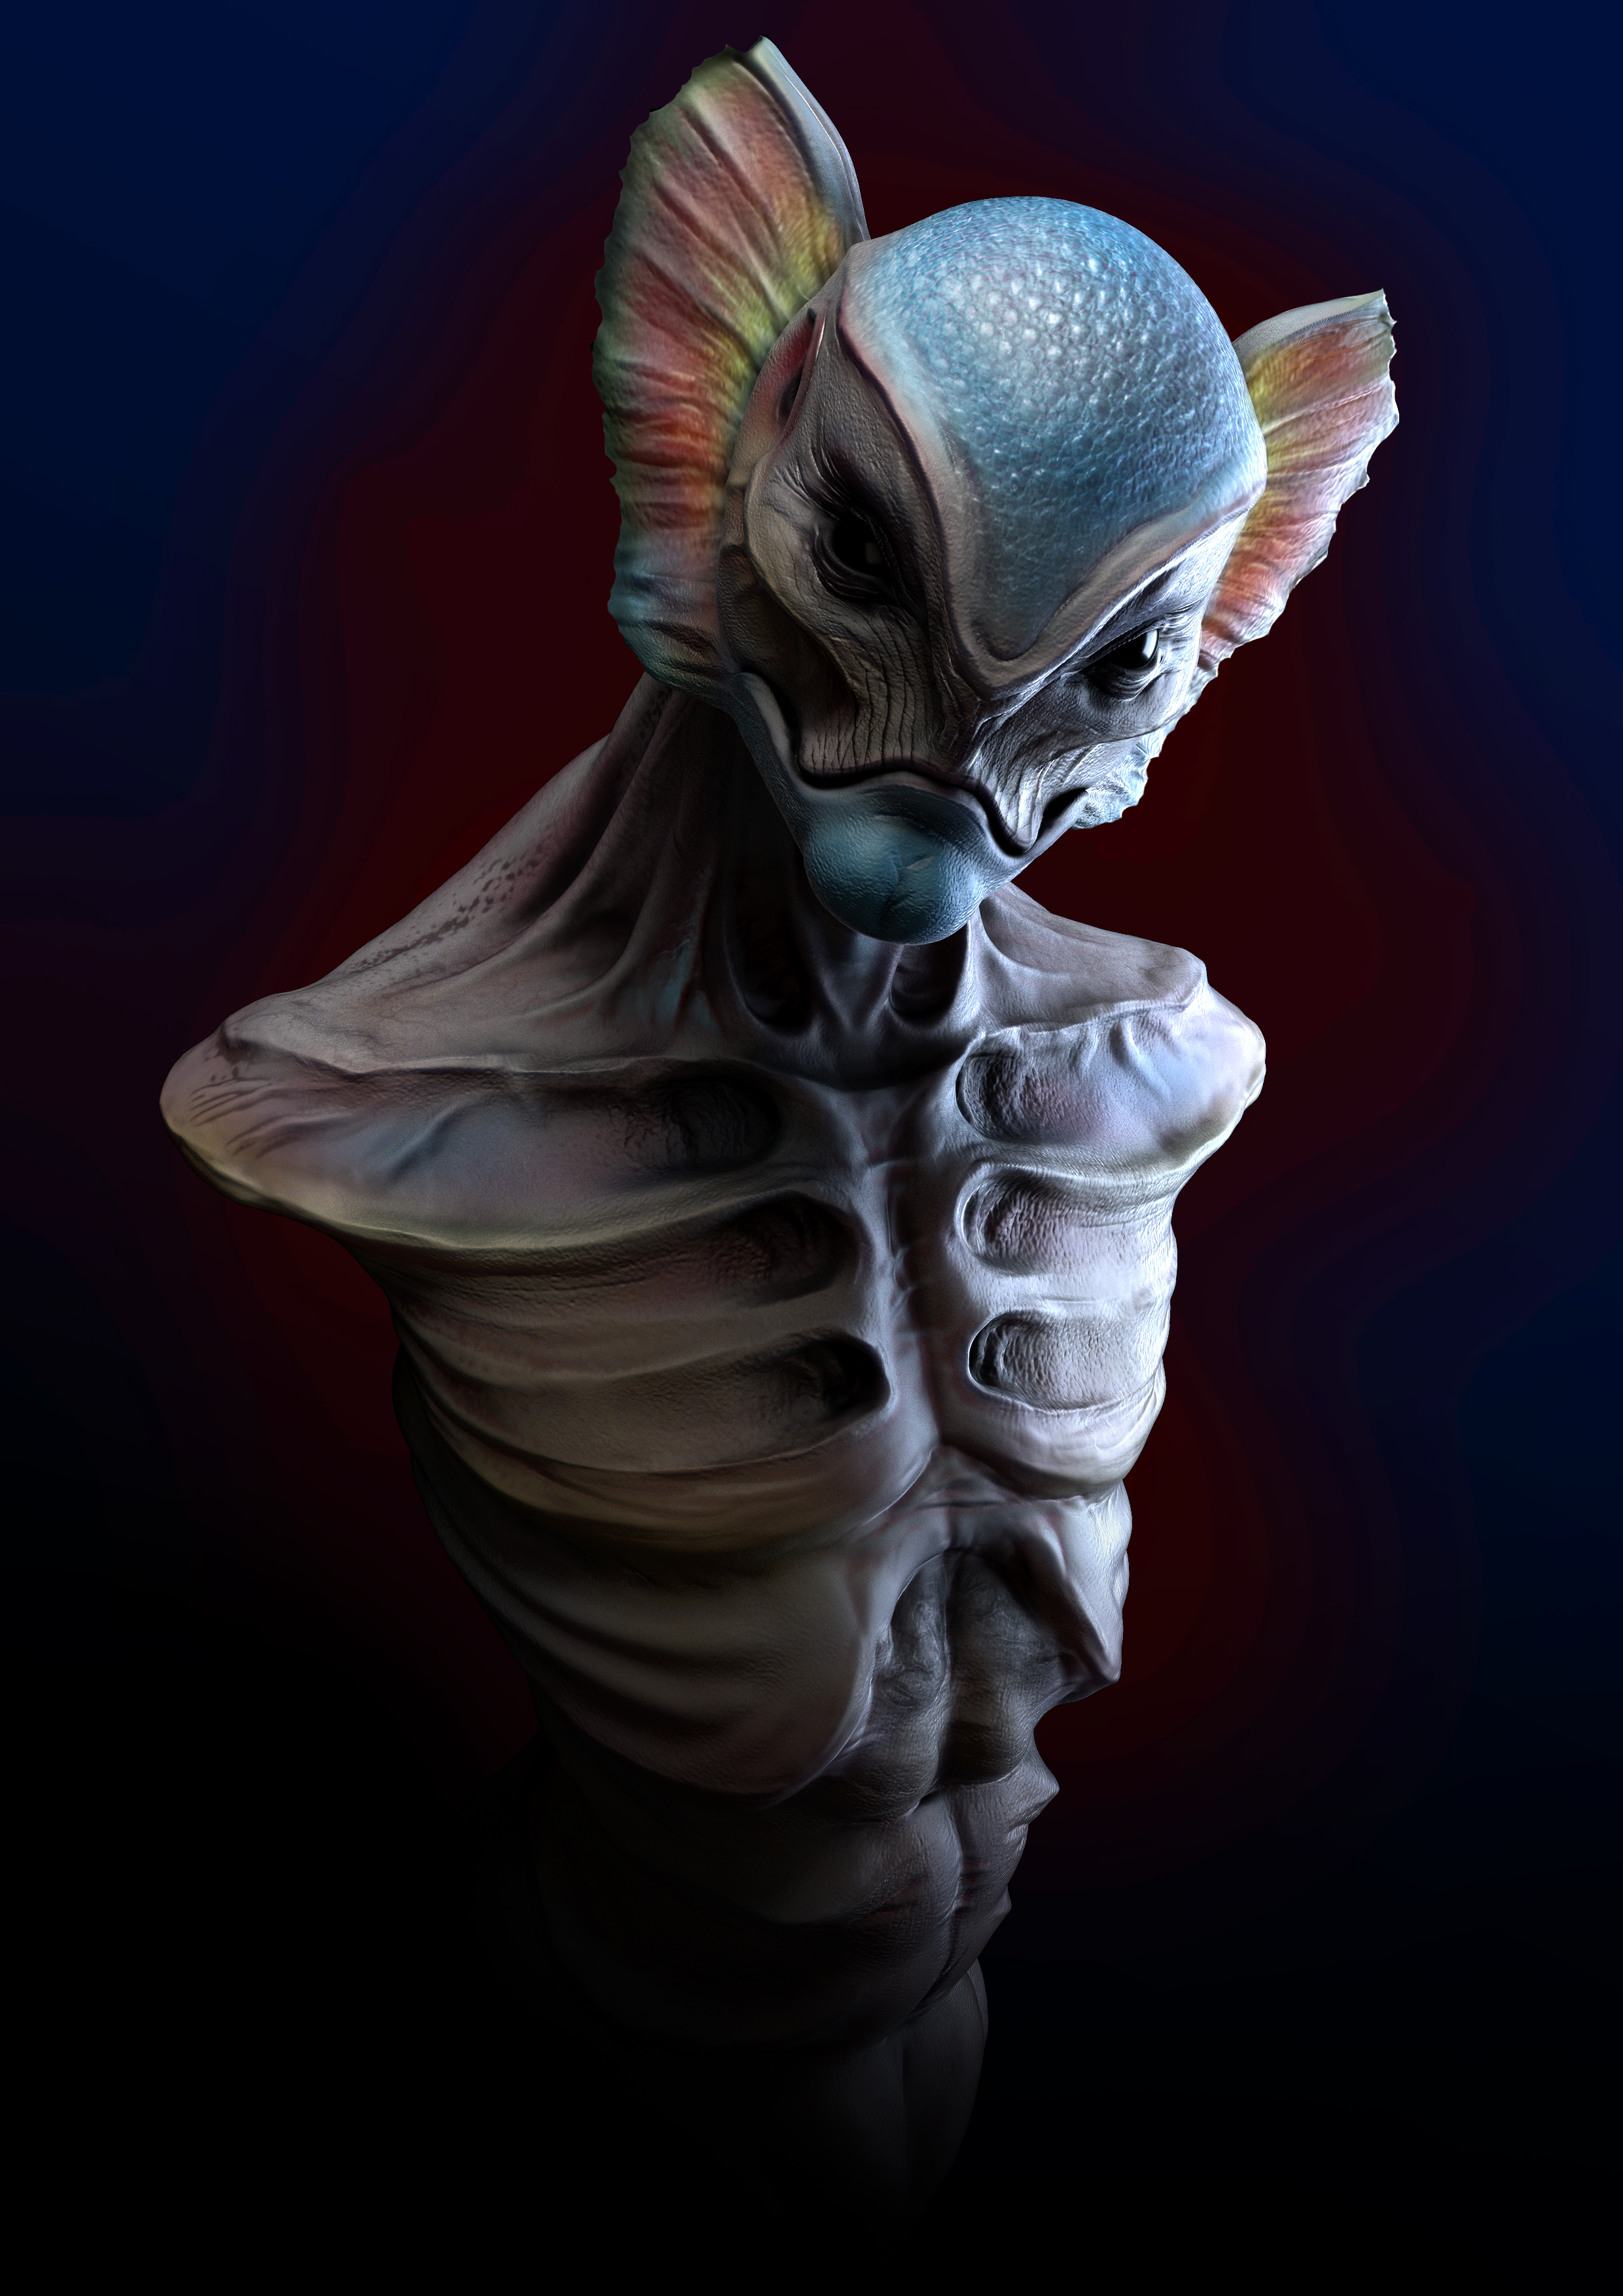
For the theme fantasy, I have designed a humanoid sea creature. For this design I intend to add gill prosthetics over the face to really build a recognisable character.  Next, I would create a blue base for my look, using a darker purple shade to contour and define the face. To make this creature look more friendly and fantastical, I would use a purple shimmery shade as a highlight on the face, as well as creating a soft eye and lip look. If I didn’t add the lighter, shimmery colours in to my design, this look may appear frightening – and therefore wouldn’t represent my theme very well.  

Horror – Demon

When thinking of the horror theme, my initial thought goes to the un-dead. Therefore, for my initial design I have created a demon character. For this look I would firstly create a pale red base, stripping away any natural human appearance. Next, I would use intricate detailing to create bold lines of contour across the face, and above the eyebrows to create a menacing look. I would create a blocky, back smokey eye and lip to really help build the evil connotations of this character. Finally, I would use scar wax to create an inverted cross on the forehead, adding blood in to this wound, around the eyes, nose, mouth and neck.

High fashion – Bold and floral

For my initial design under the theme high fashion, I created a beautiful bold and floral look. My intentions are to create a flawless, sun kissed and glowy base makeup, with minimal contouring. Next, I would create a bold and blocky, coordinating eye and lip look. I have incorporated prosthetics in to this design by adding three dimensional flowers over the face. This design would help me to show my complex fine line work, as I then plan to draw lines and swirls over the face to connect the floral prosthetics together.

Survey

For part of my initial research, I created a survey allowing me to question friends, family and followers, gaining and insight in to other views of my potential themes. this allows me to understand how different people may perceive certain aspects of a theme or genre, allowing me to create a really effective end result. Below I have documented the results of the survey I created.

Question 1

For the first question, I asked “In which genre do you think a bald cap may be best suited? If you had to choose only one…” followed by the options; “Horror, Sci-fi, Fantasy, High-fashion and Other”.

As shown in the image below, the most popular choice, with 8 votes, was Sci-fi. Horror took second place with only two votes, and fantasy was in third with only one. No one chose High-fashion.

This helps me to understand the initial thought in the majority of people’s minds went to the sci-fi theme, implying they may have immediately pictured otherworldly beings and aliens, when thinking of a bald headed character. As I really want to push myself for this assessment, that immediately tells me I want to avoid this topic. Although it fits very well, I want to create something different, to help expand people’s thought processes.
Question 2

For the next question, I asked the respondents to justify their previous answer, with the question ”Why did you choose your previous answer ?”.

I received a range of responses, listed below;

It just seemed the most logical

fantasy has such a vast array of characters and looks that need previously covered heads to be able to do makeup and hair pieces on them properly

Because sci-fi has more unique people in it

Lots of sci-fi characters have different skin types, tribes, races and species

Special effects to create otherworldly appearances

Bald scientist

I think it would suit sci-fi from character I’ve seen

More effects

Once again, this supports my previous findings, that sci-fi was the initial thought of the majority of respondents. I personally believe most of these people would have been picturing other worldly beings and aliens, inspired by looks they have seen in films such as star wars and in the marvel universe.

Question 3

For the third question, I asked ”Which of these characters do you think a bald cap may be applied for ? Choose all that apply …” Below I have included a table of results.

Certain responses to this question actually took me by surprise, and I was hugely shocked that a creature of the woods was the most popular answer. I was just as surprised that the vampire, elf and God/Godess options only received one vote each.

Question 4

For the fourth question, I asked “Can you think of any characters you know (from film/tv/video games/ books/social media) that may have been created using this technique?”

I received a range of responses, including;

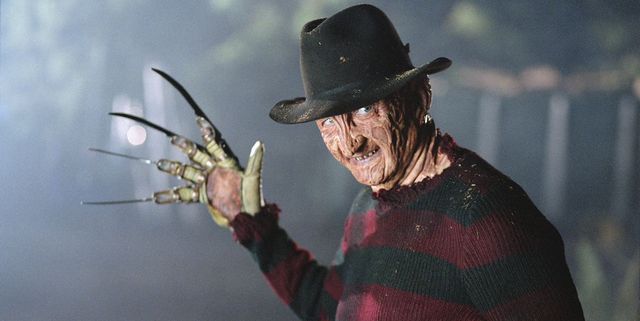
Freddie kreuger

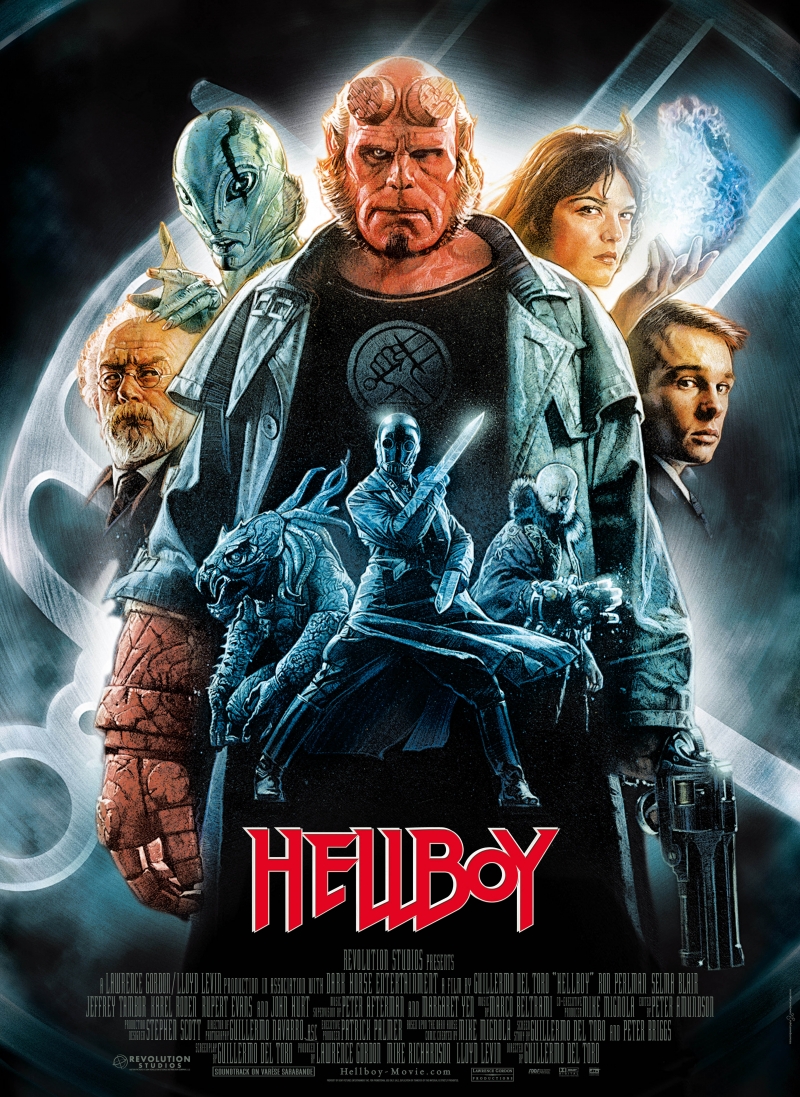
Hell boy

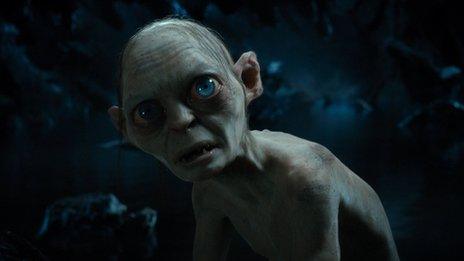
Hobbit .ET.

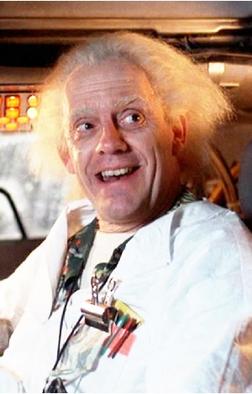
Can’t remember his name but bloke from back to the future

Nebula from Guardians of the Galaxy

Nebula (marvel), wakandan tribe, avatar

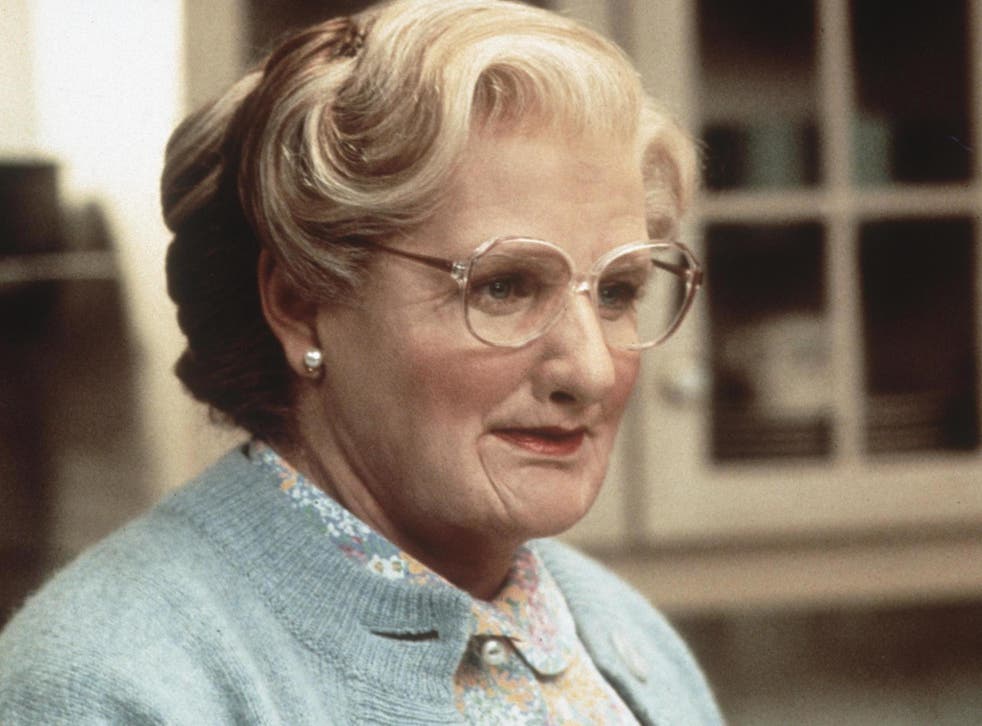
Miss doubtfire

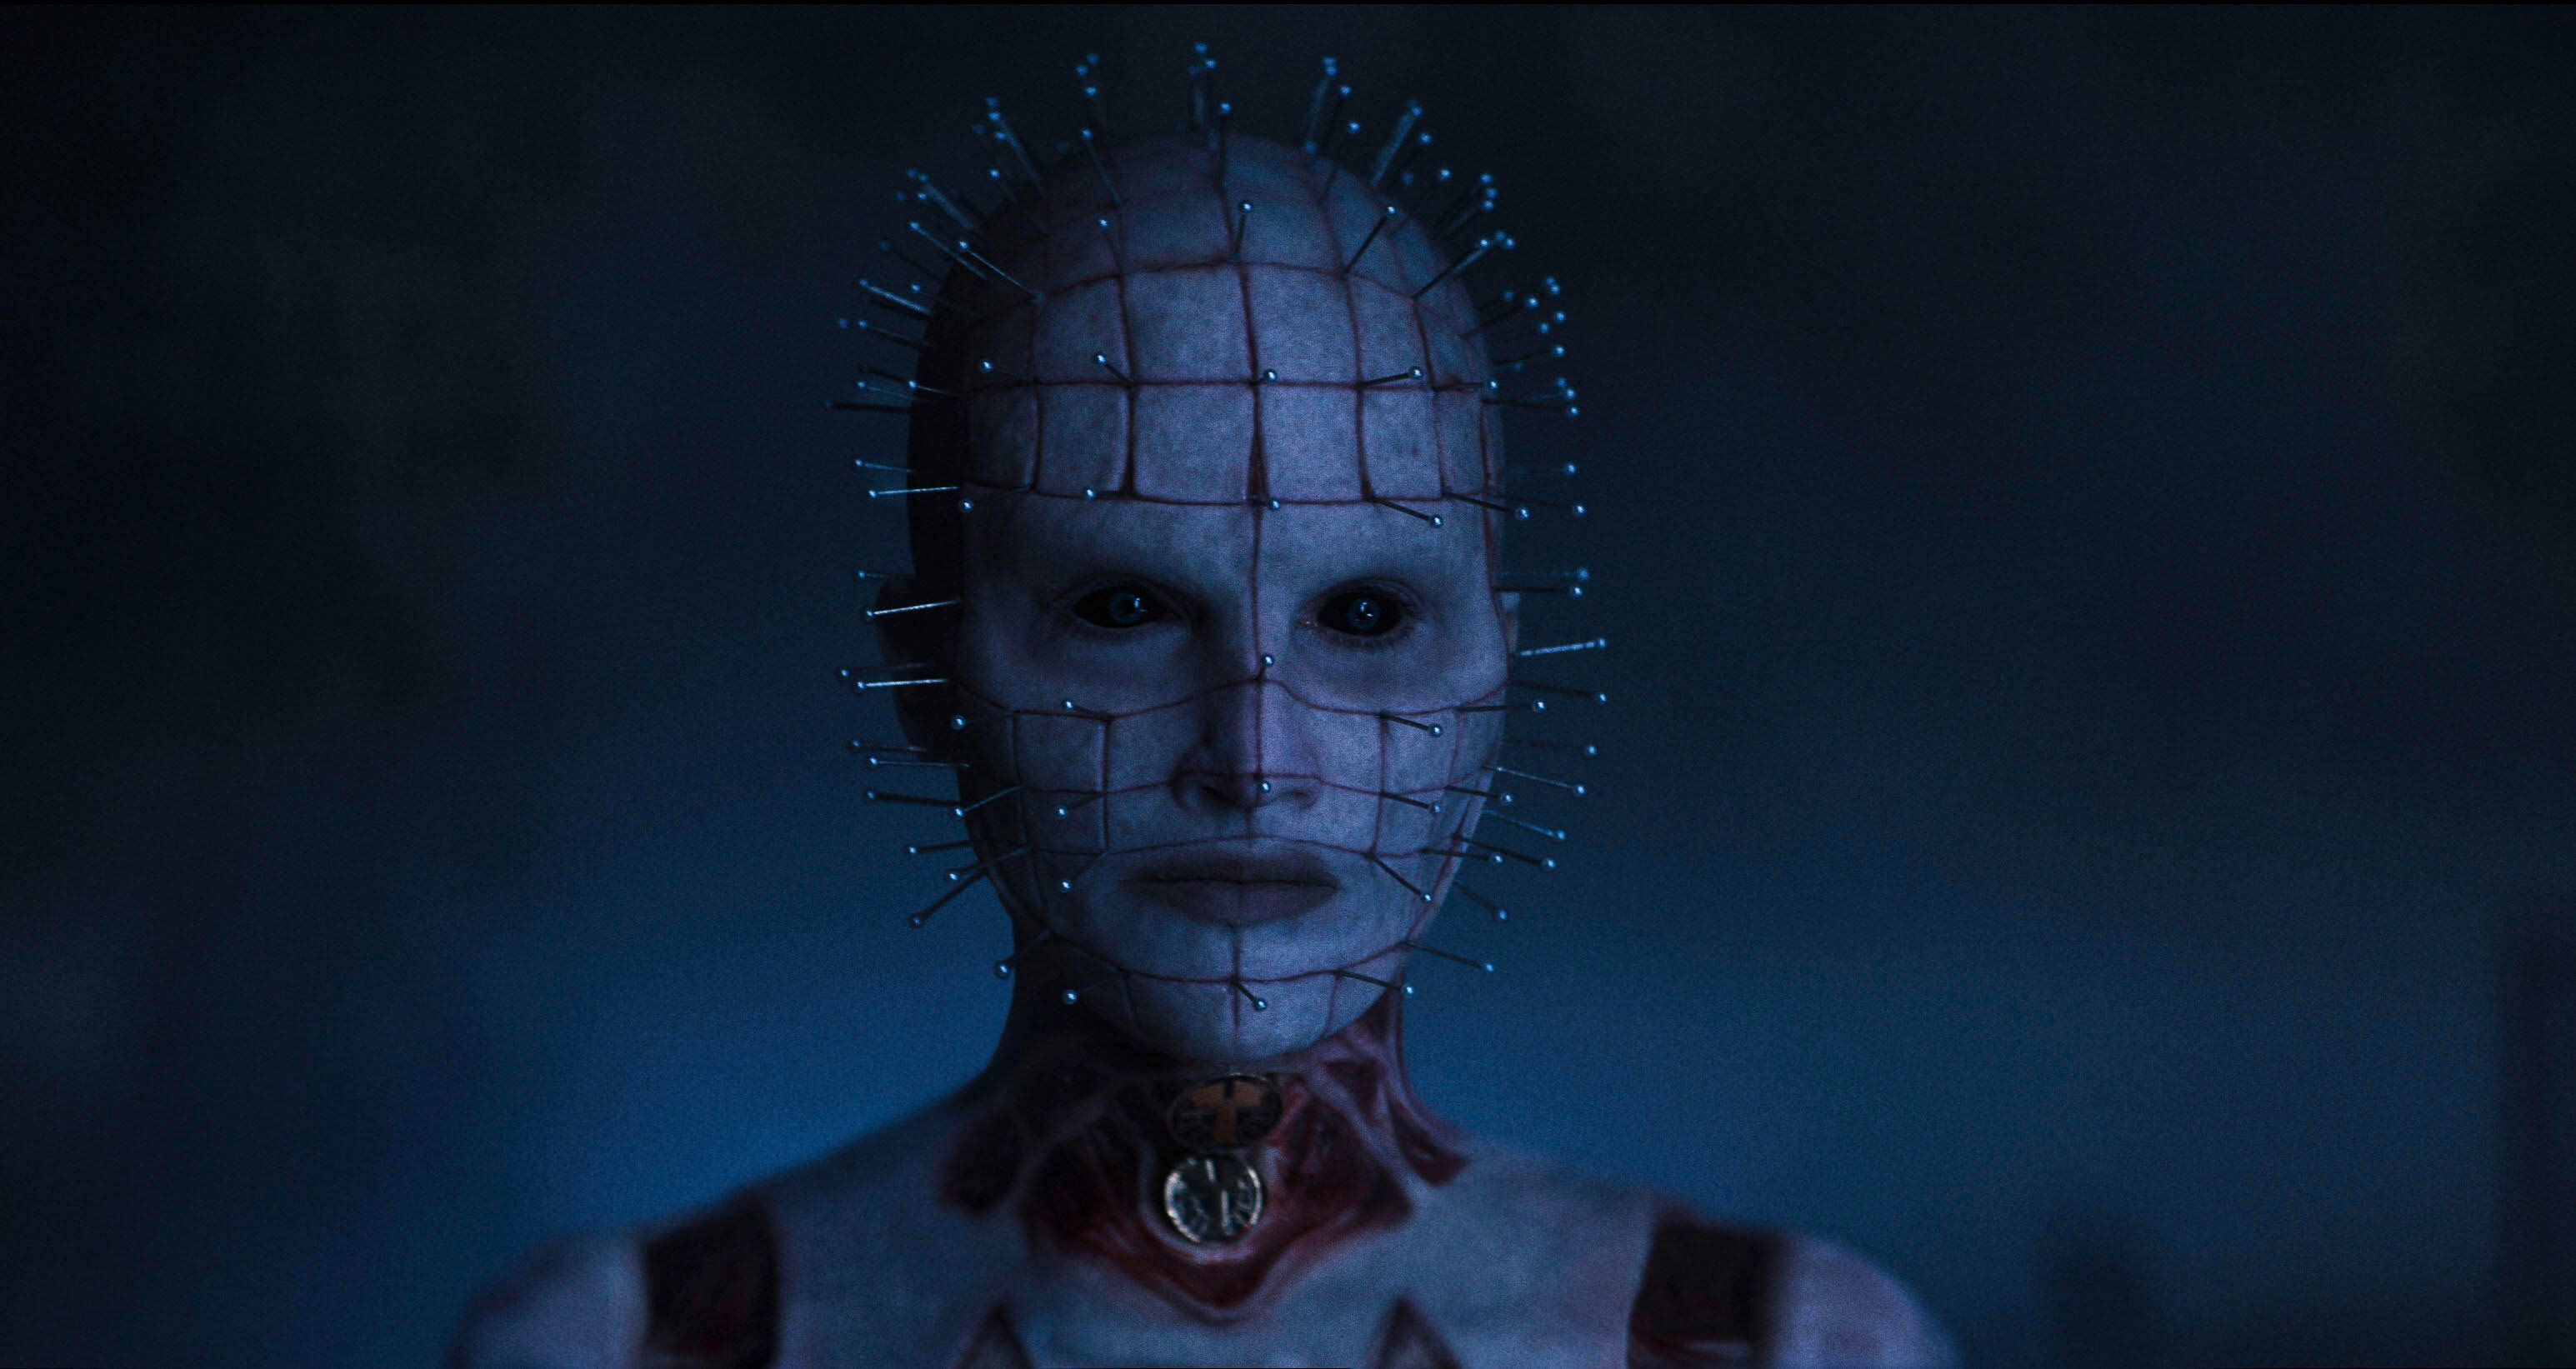
Pinhead

The responses began to become of a wider variety from here onward, however the fact that Nebula from Guardians of the Galaxy was the most popular response, helps to prove my initial belief, that the respondents were likely imagining aliens and other worlds, to be true.

Question 5

For the fifth question, I asked “Do you believe  many horror and fantasy stories take their inspiration from old myths and legends?” I have included a chart of results below.

I threw this question in as I don’t feel it was particularly easy to answer. Therefore, this question required the respondents to really think about the theme, allowing me to receive more detailed answers in the next section of the questionnaire.

Question 6

Next, I asked my respondents to justify their answers again, by asking “Can you explain why you chose your last answer ?”

I received a range of responses, including;

Some art reflect life

But it scares some people and some don’t really care

Brainwashed to think bald people are evil

I do believe this and I’m sure I believe in some.

They seem to correlate with like wives tales

Most creatures are created in the style of old creatures

Inspiration can come from anything for example a creature from a plant, 

Because old myths and legends are a good thing to base a fantasy on and make a horror more scary

all stories are based in stories that are based on stories and so on some become extremely watered down some mix with others all come from roundabouts the same places

Yeah it wouldn’t surprise me. Bit like ghost stories and things

This helps to prove my intentions worked, as I received some very detailed and complex owners to this question, unlike some of the shorter answers I had previously recieved.

Question 7

Next, I asked, “What colors do you associate with the horror genre ?”

I received a range of answers, including;

Black

Red, black and gray

Black red black gray white

Black

Red and black

Black/red

Red and black

Green, black, red

Red black

red, black, brown, dark green, gray, silver

Red/Black

This just helped me gain a basic understanding of the thought processes other people have, giving me key ideas for my mood board and make-up designs.

Question 8

Next I asked “What colors do you associate with the Fantasy genre ?”

I received a range of answers, including;

Silver

Pinks, mint green, yellow and purple

Bright

Yellow

Blue purple maybe pink

Purple/blue

Green

Green, yellow, pink, blue, purple,

Green yellow

light greens and blues, rich browns and bright colors, purples pinks yellows

Green

This just helped me gain a basic understanding of the thought processes other people have, giving me key ideas for my mood board and make-up designs.

Question 9

For the ninth question, I asked “What colors do you associate with the sci-fi genre?”

I received a range of answers, including;

Orange

White and silver

Grey and bright

White

Grey’s ,brown maybe

Green/yellow

Blue, gray and neon purple

Blue, green, gray, black

Yellow white

metallic colors, silver, gold, copper, tin, shiny greens and blues

Grey/black/white

This just helped me gain a basic understanding of the thought processes other people have, giving me key ideas for my mood board and make-up designs.

Question 10

For question ten I asked “Are there any colors you associate with high fashion ? “

I received a range of responses including; 

Purple. ( BTW would recommend reading the little book of color by Karen Heller)

High fashion is normally eye-catching, so neons and bright colors, pastels as well

Pink

Red, orange, white, black, gold

N/a

Bright pink and black/white

Neutral

Yellow Reds

White

N/a

Red 

Mide

This just helped me gain a basic understanding of the thought processes other people have, giving me key ideas for my mood board and make-up designs.

Question 11

Next, I asked “Do you have any suggestions of creatures or characters that may be suitable for me to create in this assessment ?

The responses included ;

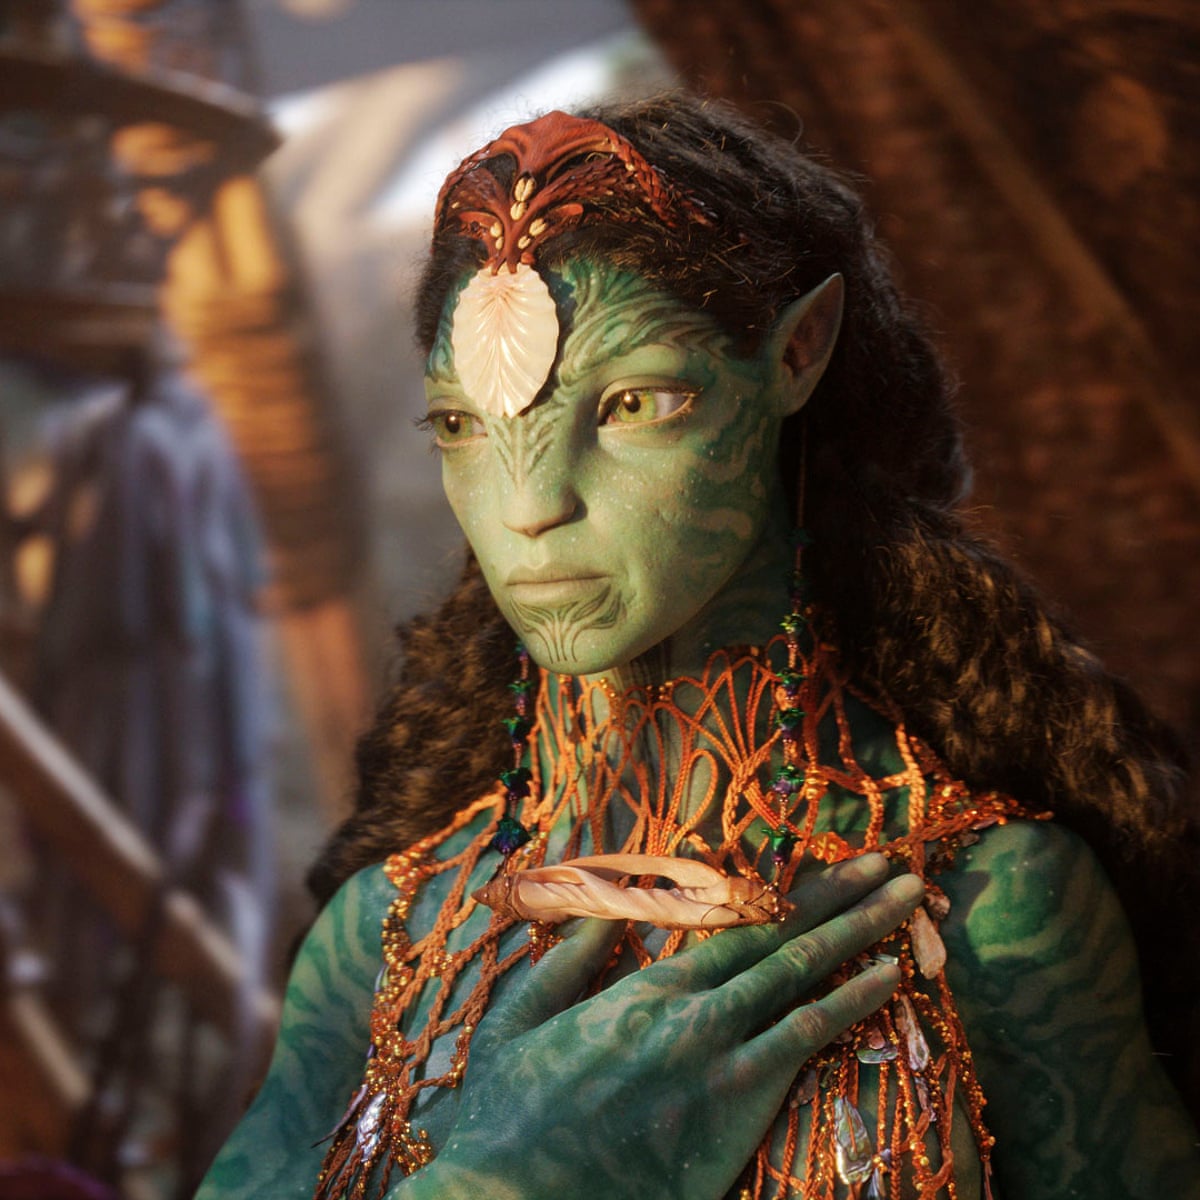
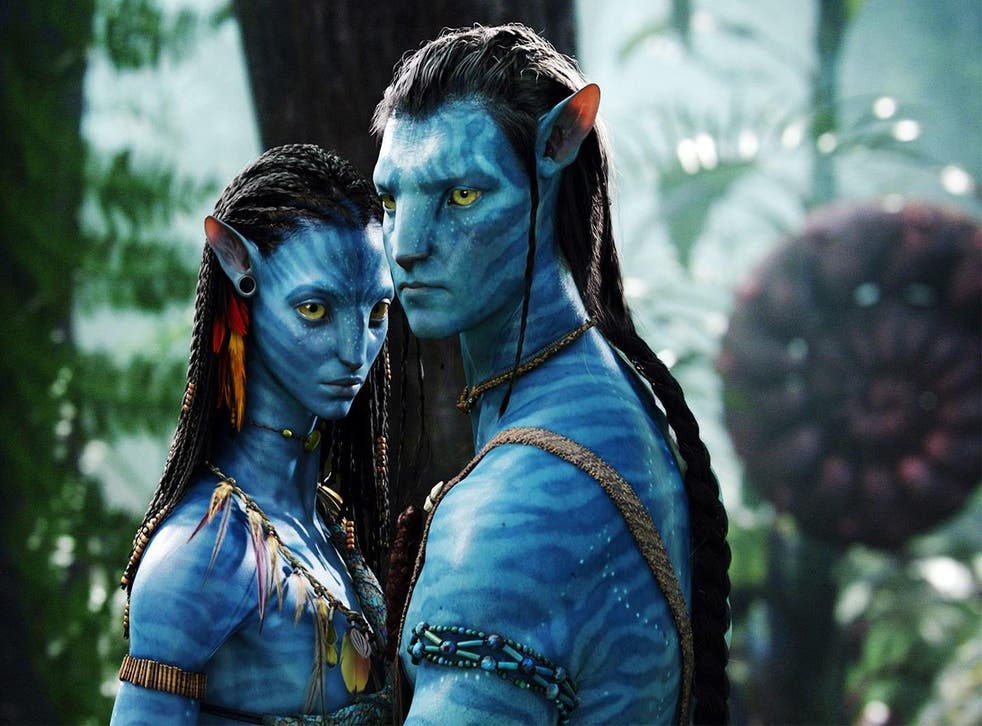
Avatar

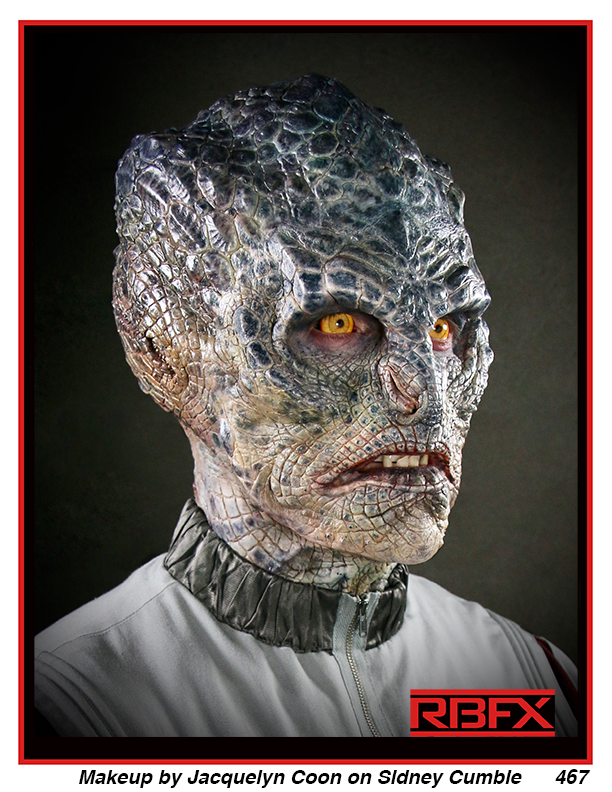
Scaly face creature

Hell boy

Muhammad Ali

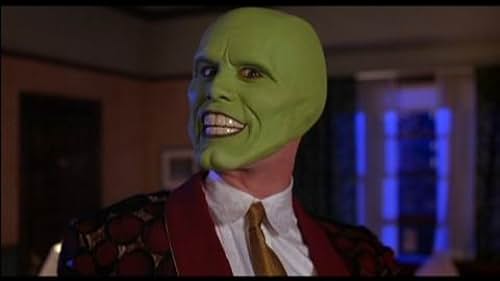
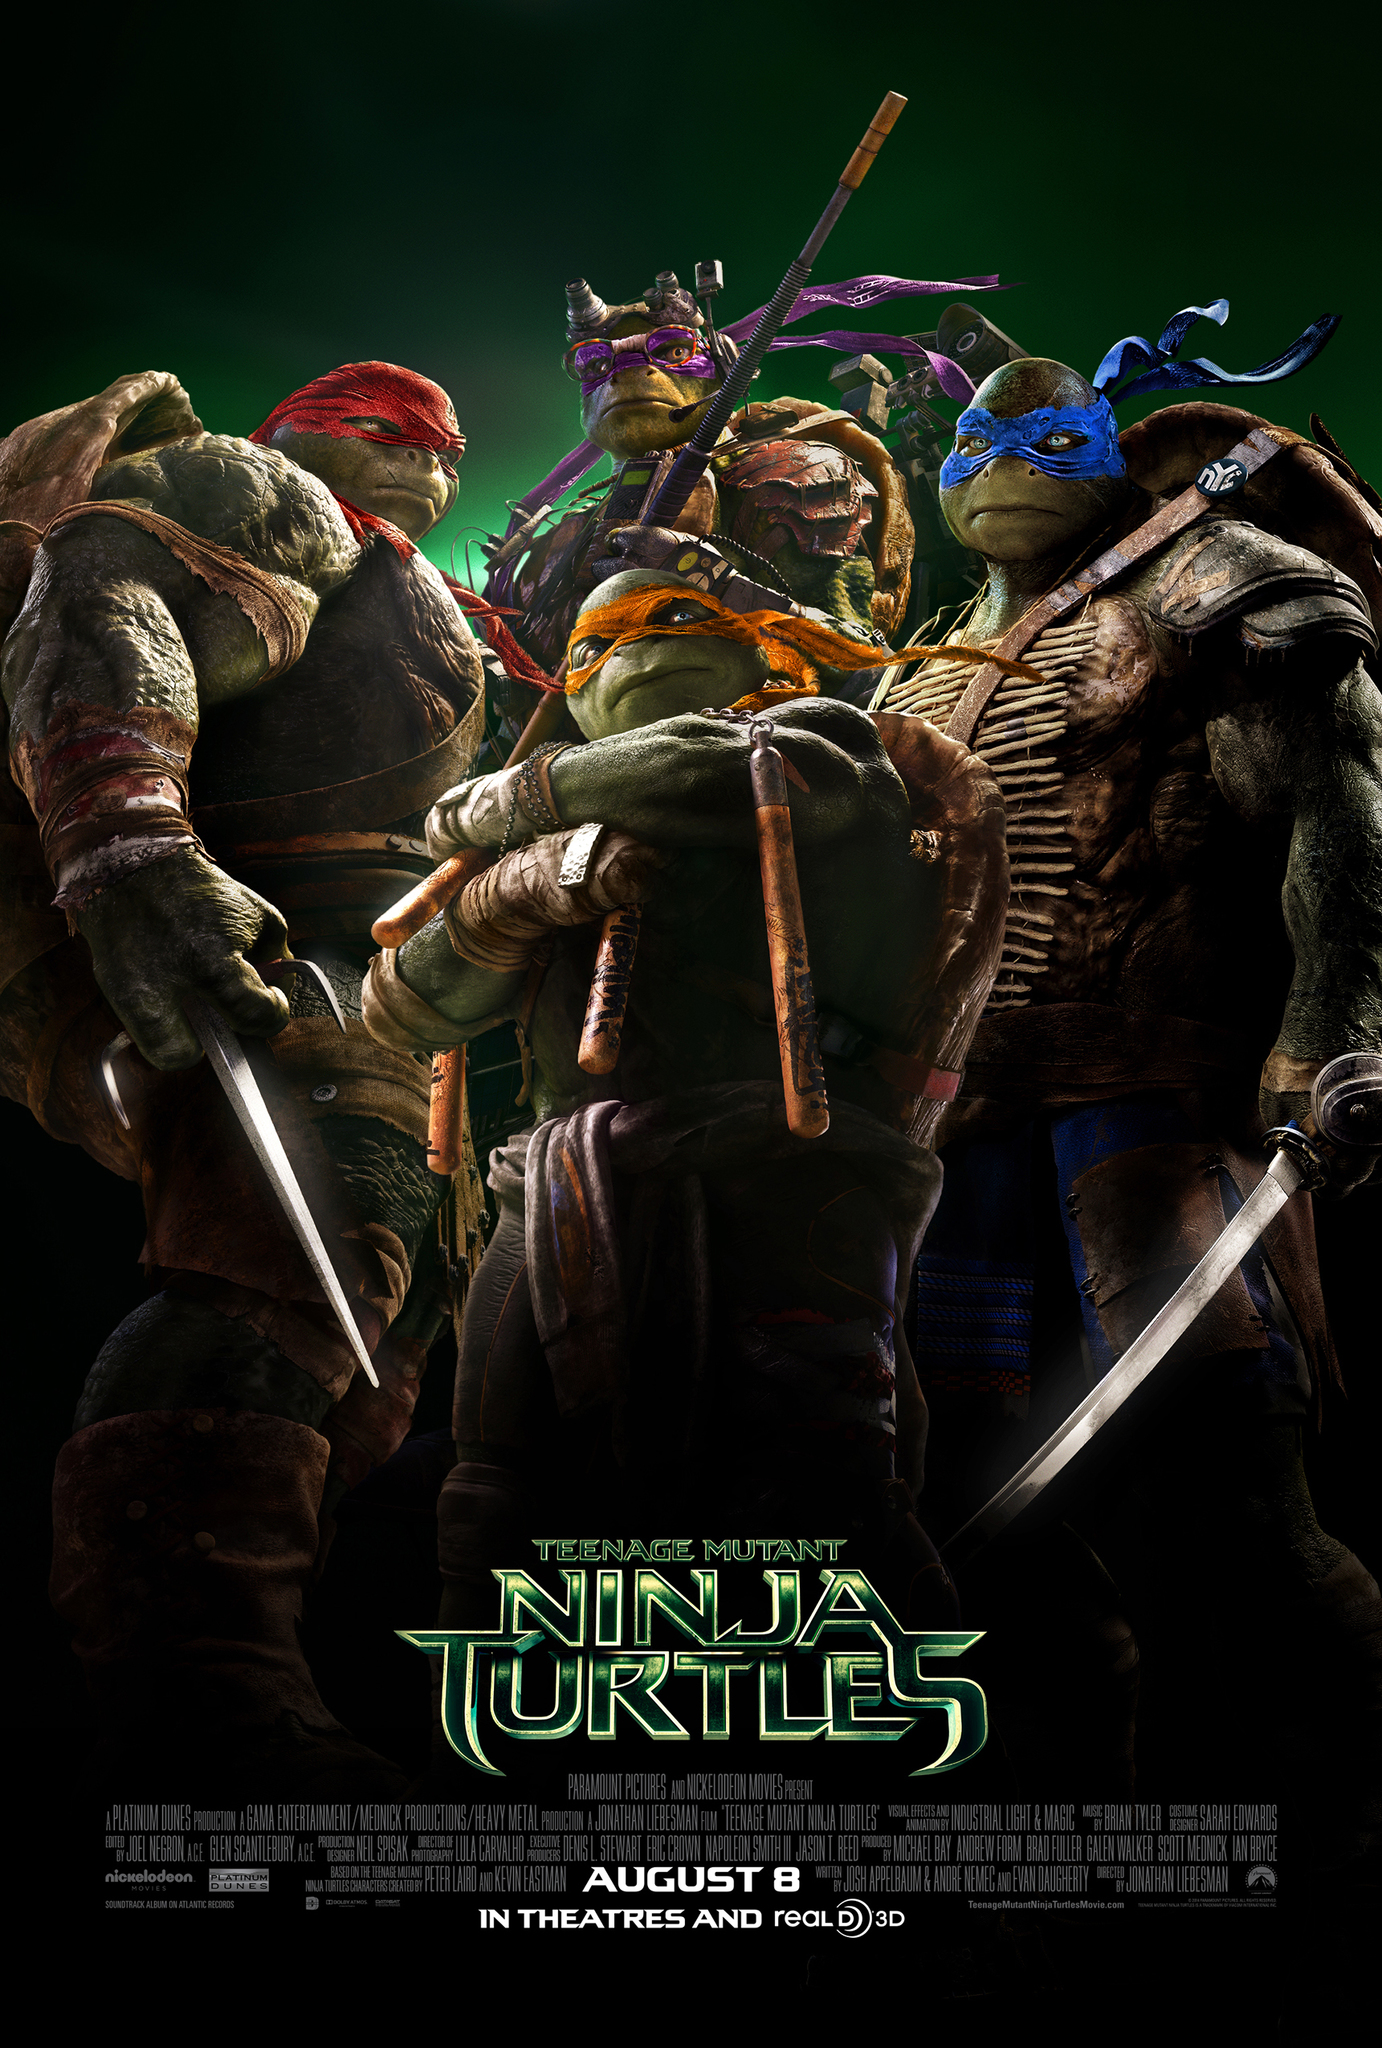
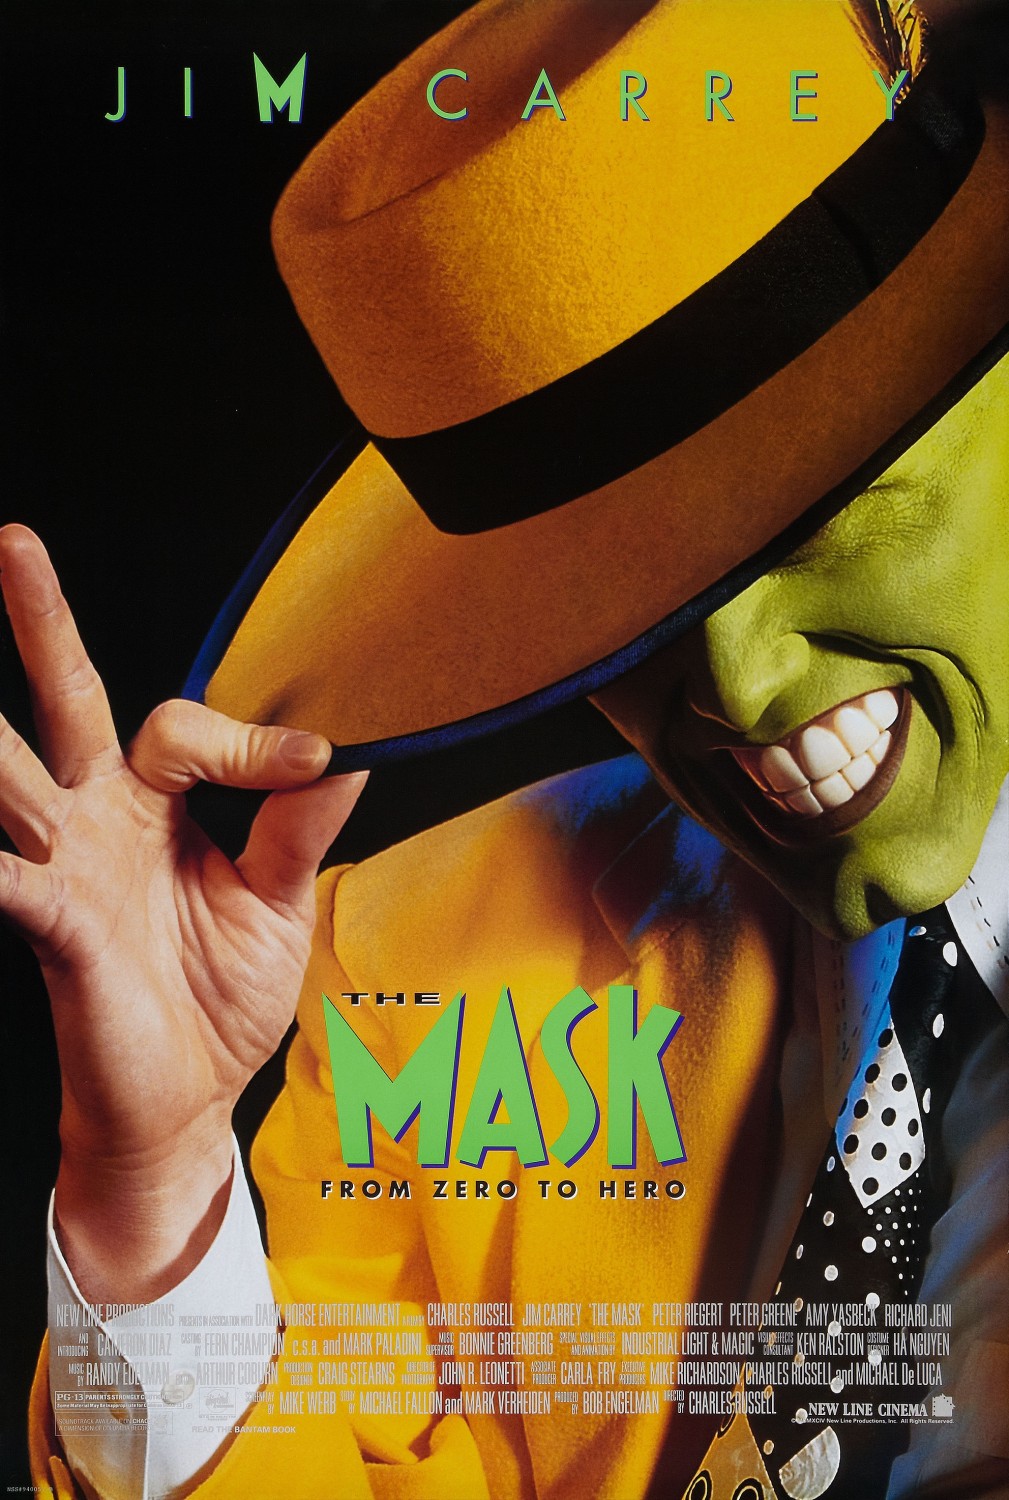
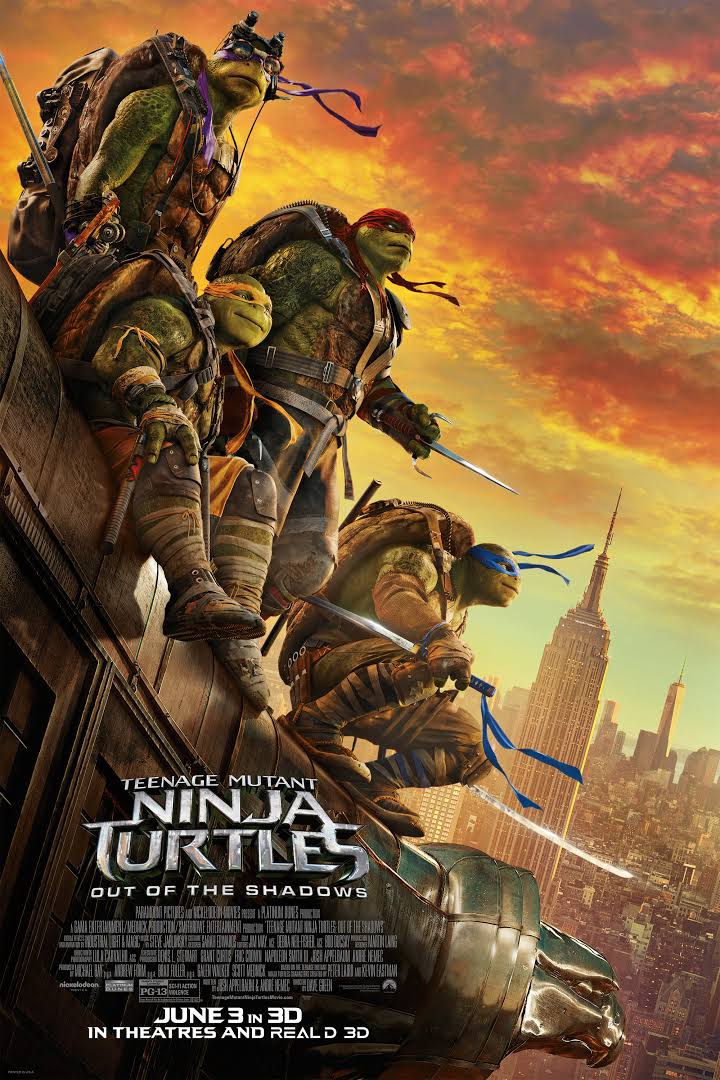
The mask. ET ,Snake ,lizard ,Teenage mutant ninja turtles

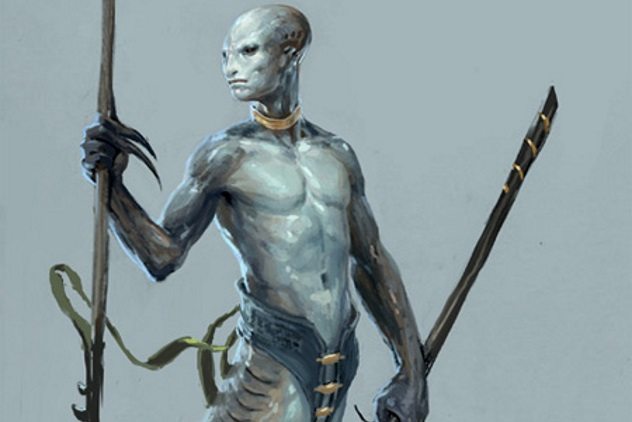
Sea monster/ humanoid

Avatar character, a realistic mermaid,

Elfs

Nosferatu

Robot. Old person things like that

This question allowed me to get a deeper insight into the range of characters others picture when thinking about creating a character using a bald cap application. This was an extremely helpful step in my design generation.
Question 12

Finally, I asked “Can you suggest any media (film/books/TV/games) or creators (hair and makeup artists/artists/directors/photographers) who’s work you think may be helpful to look in too during my research? “

The responses included;

Not sure

Hell boy movies

Show speed

ET The Mask mutant turtles, pictures from internet

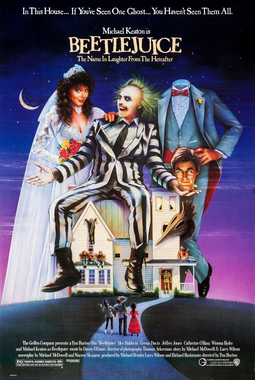
Beetlejuice?

Drian Bautista

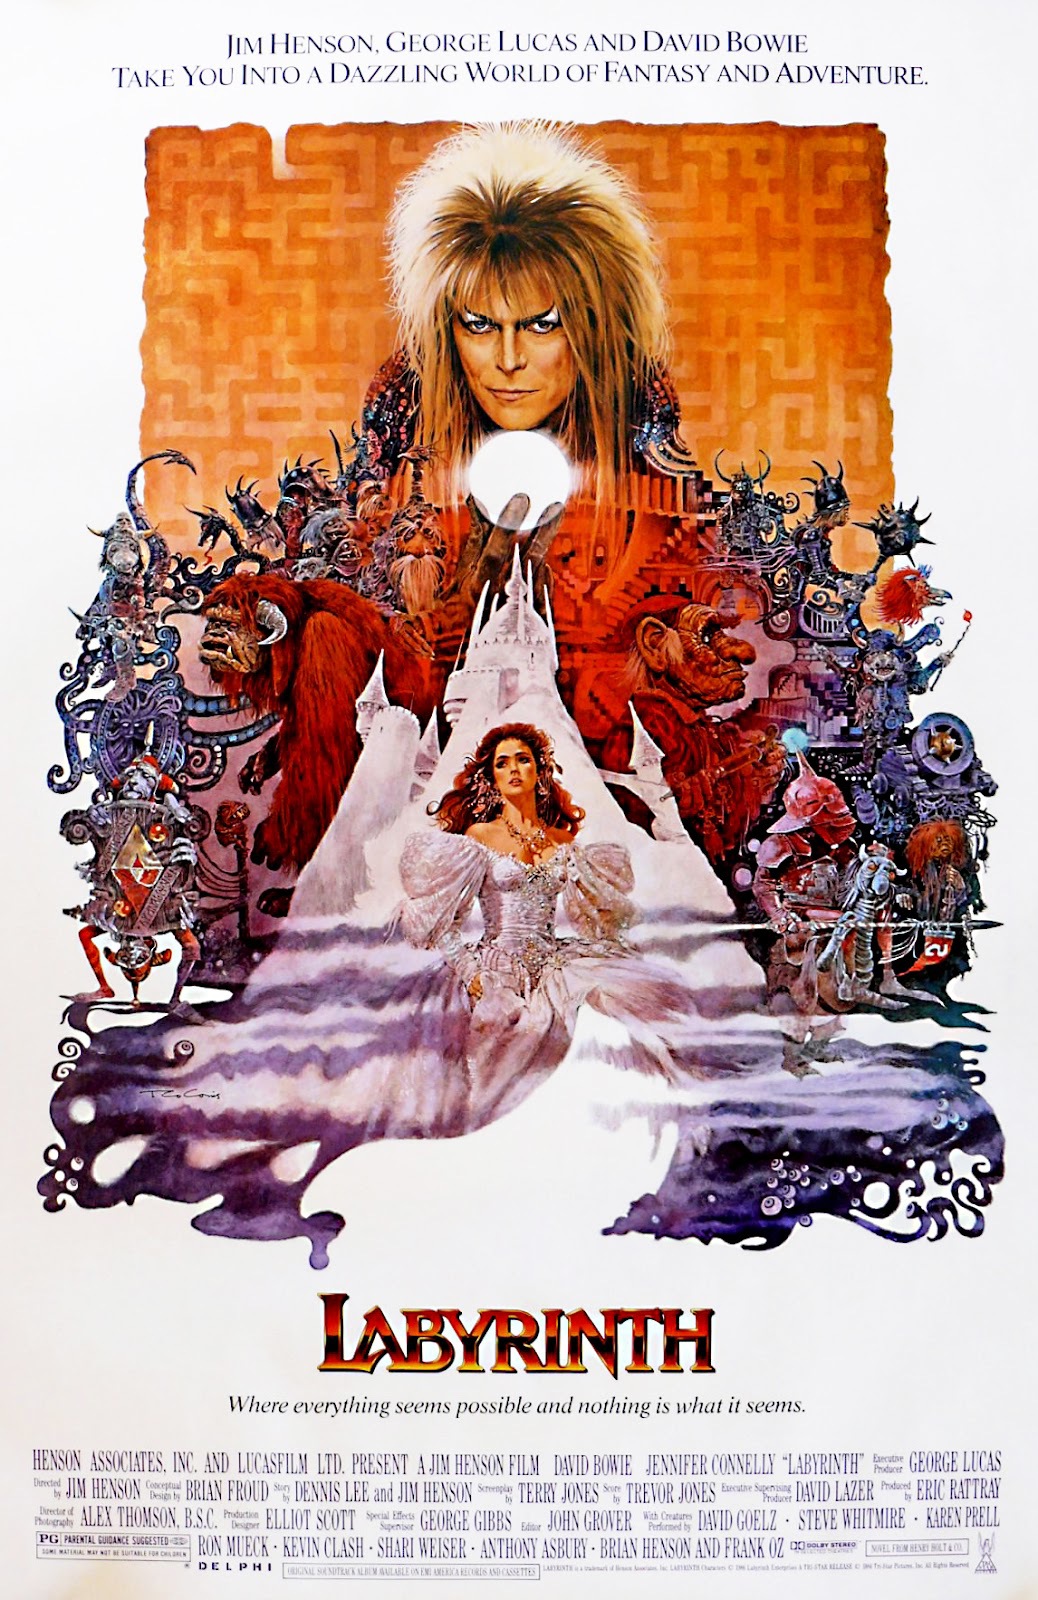
any of the makeup artists from Harry potter, labyrinth, the new predator as well

Little book of color by Karen Heller is really good for understanding color and how it can affect the mind. Could bee good when trying to create an atmosphere

Once again this just helped me to collect some additional source ideas, and gain an insight into the mind and thought processes of others.

Script and Character breakdown

After conducting my research into current examples in the industry, I have identified many techniques I would like to include in my design, from a range of different TV shows, films and video games. However, my biggest inspiration comes from The Walking dead. Furthermore, there is one aspect in particular I would like to include in my design, who’s inspiration came from the horror movie; Hostel. Therefore I will complete a script and character breakdown for the Walking Dead, and Hostel. Furthermore, I will also note any other shows, films or games that gave me particular inspiration.

The Walking Dead

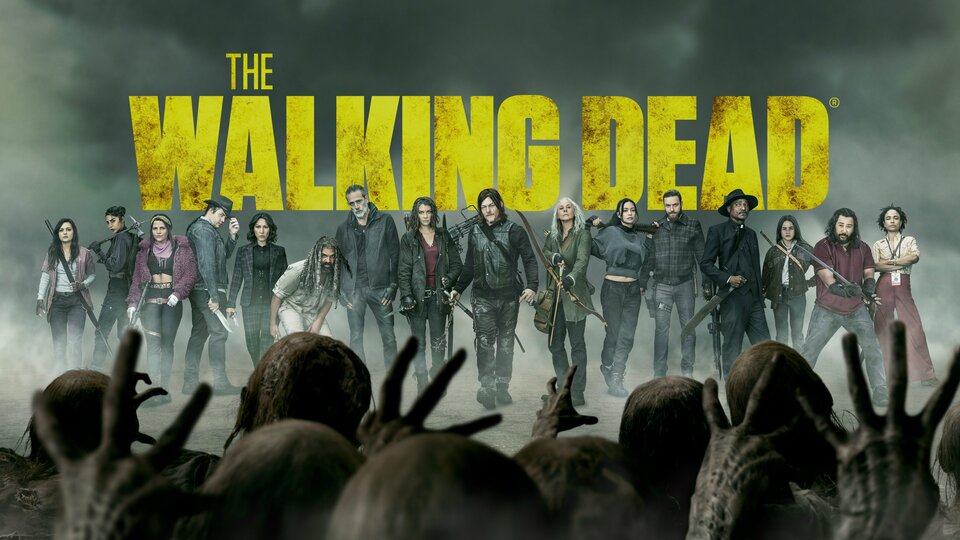
The Walking Dead - AMC Series - Where To Watch

The AMC TV series; The Walking dead first appeared on our screens on the 31st of October, 2010. Although the final episode of the series was aired only last month, on November 20th 2022 this franchise is nowhere near coming to an end. With multiple spin-offs already released, and multiple in the works, The Walking Dead has become one of the largest, and most popular television shows ever created. Created based on the comic books by Robert Kirkman, TWD follows a group of survivors, battling for their lives in the wake of a zombie apocalypse.

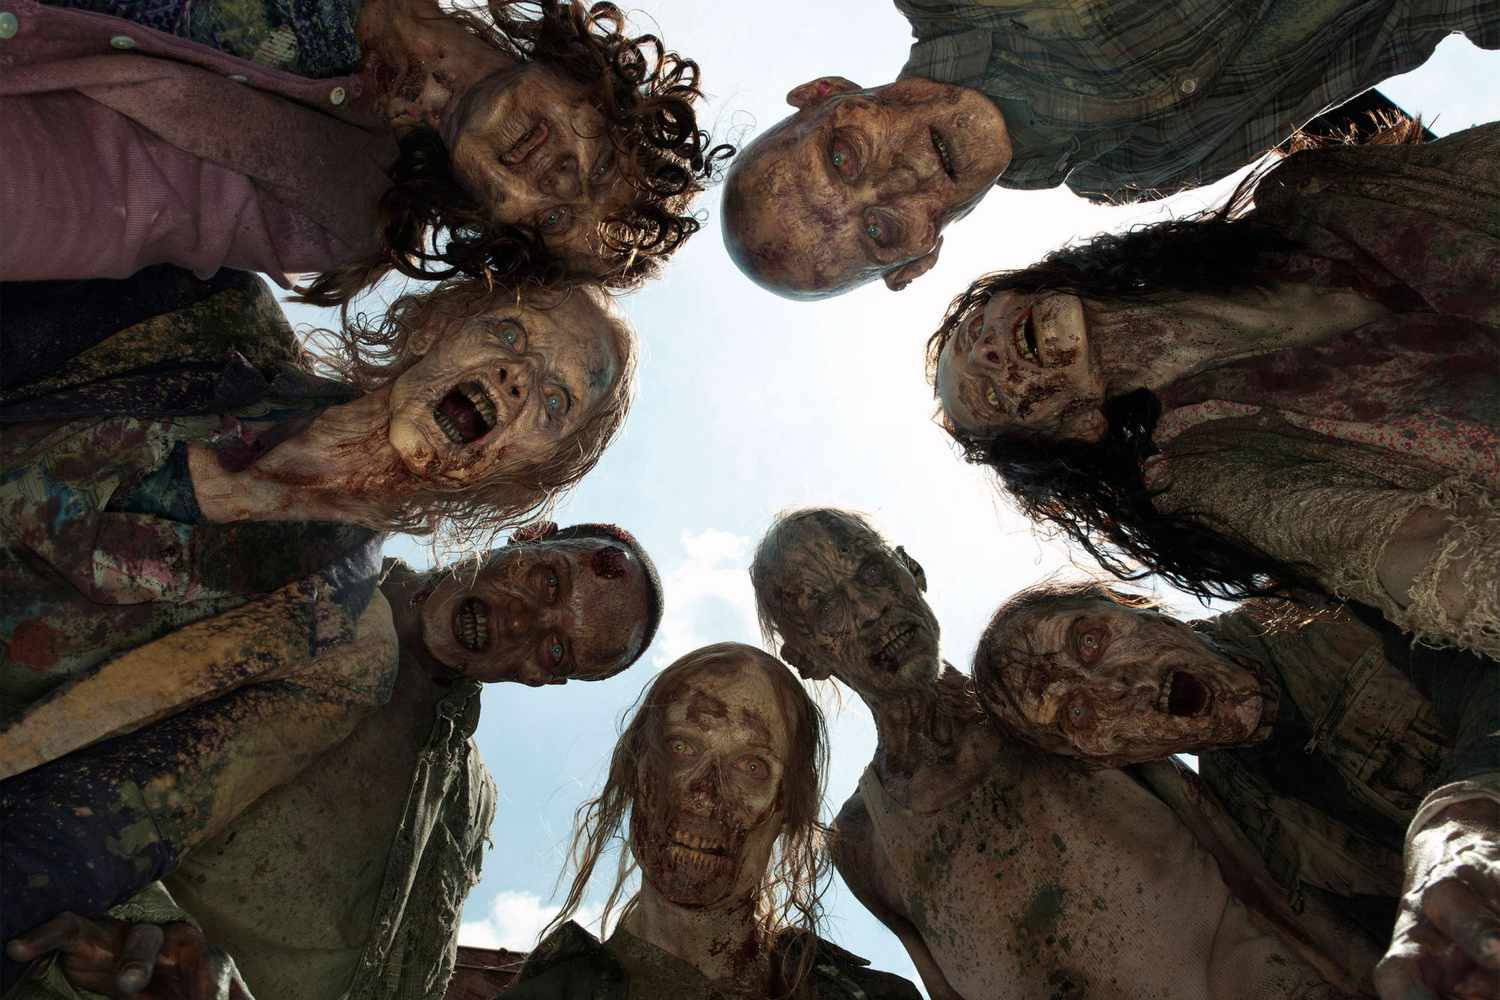
In this series, there are a huge amount of zombie appearances, with around 200 extras cast for each episode! The zombies sport all kinds of different characteristics. With abilities such as; infectious bites and scratches, fire resistance, and enhanced strength and durability, these characters may be visibly weaker than their human counterparts, but do not give up a fight easily. Additionally, these characters do not die under the same usual circumstances as humans, as they do not respond to pain, making them able to survive the most brutal of injuries. In fact, the only way to kill one of these zombies is to destroy their brain.

Is The Walking Dead season 11 coming to Netflix in 2022?

Although these characters were once human, they have many advantages over the survivors of this virus, for example not only do they have all the abilities listed above but also do not need food, water or sleep in order to survive. However, although it is not a necessary part of their routine, these characters have a bottomless appetite for human flesh.

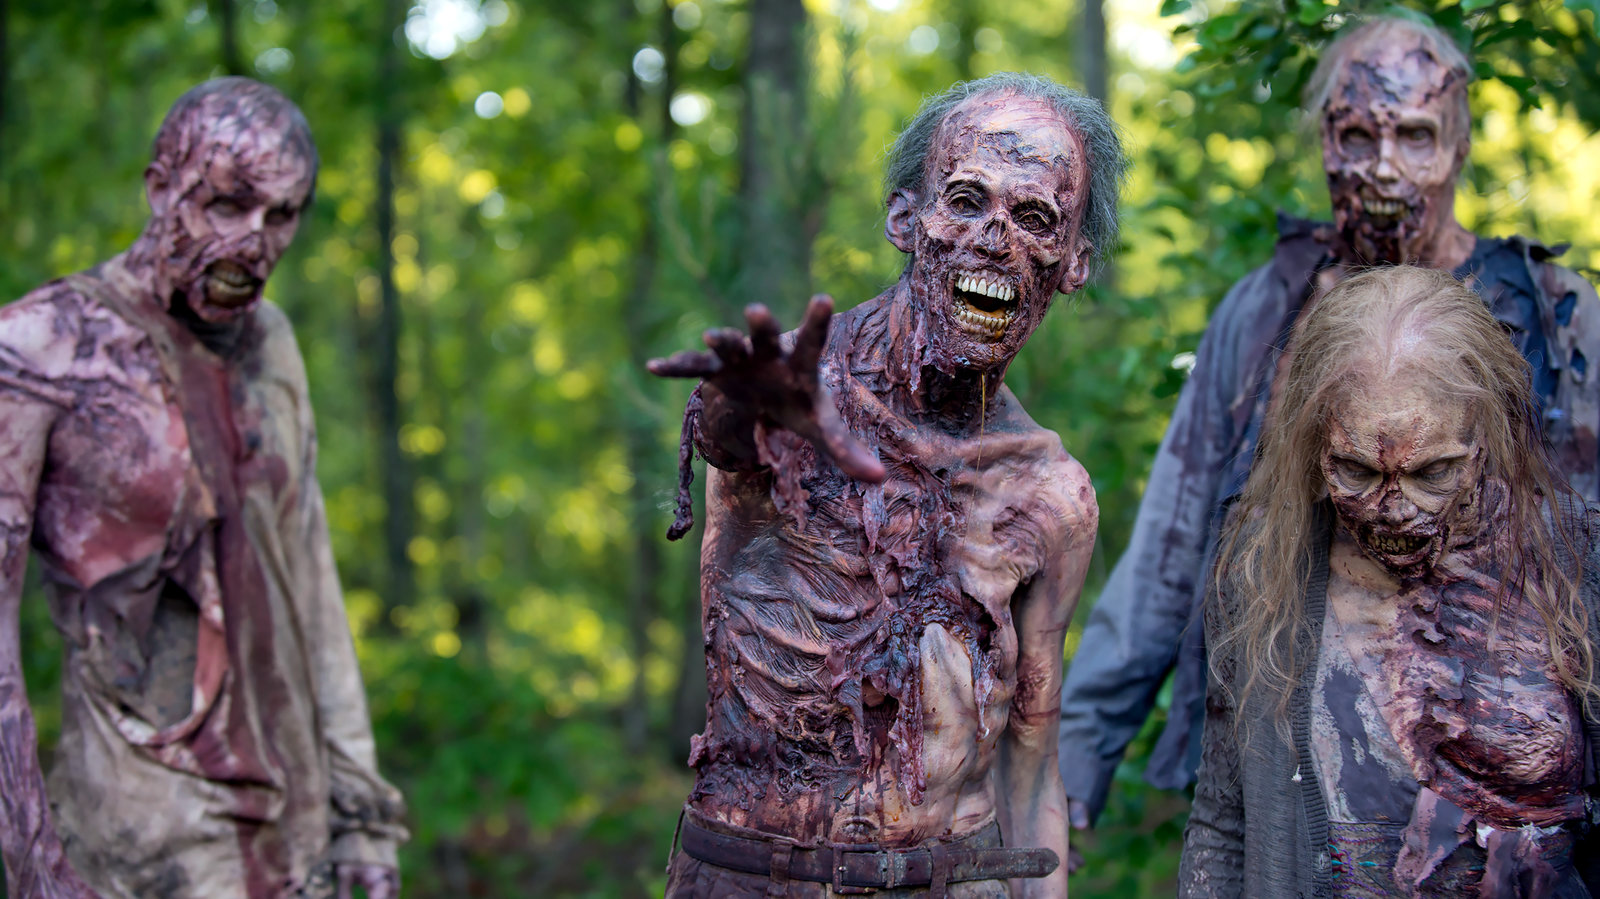
Although these animistic characters are usually called zombies, during the making of the show this word was avoided. In the series these characters have many names, including; Tank zombies, creepers, biters, floaters, geeks, lurkers, rotters, the infected, roamers, dead heads, crawlers, lame brains, hangers and most commonly, walkers.

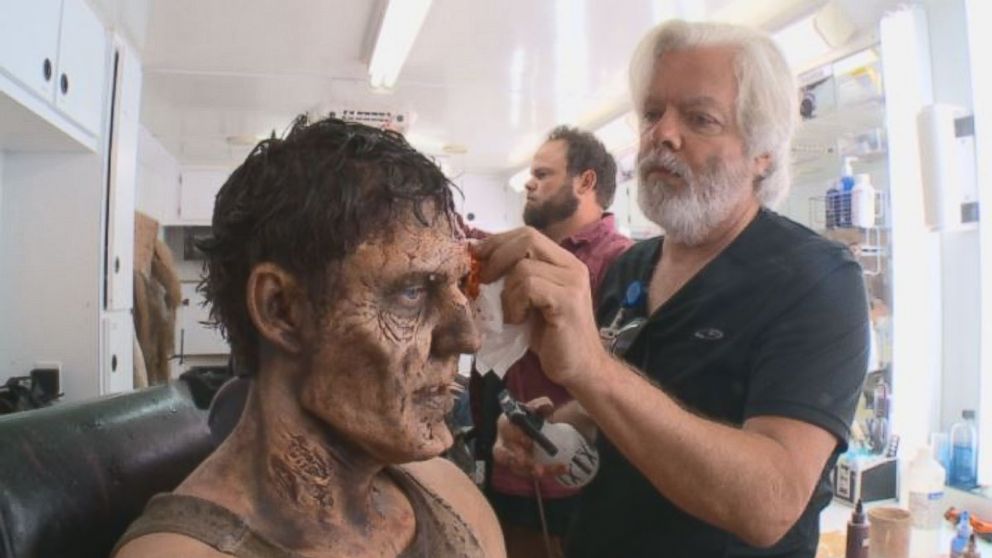
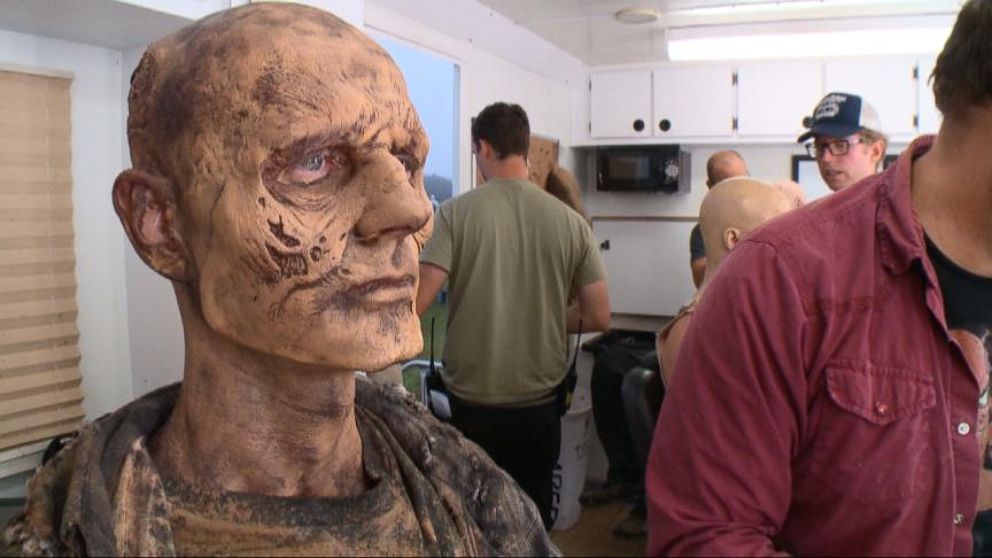
On set, the zombie characters are ranked in categories known as ; Alpha, Beta, Charlie and Delta. These categories represent how far away from the camera a zombie is placed, and how much screen time they will be getting. This allows the Make-Up department to easily identify who needs what makeup, as the characters closer to the camera will receive much more than those out of shot. The typical time for creating a zombie for this show is around 2 hours, however more complex looks may take much longer. Similarly, the distant, out of shot zombies may only have a small amount of makeup applied, taking roughly only 40-60 minutes.

As previously mentioned, with some episodes including the appearance of over 200 zombie characters, there are many different kinds of zombies depicted in this show. Below I have created a character breakdown for multiple of the many different kinds of zombies that appear in The Walking Dead.

Walkers

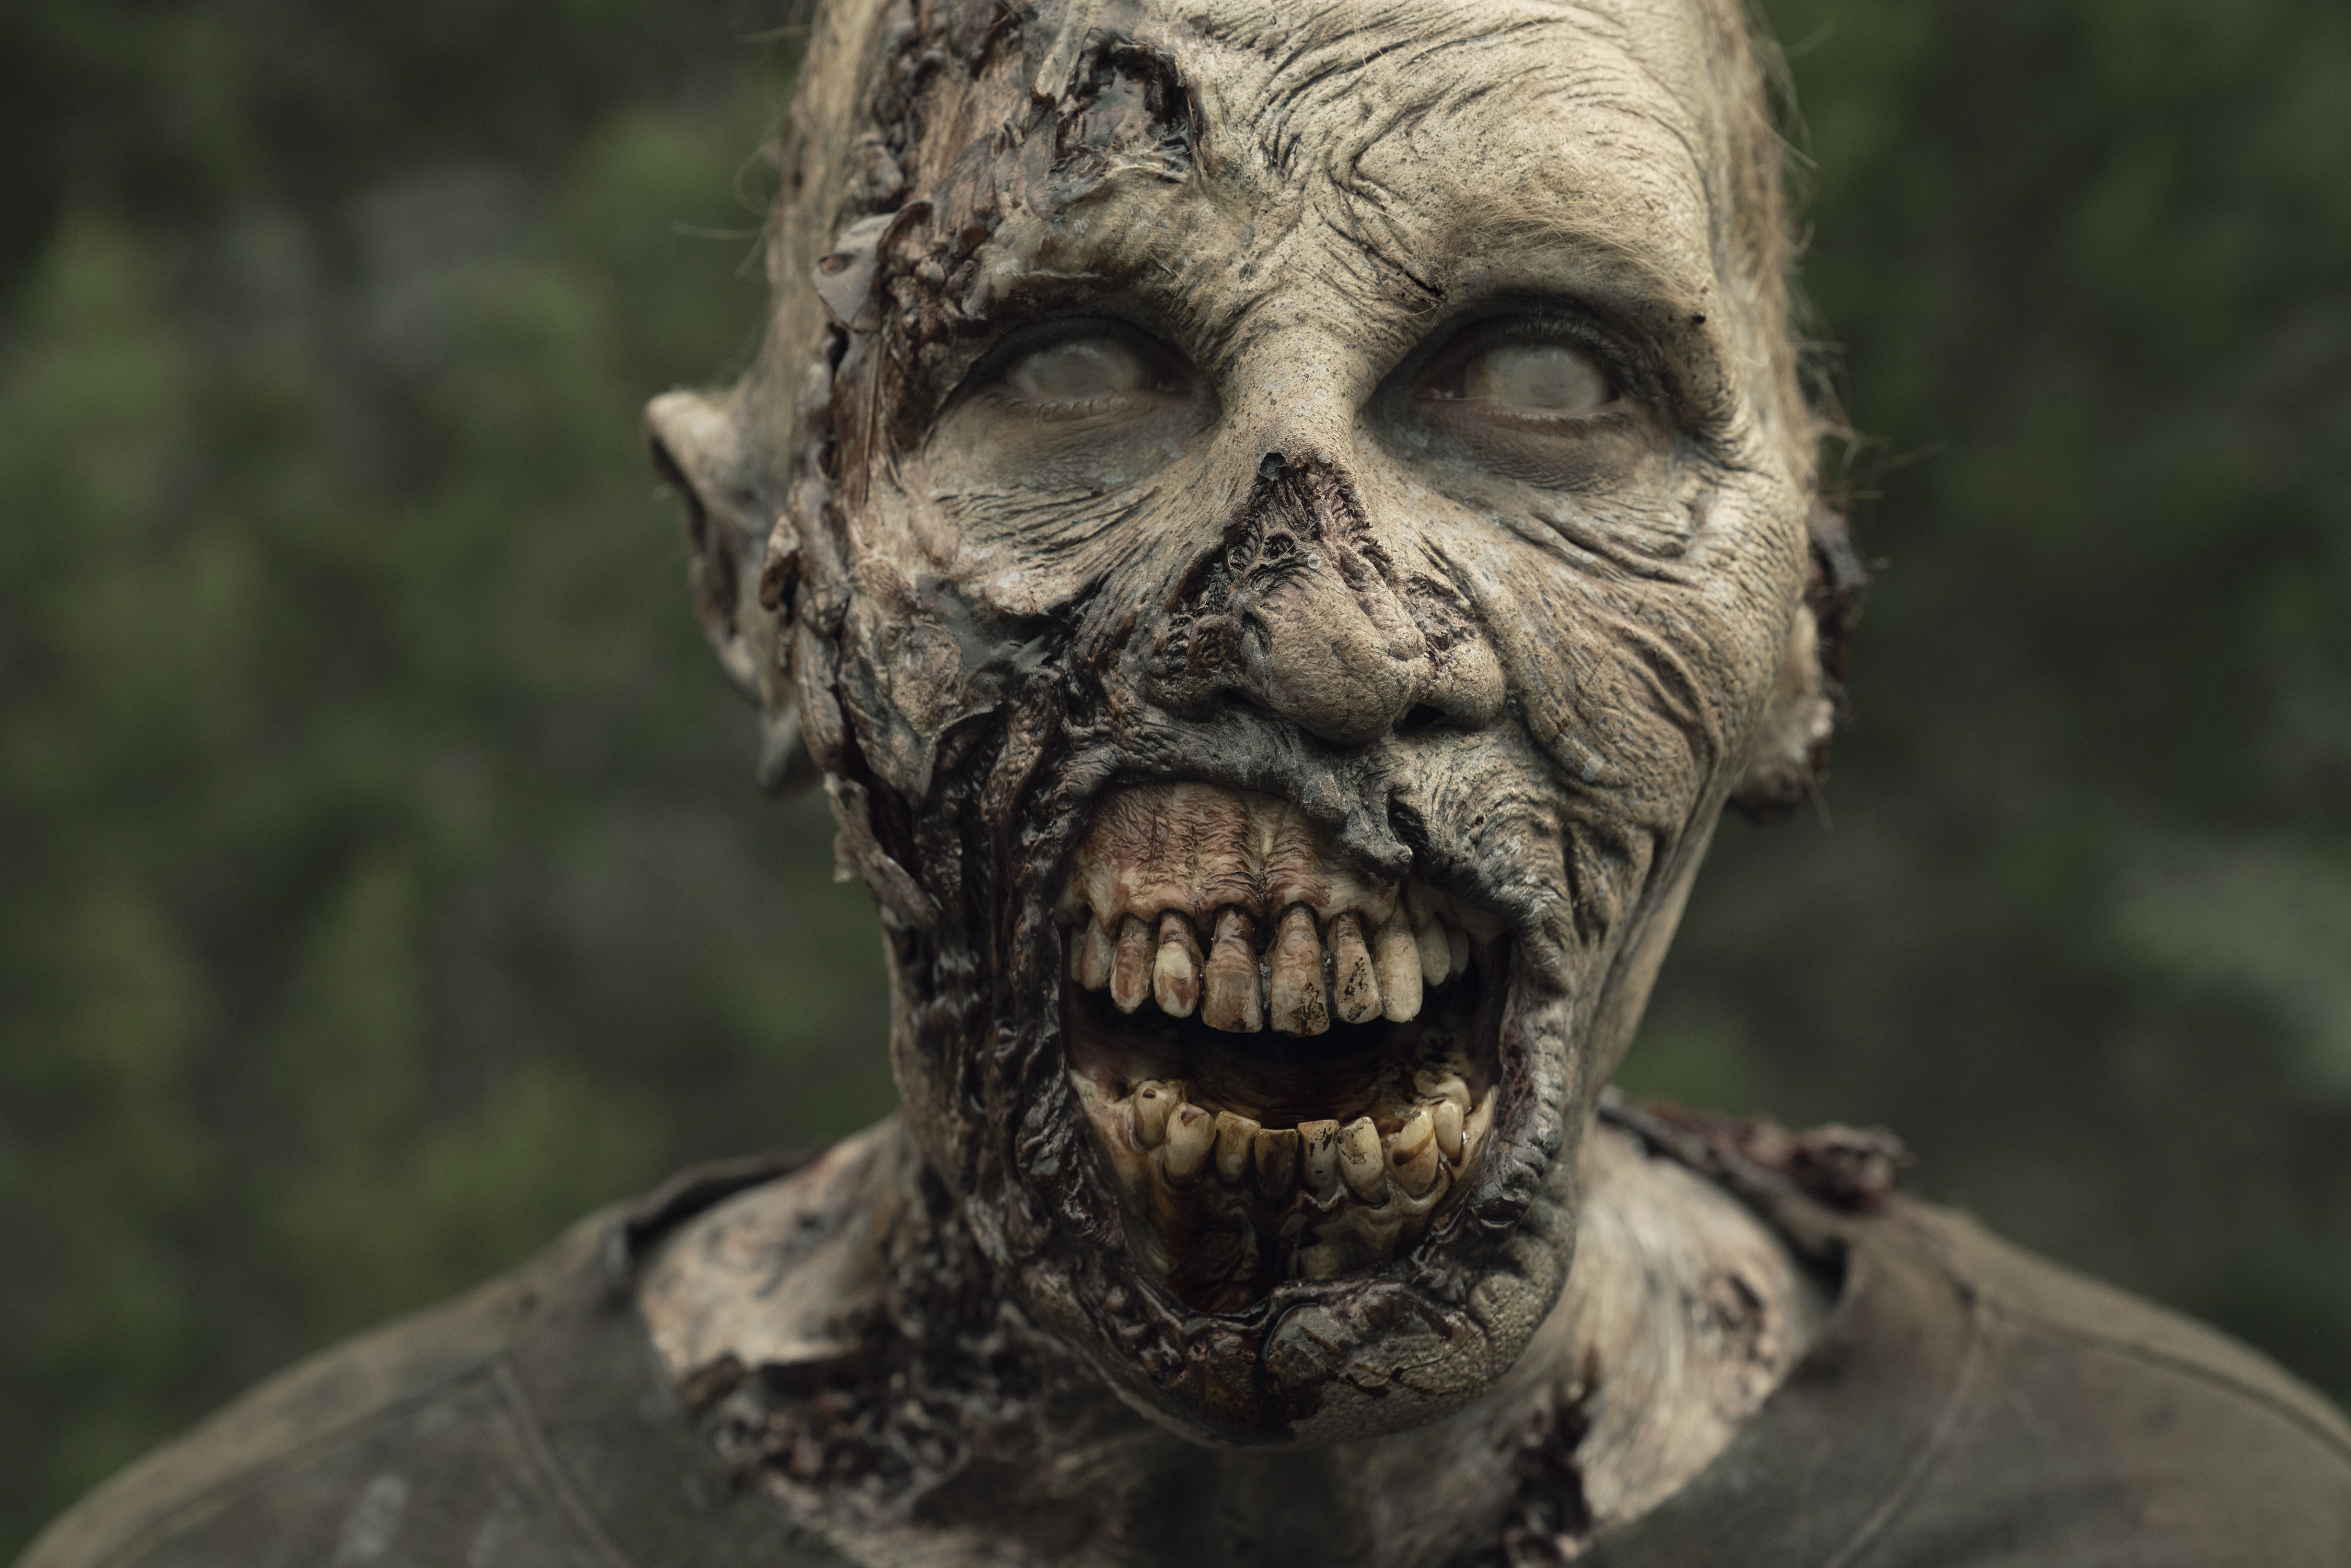
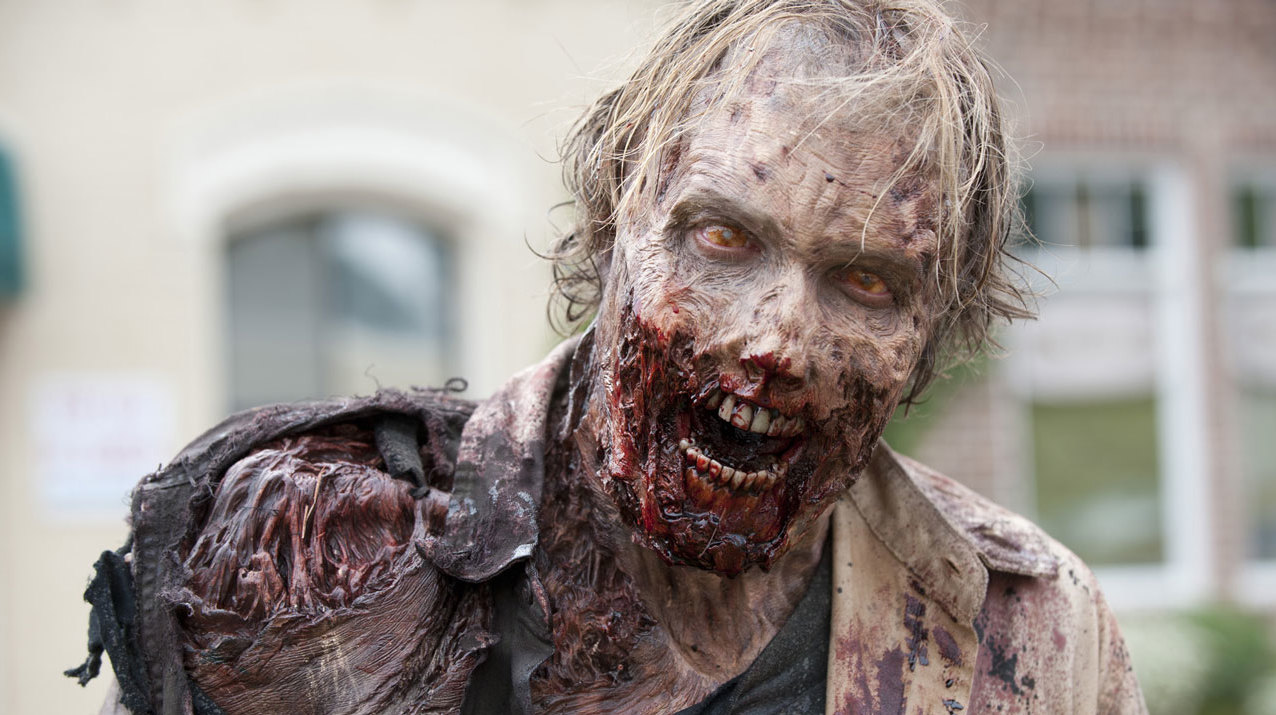
The most regularly seen zombies in this show are named walkers. Although no one character looks the same, the main features of these designs consists of a green, pale or yellowish skin tone, with rotting flesh – especially around the mouth, exposed teeth, and thinning hair. These characters also often have large open wounds, lacerations, burns or bruising over their face and body. The most common characteristic is the sunken eyes with almost every character including this .

Riot gear Zombies (episode 301)

In episode 301, the group are faced with new challenges when coming face to face with zombies in riot gear. As I previously mentioned, the only way to kill the zombies is to destroy their brains, therefore the group had a true battle for their lives on their hands. The introduction of these characters brought a new sense of fear and suspense into the world of The Walking Dead, and helped to show that nothing is as easy as it may seem, and you never know what is hiding around the corner. These zombies have a pinkish skin tone, with rotting flesh around their mouths, and dark sunken eyes, the most terrifying part of their appearance is their outfit – it makes it seem they are totally unbeatable.

Moss Zombies (season 4 episode 3)

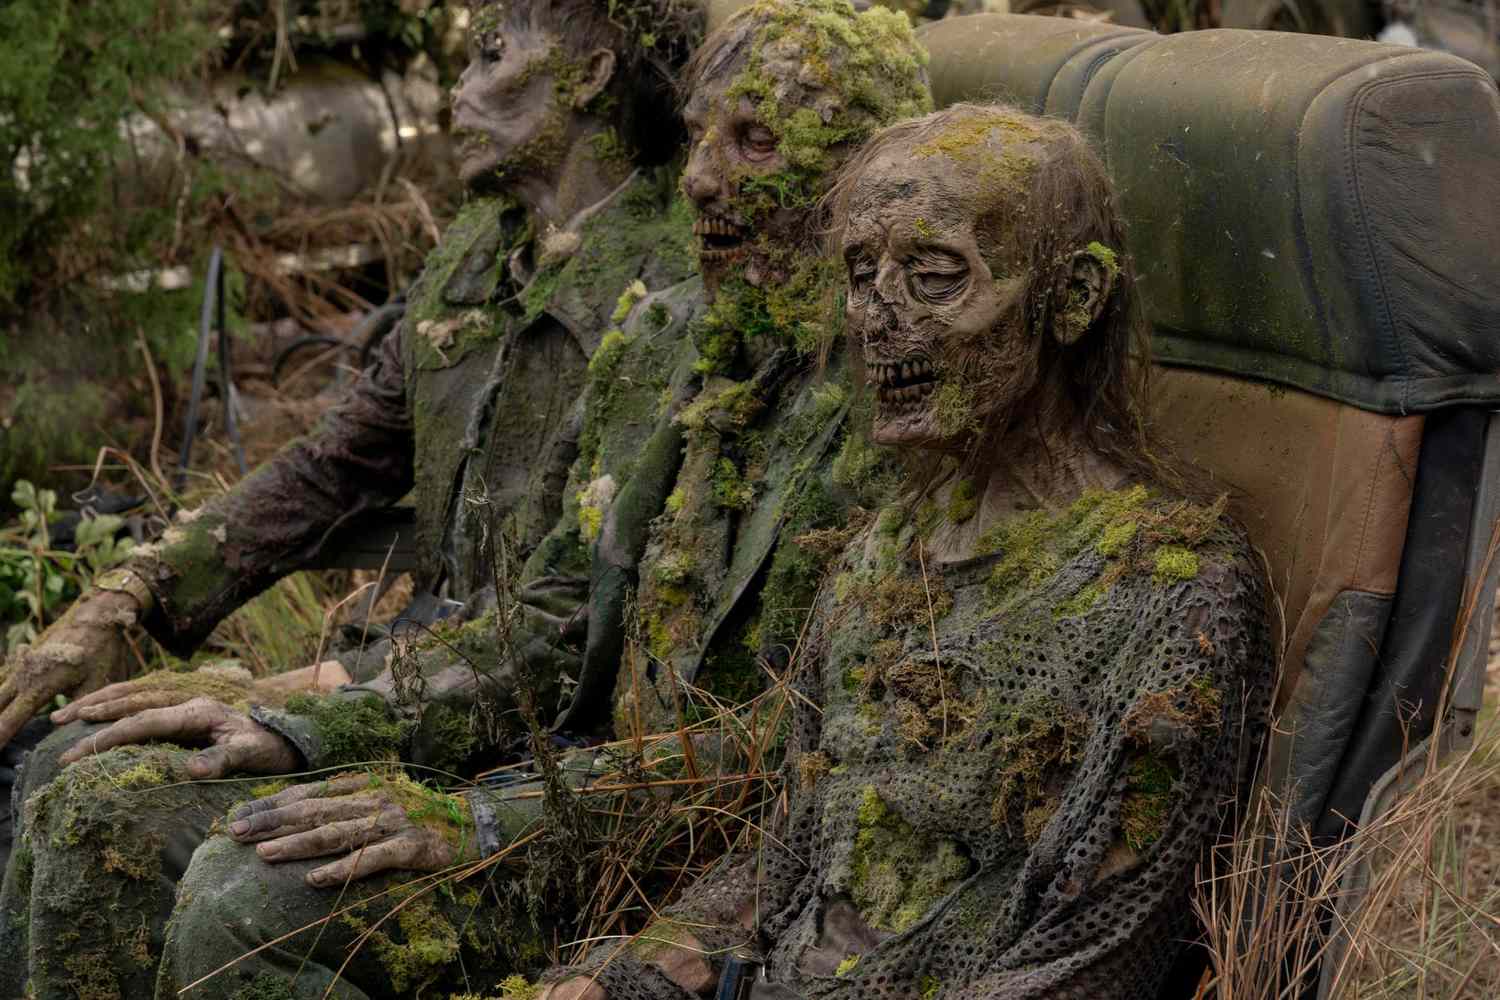
In Episode three of the fourth season of the Walking Dead, we are once again reminded how abandoned and un-cared for the world has become since the outbreak of the apocalypse. During this episode the group are faced with the ‘moss zombie’. This character has been still for so long they have actually decomposed back into the earth, with new life growing around them. Although this may be an unsettling sight, this could have been used to foreshadow, symbolizing all of their troubles will be worth it in the end, when this is all over and the group are living in a fresh new world.

Zombie Pets (episode 1013)

Since her first introduction, Michonne’s character has used great initiative and survival techniques allowing her to save herself from zombification. One of her most clever tactics comes from her removing the limbs and lower jaws from zombies, then keeping them on chains as pets. Removing certain limbs from these creatures ensures they can bring no harm to Michonne herself, while keeping them on chains like pets allows her to gain some kind of immunity from surrounding walkers. While walking among her chained zombies Michonne is almost never detected by passing walkers.

Pin on Walking dead series

Gas mask Zombie (episode 301)

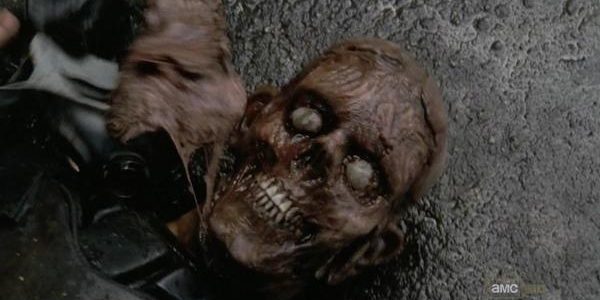
Not only did episode 301 introduce us to the eerie riot zombies, but we also encountered what is known now as the gas mask zombie. Much like the previous riot officers, this zombie needed his gas mask removed in order for Rick to kill him. However, upon removing the mask, this creature’s skin and tissue was also torn from his face, leaving a terrifying exposed skeleton. This introduced a whole new kind of the un-dead to the viewers, with imagery that stayed engraved in their brains This character consisted of a flesh covered skull, with glassy eyes and exposed teeth.

Bloater (season 2 episode 5)

During episode five, of the second season of The Walking Dead, we were introduced to yet another kind of walker, the bloater. Upon a search for drinking water, the group entered down into a well, experiencing a close call with this gruesome creature. This zombie had been in the water so long they had absorbed large amounts of fluid, creating a grotesque bloated monster. This character consisted of pale skin, with dark veins, and lots of folds and wrinkles in their skin.

Fire resistors (season 4 episode 14)

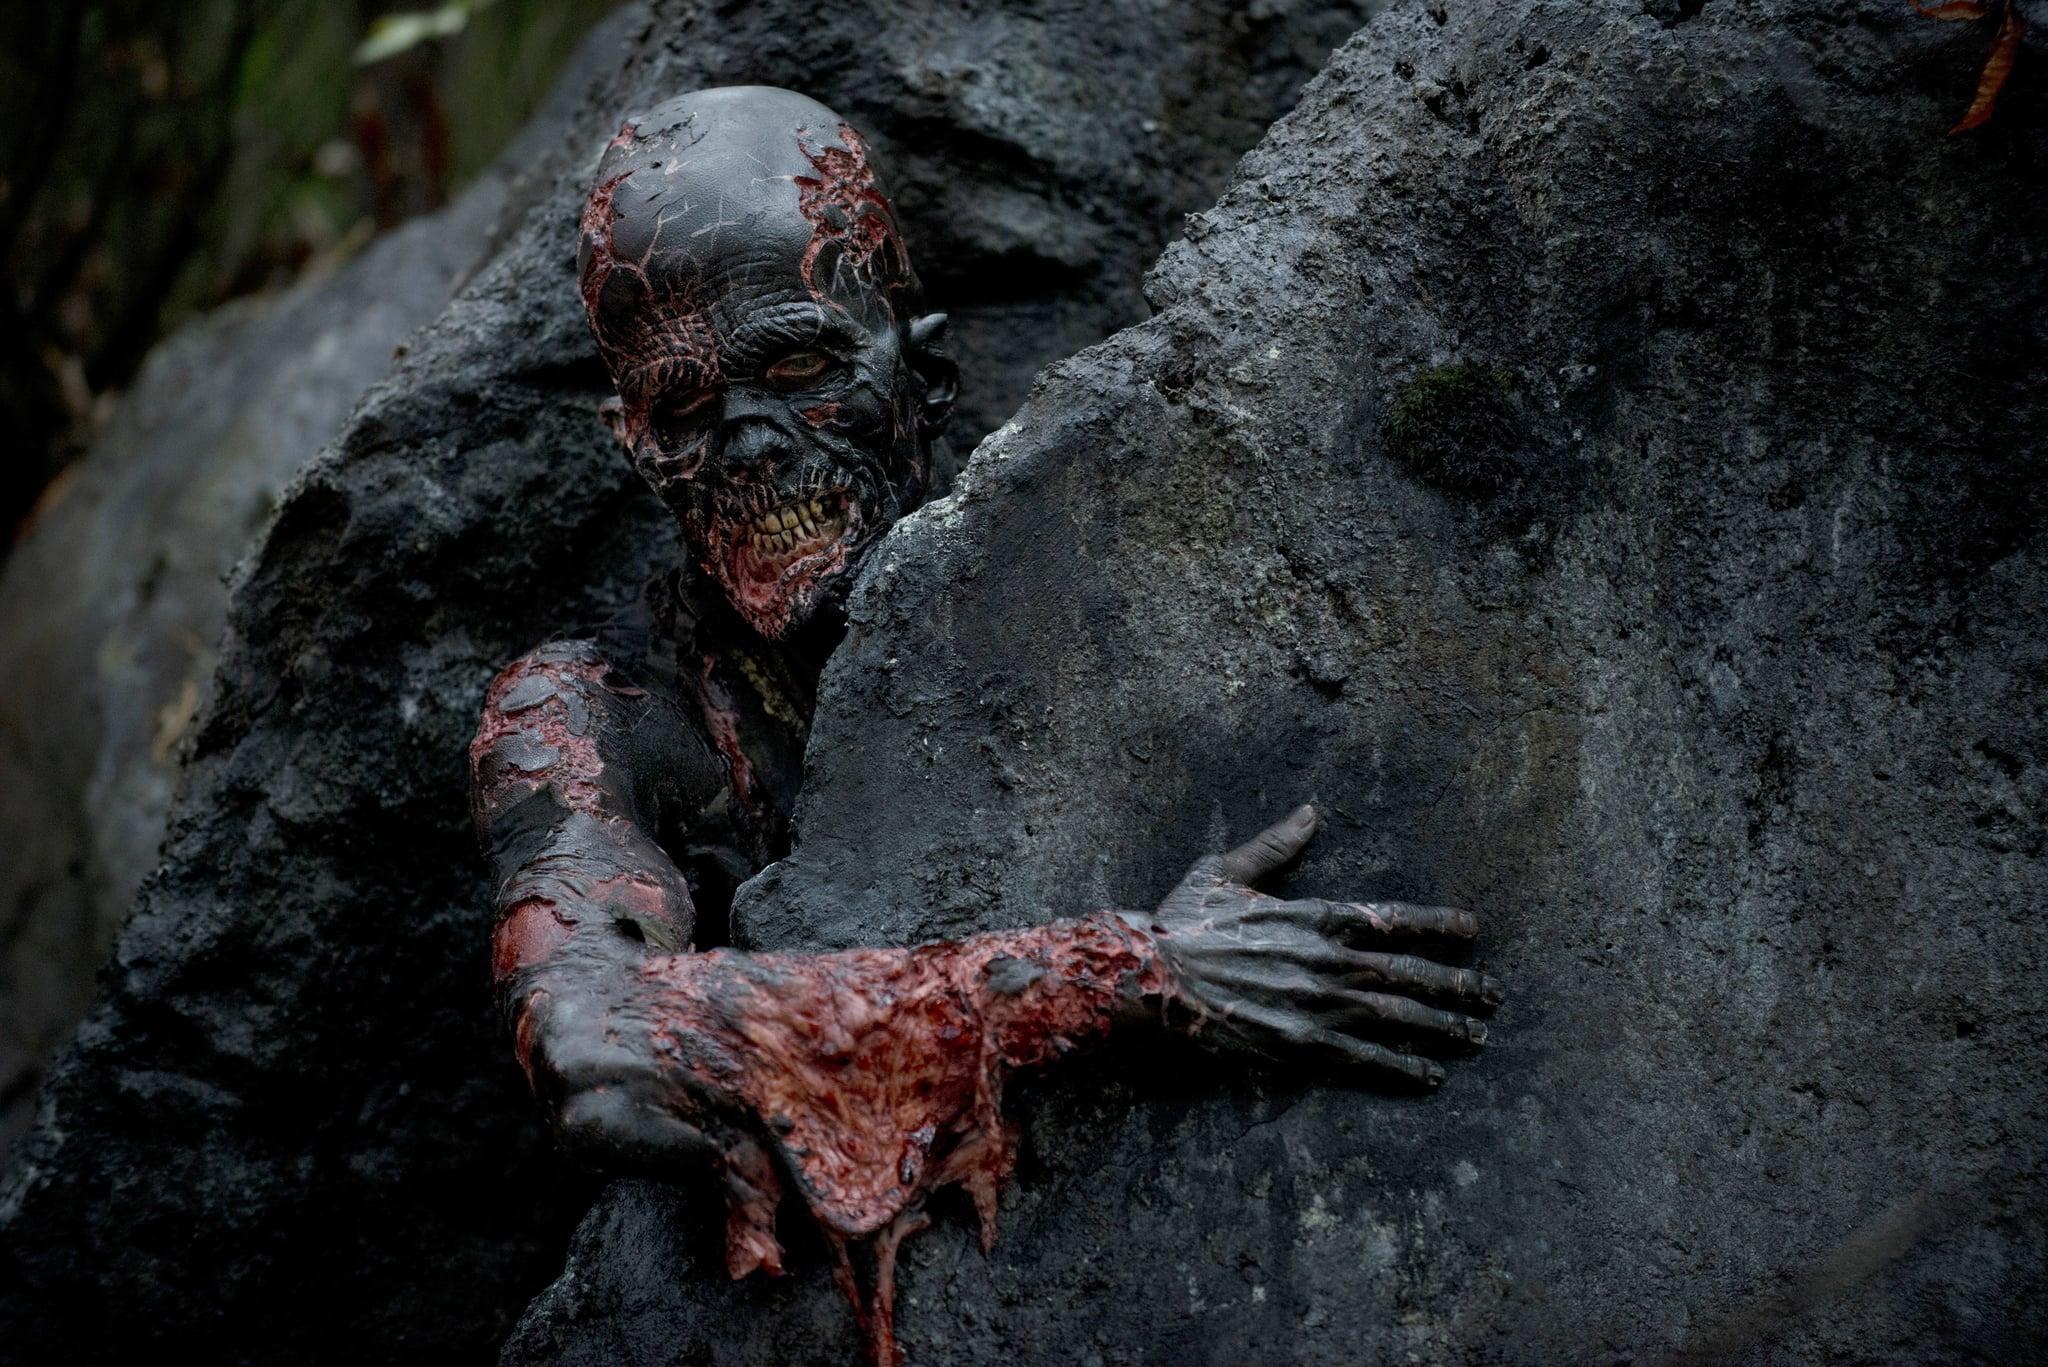
During the fourteenth episode of season four, we were introduced to fire resistant zombies. As if they weren’t scary enough already, the idea that not even fire could destroy these creatures brought a whole new aspect to the fear of the un-dead. These creatures have a mostly charred, black appearance, with small breaks of red flesh, making them appear almost like lava rocks. These characters also have rotted flesh around their mouths, showing their teeth and gums.

Quotes:

It’s their world, we’re just living in it” – This helps to emphasize the scale of the problem that the Walking Dead are causing in the world. Furthermore, it shows the fear, and lack of hope the survivors are truly experiencing.

“The world we know is gone, but keeping our humanity? That’s a choice” – This helps to show a gleam of hope, however indicates that some people may be losing touch of their sanity. This brings an extra level of fear as it implies that the survivors will not only be running from the walkers, but some humans have also resulted to violence. Therefore, it will become difficult to form bonds, and know who to trust.

We fight for our future, we don’t fight for revenge” – This further builds the idea that some survivors are losing touch of reality, and becoming almost animistic, like the walkers they are trying to outlive. Once again, this adds a whole new level of fear to the story, as they may be fighting their own, as well as their enemy.

“No one gets to clock out today” This further implies the mass issue created by these creatures, and shows us there is absolutely no end, or rest for the survivors. This helps to build a united feeling of fatigue, and yet fearlessness among the survivors. Although this implies times are hard and they are beginning to feel exhausted by their attempts at survival, this also implies that they are not willing to give up, and will continue to fight for a better future.

“We… are the walking dead” However, this quote shows a lack of hope, implying there is almost no need to fight against the walkers, as the living will eventually die anyway. This once again implies the survivors are becoming exhausted by their attempts to survive, and are starting to question if any of it will be worth it in the long term.

“All this running from walkers, you forget what people can do ” This takes us back to the horrid reality of humanity. Although you may think a zombie apocalypse would bring us humans together, uniting to fight against a common enemy, many people seem to have gone back to the roots of human civilization. Many groups have returned to savage and animistic ways of living, creating a new world of fear for the survivors.

“I can save lives – that’s reason enough to risk mine” – This brings back a sense of hope, showing there is still some good in the world. This quote directly states that certain characters are willing to risk their lives if that means they can save the likes of others. Furthermore, implying that not all hope and kindness is lost.

Hostel

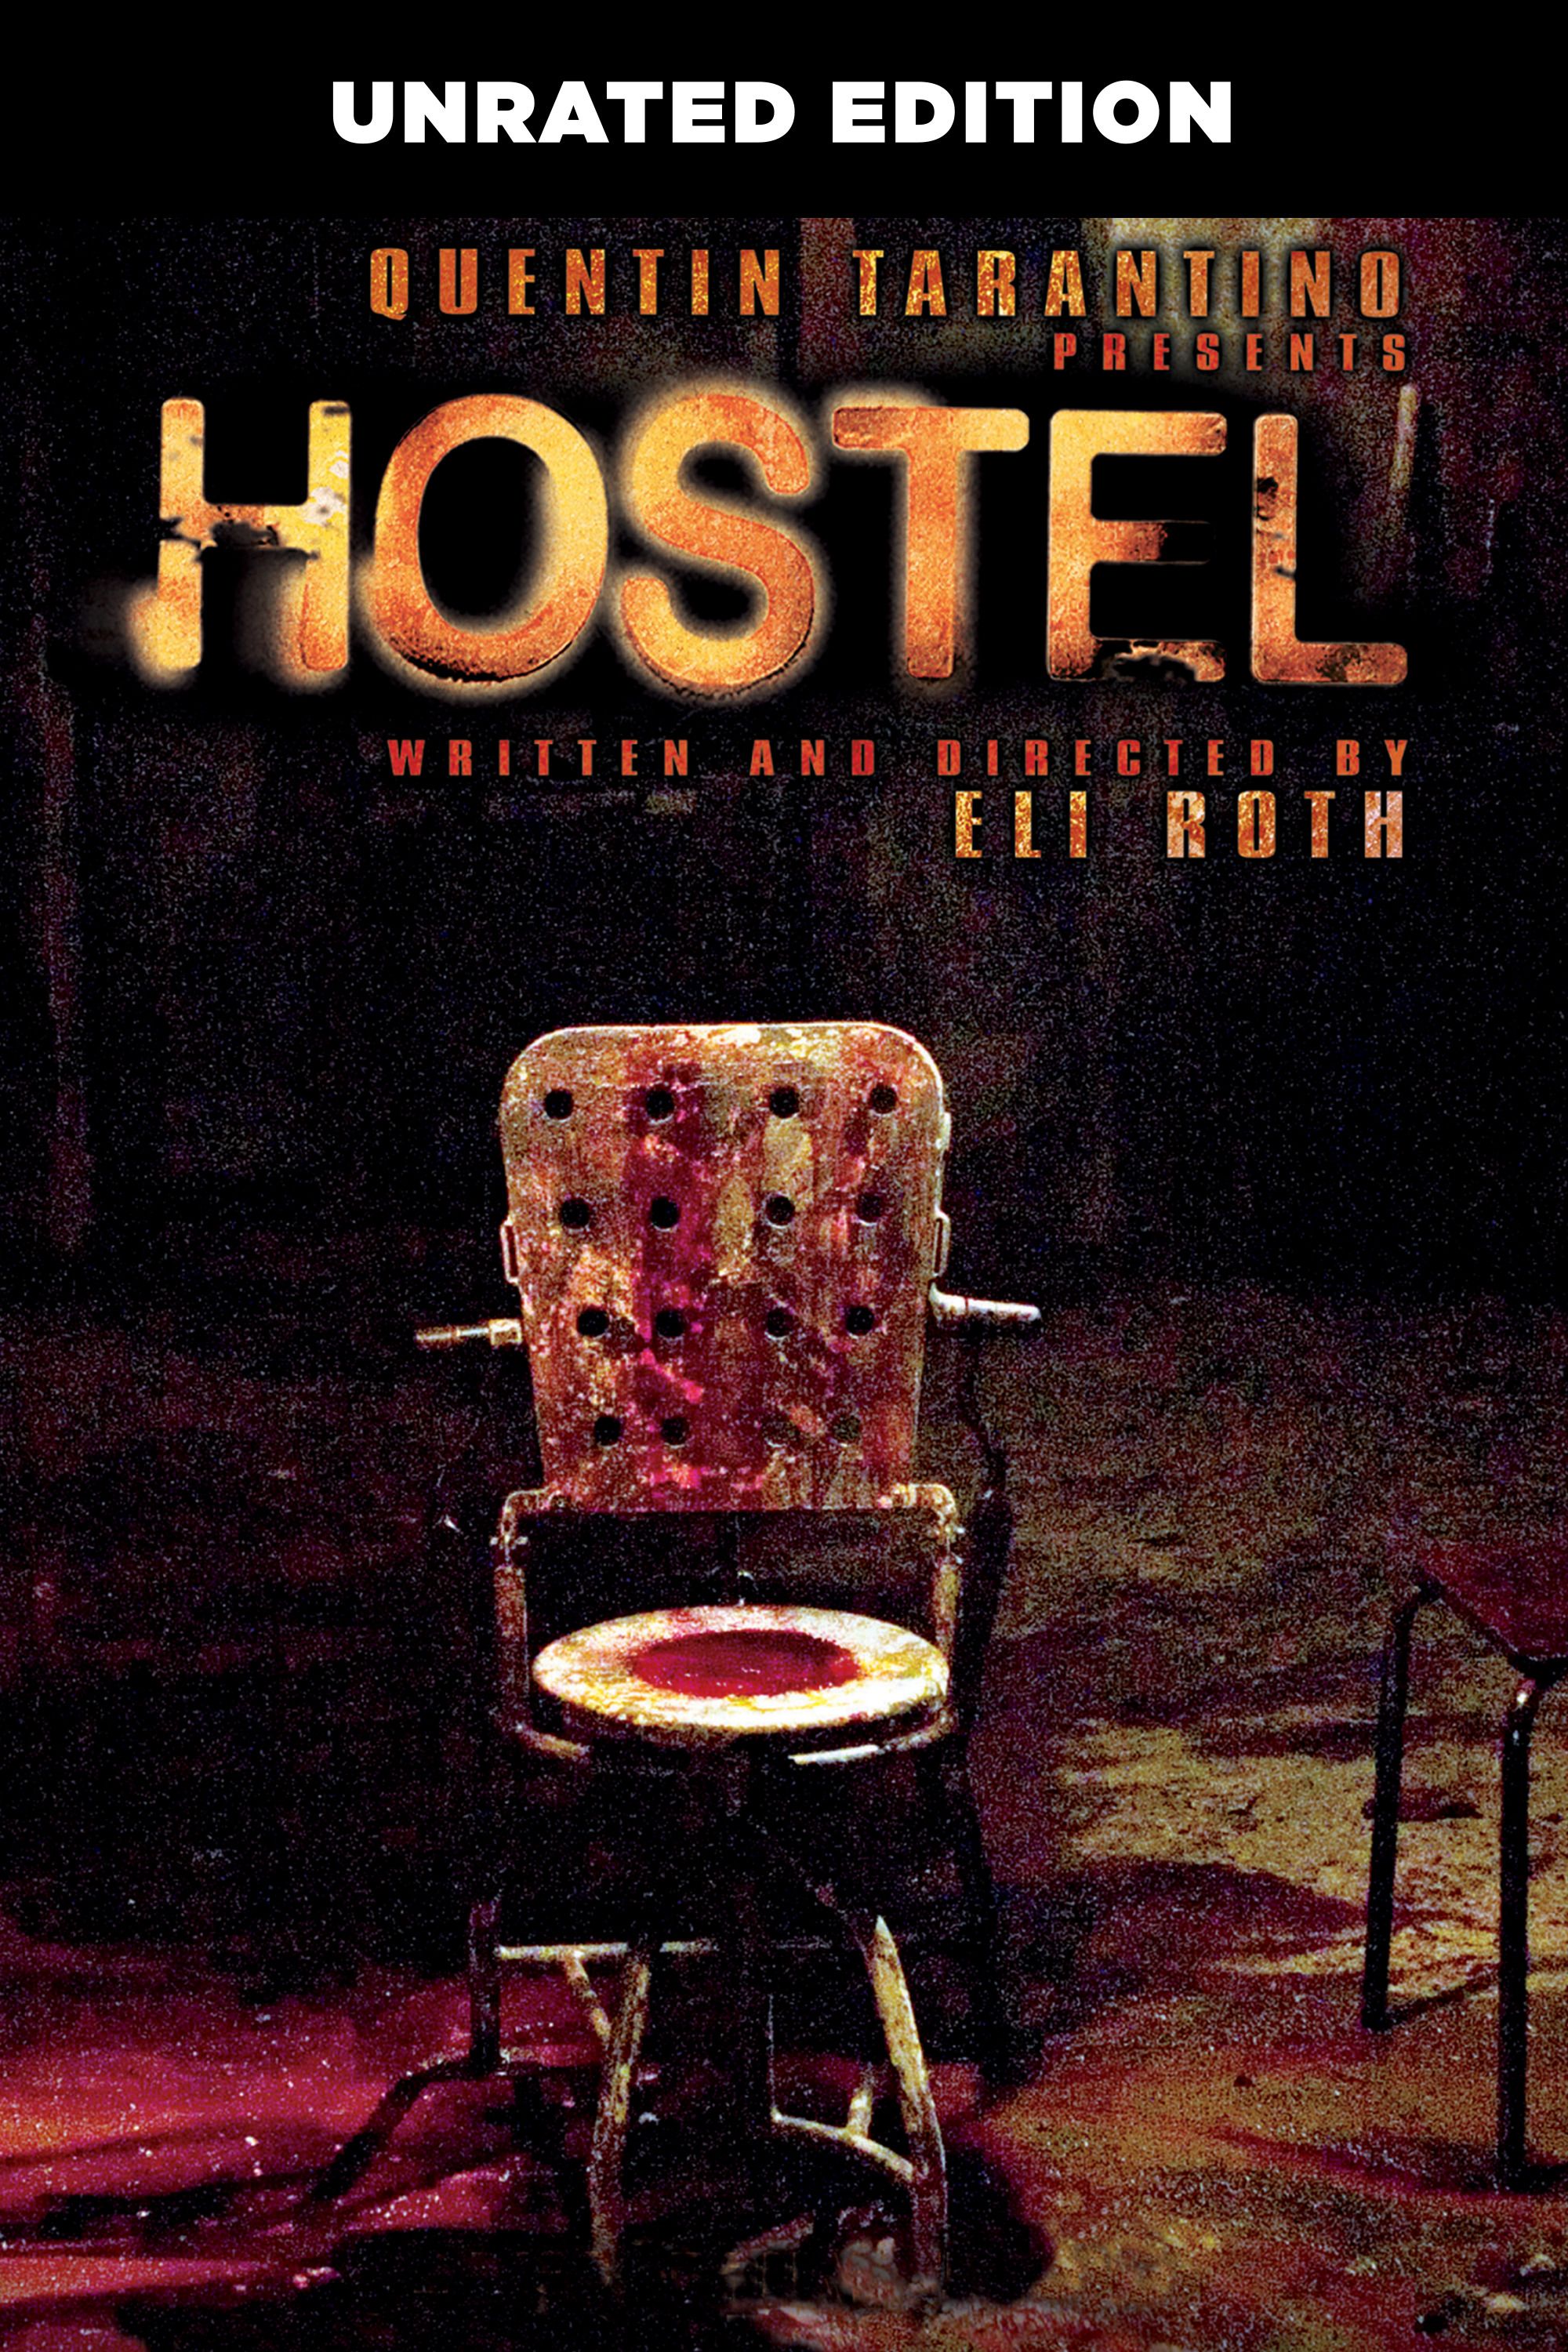
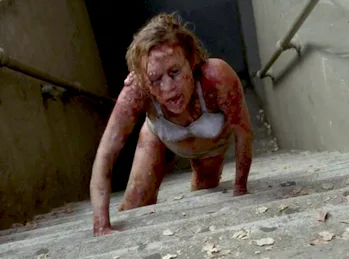
There Is one scene in specific from the movie Hostel, that directly inspired part of my design. Written and directed by Eli Roth, Hostel is an extremely gory slasher movie, focused on a group of tourists that visit a Hostel in Slovakia while on holiday, in search of potential hookups. However, much to their surprise they become the subjects of unspeakable torture. When watching this movie, the sickening eye scene lit a creative spark in my mind. Upon seeing these effects, I thought a similar creation could be really effective when creating my zombie character. In this scene, a women’s face is brutally mutilated while here eye is being removed as part of her torture. I believe creating a similar effect, with a missing eye, would be the perfect addition for my zombie character.

Examples in Industry

Here, I have researched some examples of work already in the industry,  that may influence my designs for my chosen theme. I have chosen to create a design based on The Undead theme, from the Horror genre. I have researched a range of films and TV shows with characters that may have certain aspects or characteristics that I want to include in my designs.

From the results of the research I conducted, I have now identified some of the most common features used to create zombie inspired characters from a range of different medias. This will allow me to ensure I create an easily recognizable character in my assessment.

Film and TV 

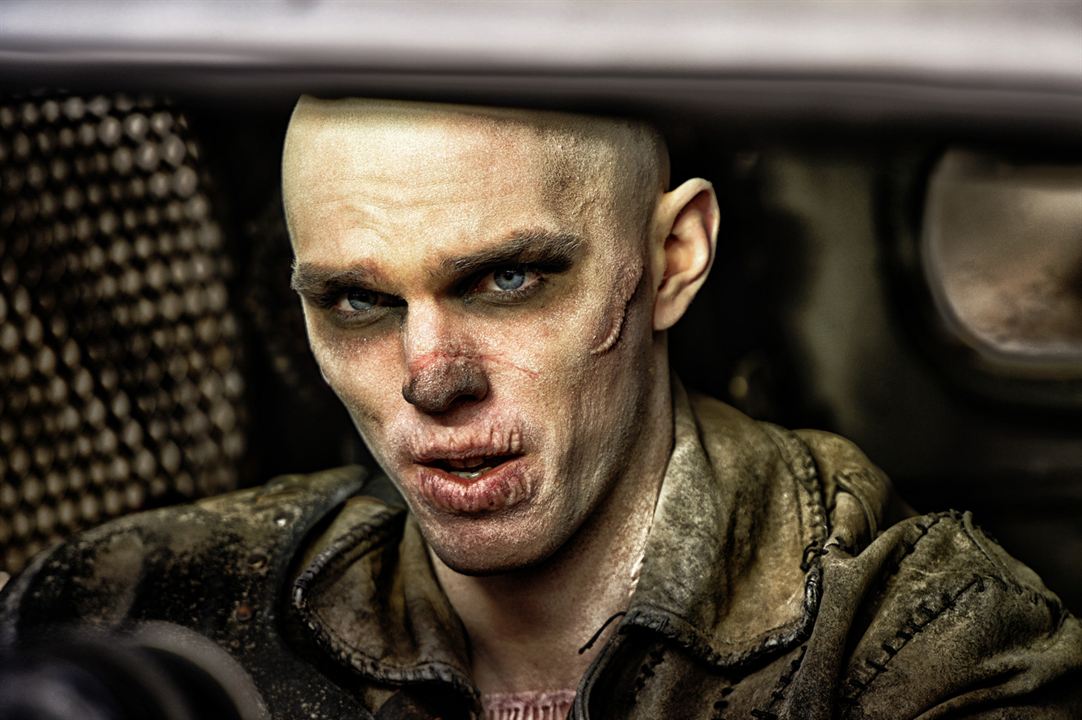
Mad Max Fury Road ; Nux – Nux has a Zombie like appearance, with scarring across his face and body, over a pale skin tone. Additionally, he has dark, sunken eyes.

Foto de Nicholas Hoult - Mad Max: Estrada da Fúria : Foto Nicholas Hoult -  AdoroCinema

Mad Max Fury Road ; Slit – Slit gets his name from his open, slit mouth. He also has pale skin, a bloodshot eye, and burst blood vessels/veins visible through his skin.

Mad Max: Fury Road (2015)

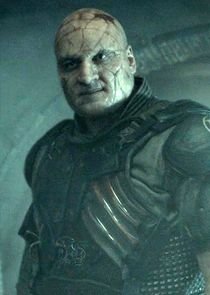
SnowPiercer ; Icy Bob – This Character has large veins/blood vessels visible through his skin, dark sunken eyes, and cuts and bruising around his face. Additionally, he wears a coat of armor.

Icy Bob - Snowpiercer | TVmaze

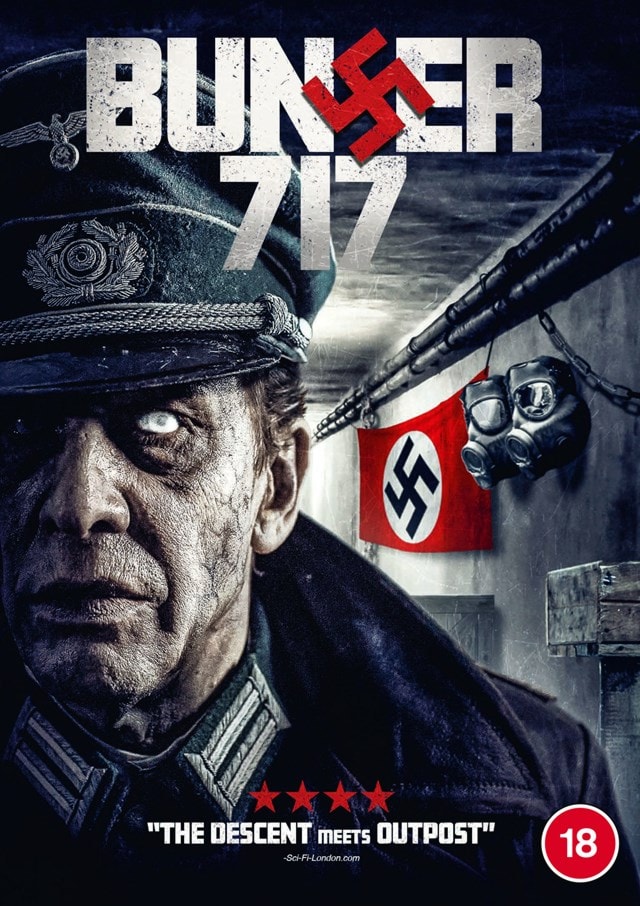
Bunker 717 ; Nazi Zombie – This zombie has a human like appearance, with veins visible through his skin, dark brusig around the face, and glassy eyes.

Bunker 717 | DVD | Free shipping over £20 | HMV Store

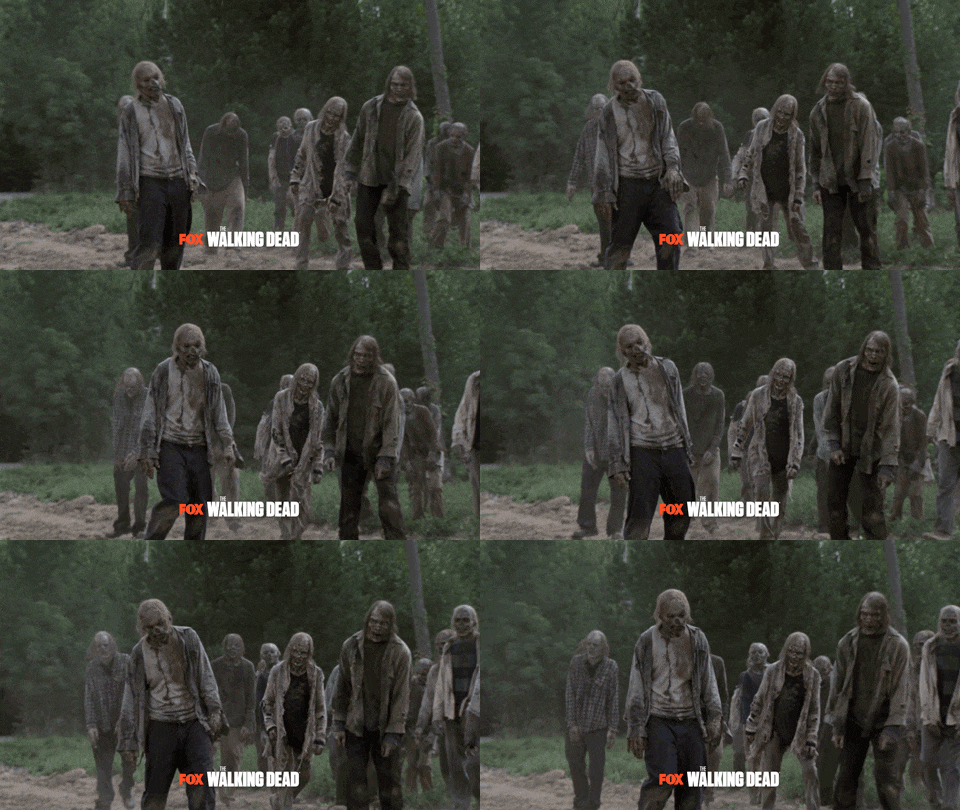
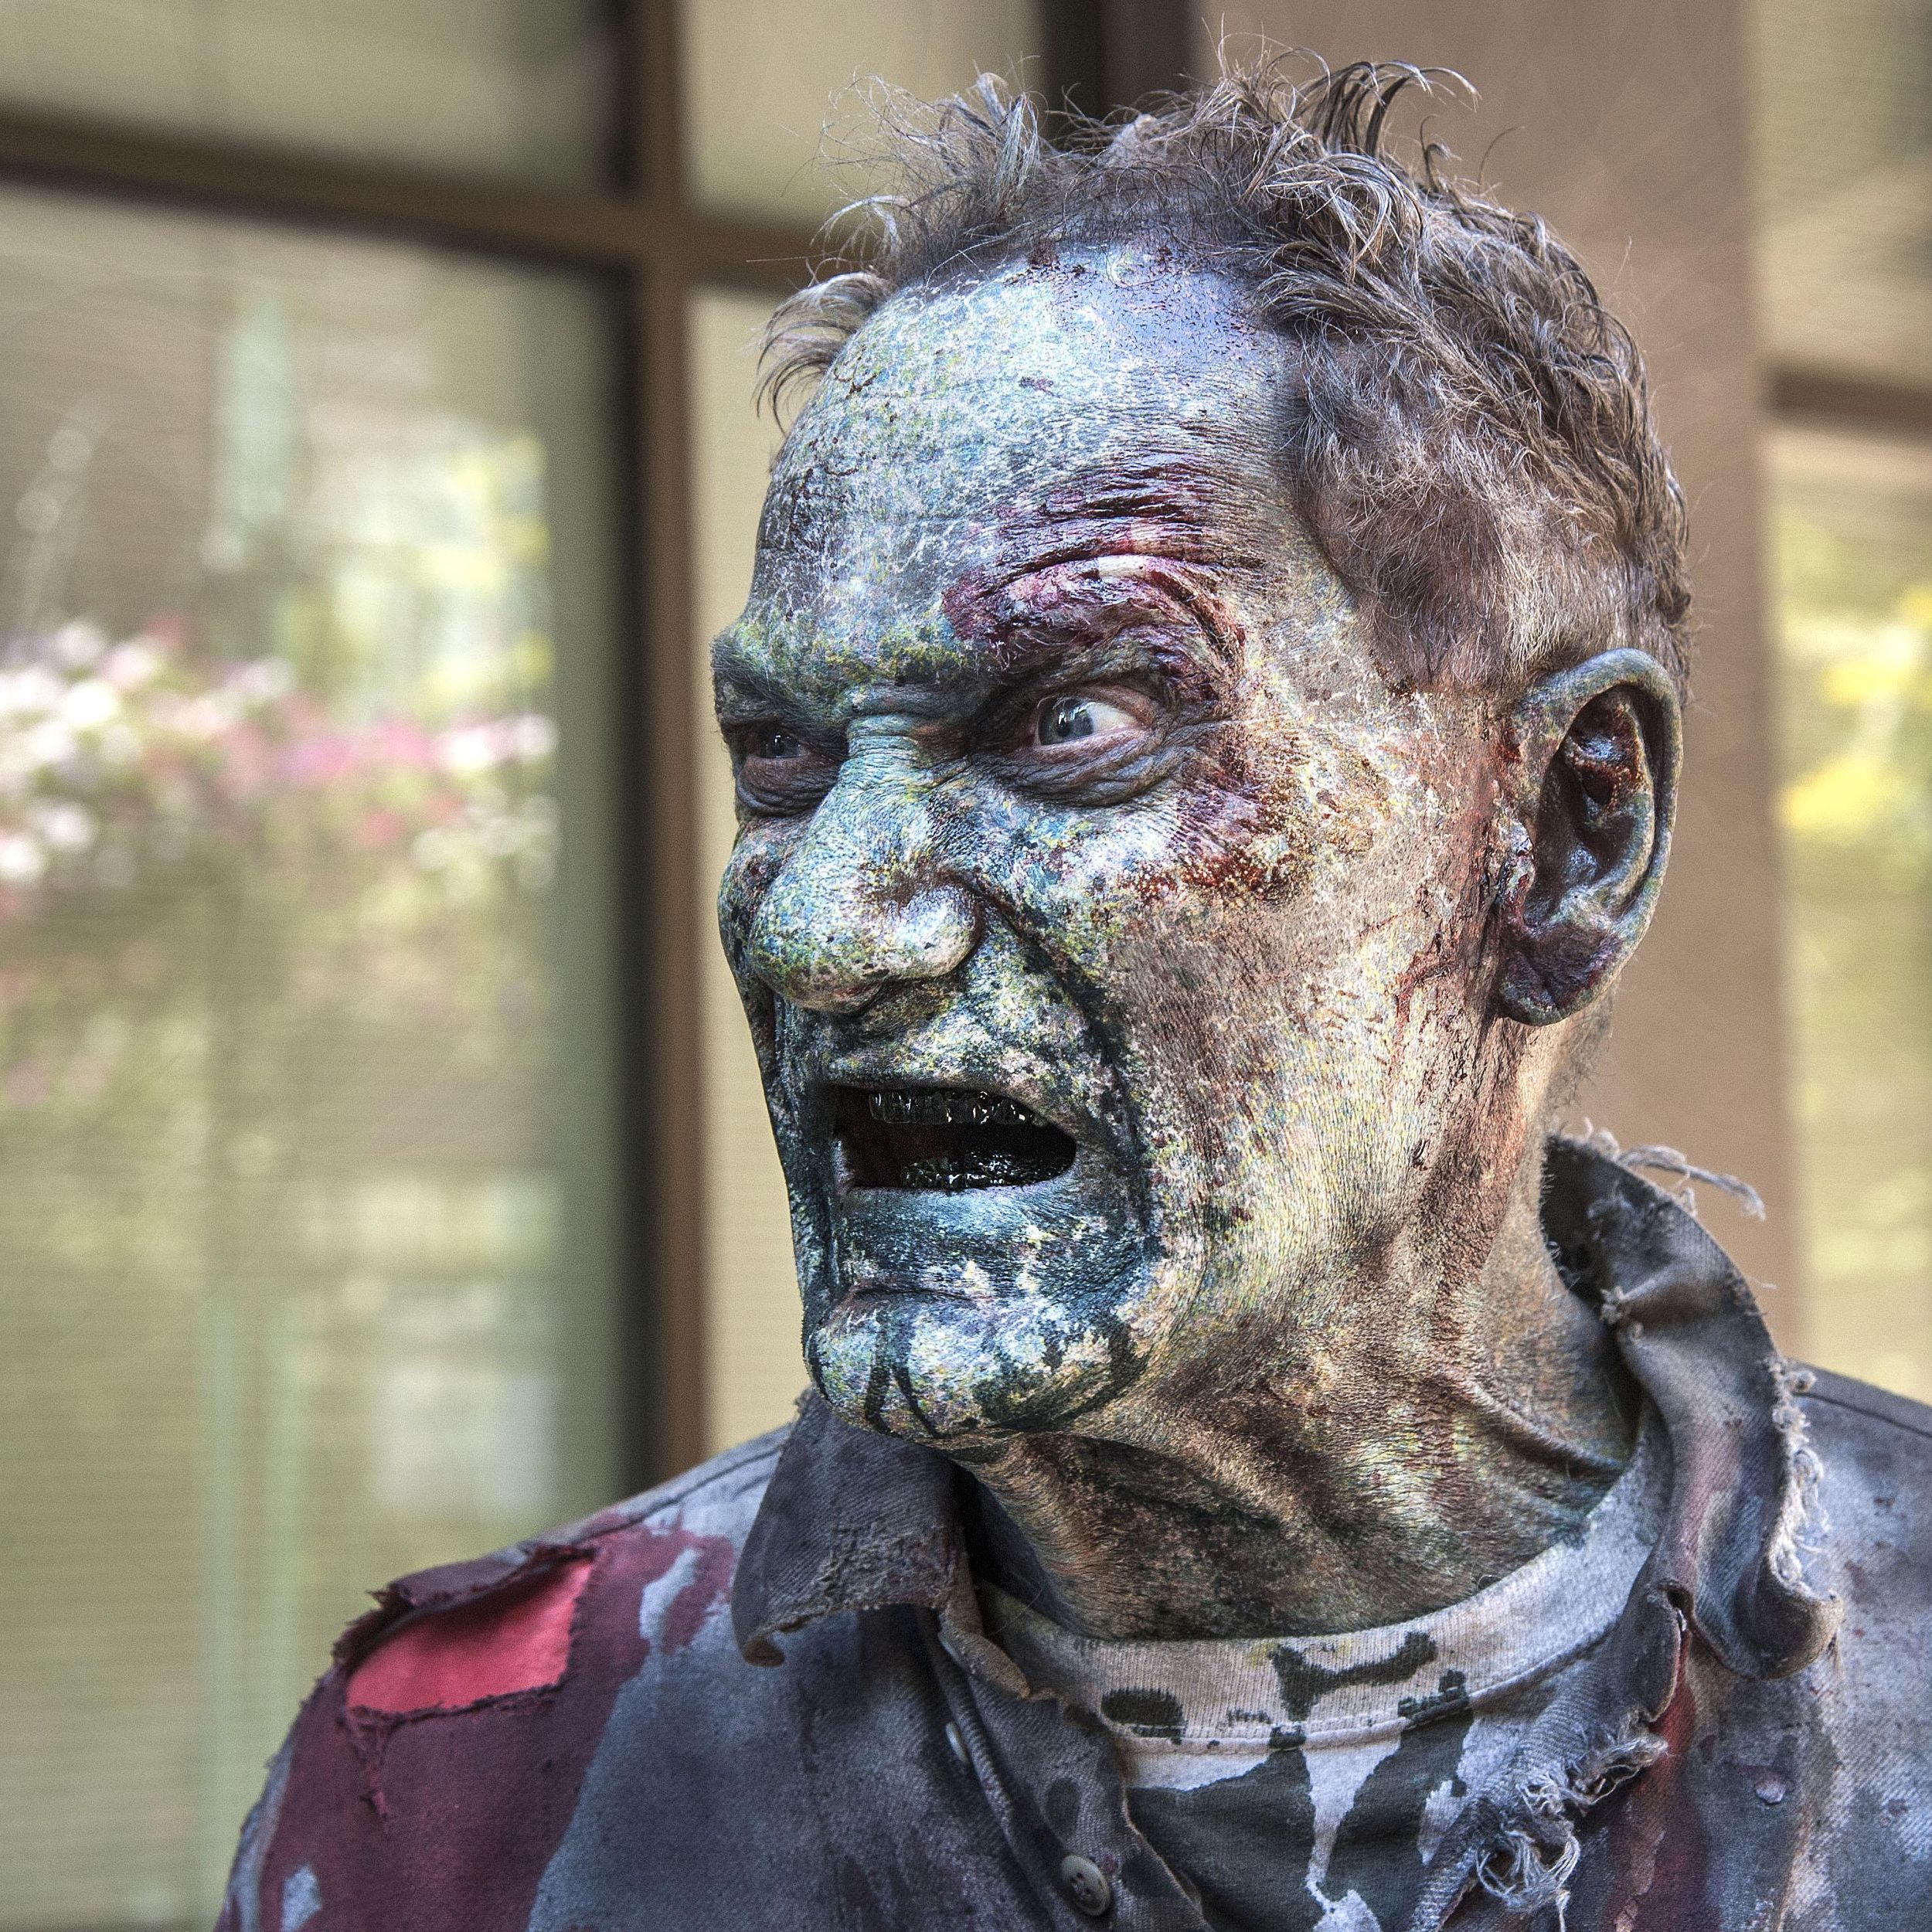
The Walking Dead – There are hundreds of zombie appearances through this show, with many different varieties of style. However, the main features present are; exposed bone/ flesh/ organs, red/purple/green or gray skin tones, bloody or glassy eyes, moss growing on the skin, dirt or ash on the skin, ripped clothes and or armor.

Fox-walking GIFs - Get the best GIF on GIPHY

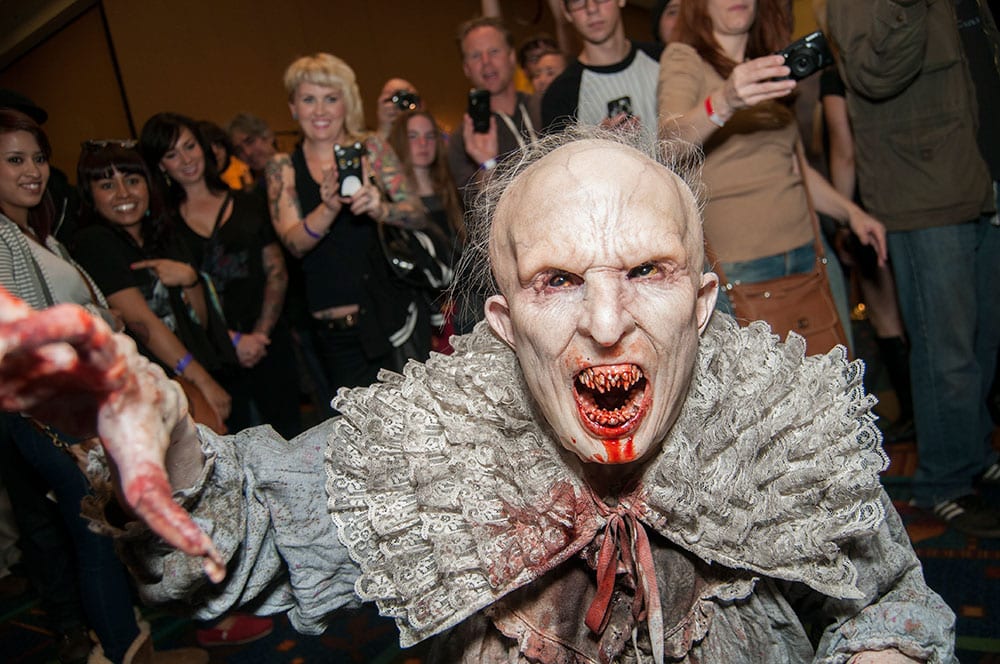
American Horror Story (Murder House) ; Infantata – This characters main features consist of pale skin, thinning hair, sharp teeth, dark eyes and grayish veins and wrinkles.

ahs-infantata-16 - Skin Illustrator

American Horror Story (Asylum) ; Raspers – These mutant humans (which have been created as a result of indescribable experimentation) consist of blisters, boils, yellow toned skin, bloodshot eyes and messy hair.

The Few Times 'American Horror Story' Was Actually Scary

American Horror story (Coven) ; The Undead – These characters consist of pinky-green skin tones, with tears in their skin exposing their flesh and bone. They also have wrinkles, glassy eyes, and rotting flesh.

large gifs Page 2 | WiffleGif

American Horror Story (Hotel) ; Mattress Man – This character consists of long and sharp claws, bruising, boils and bloody eyes.

American Horror Story's Scariest Moments Ever

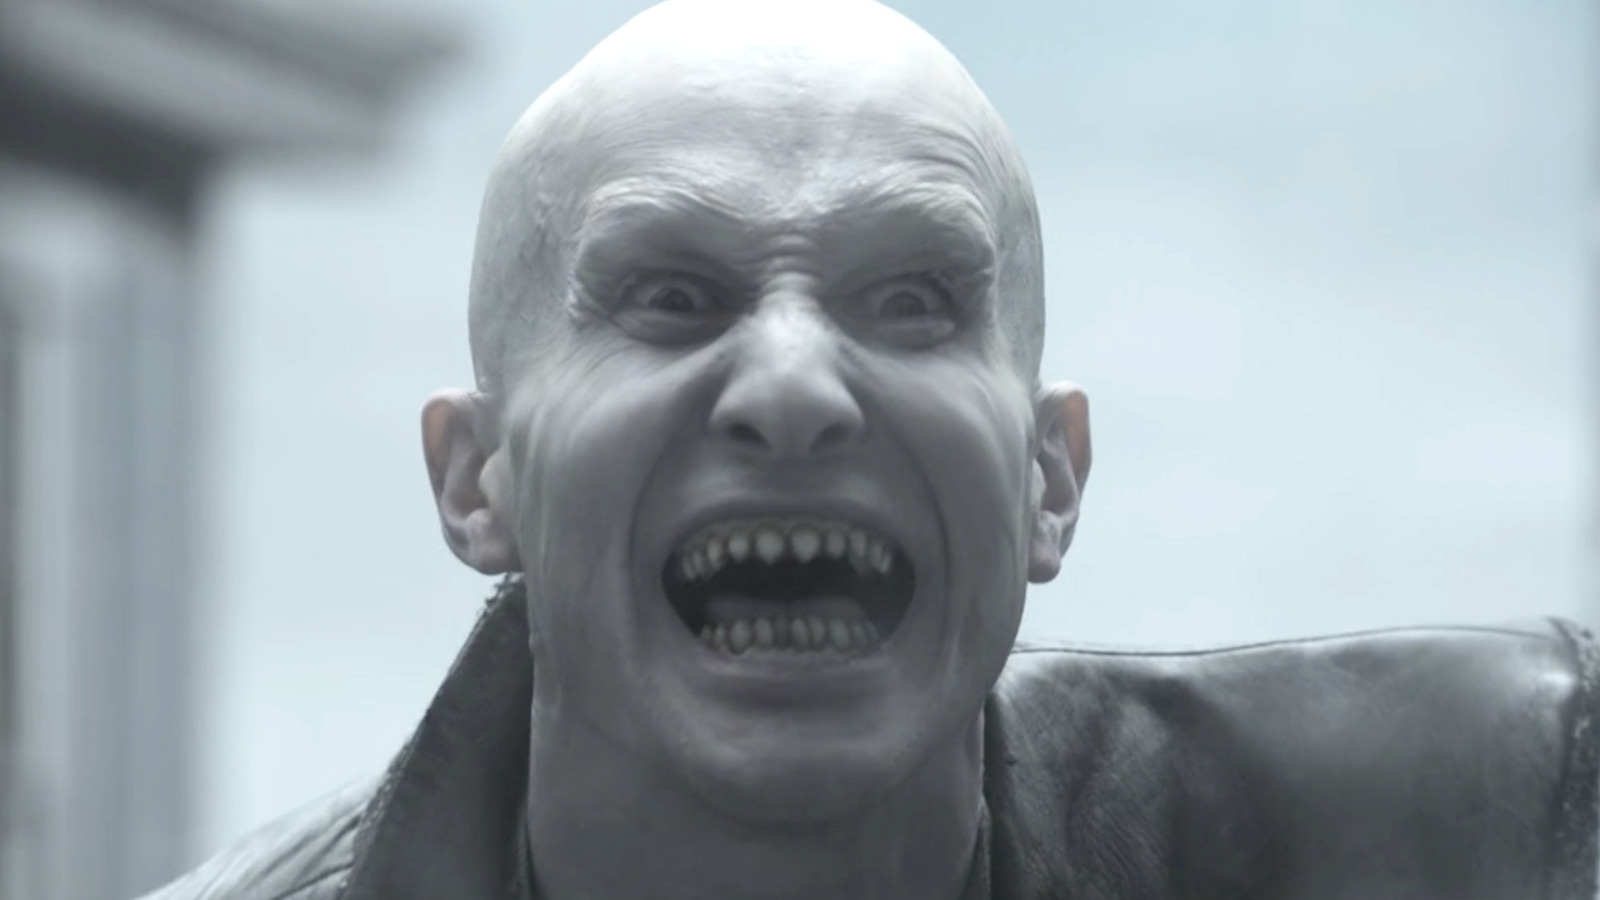
American Horror Story (Double-Feature) ; Vampire zombies – These characters consist of pale sin, wrinkles, sharp nails and teeth, bald heads, and minimal features.

The Vampire Detail In AHS: Double Feature That Makes No Sense To Fans

Z Nation – Many zombies appear through Z Nation, their main features consisting of exposed flesh, blood, green skin, black lips, glassy eyes, and nature growing on their skin.

It's a wrap on third season of zombie series 'Z Nation' | The  Spokesman-Review

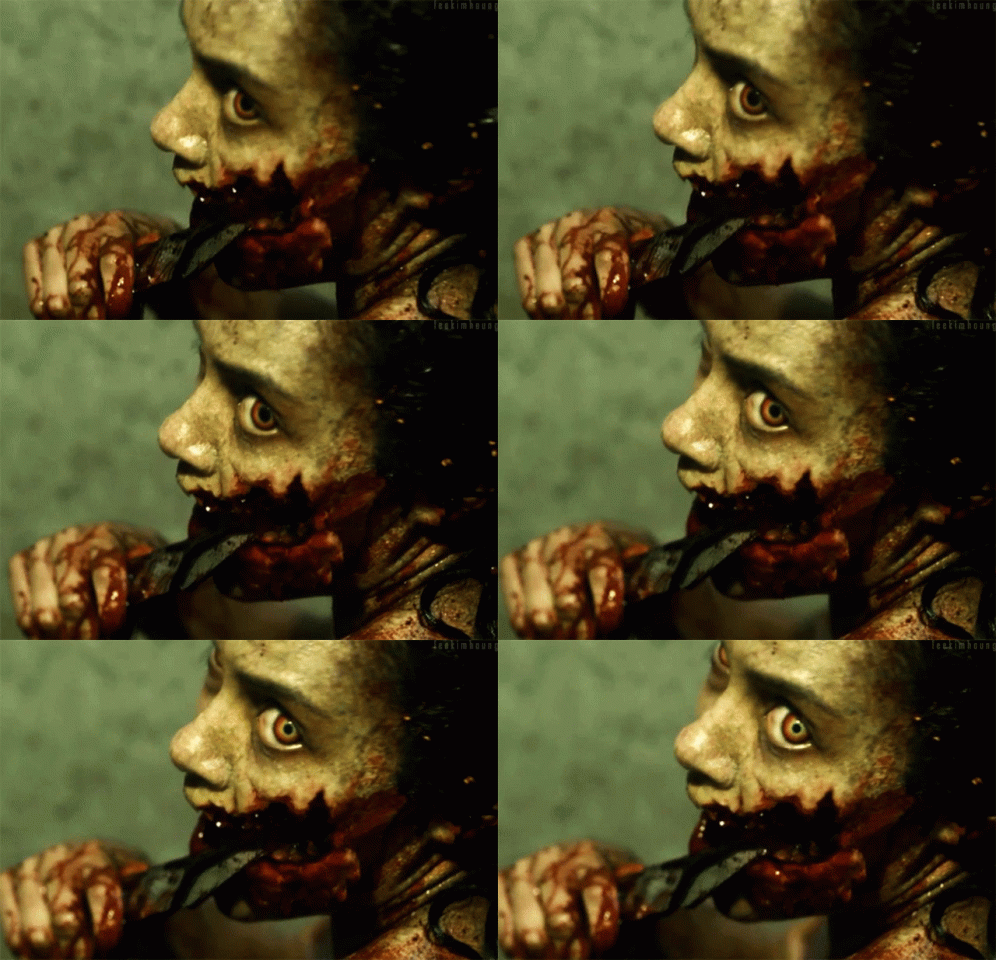
Evil Dead – Many of the zombies in Evil Dead have expanding mouth’s, bringing emphasis to their large, sharp teeth. They also have large veins visible through their pale skin, sunken eyes, wrinkles and cuts.

Evil Dead Horror GIF - Evil Dead Horror Scary - Discover & Share GIFs

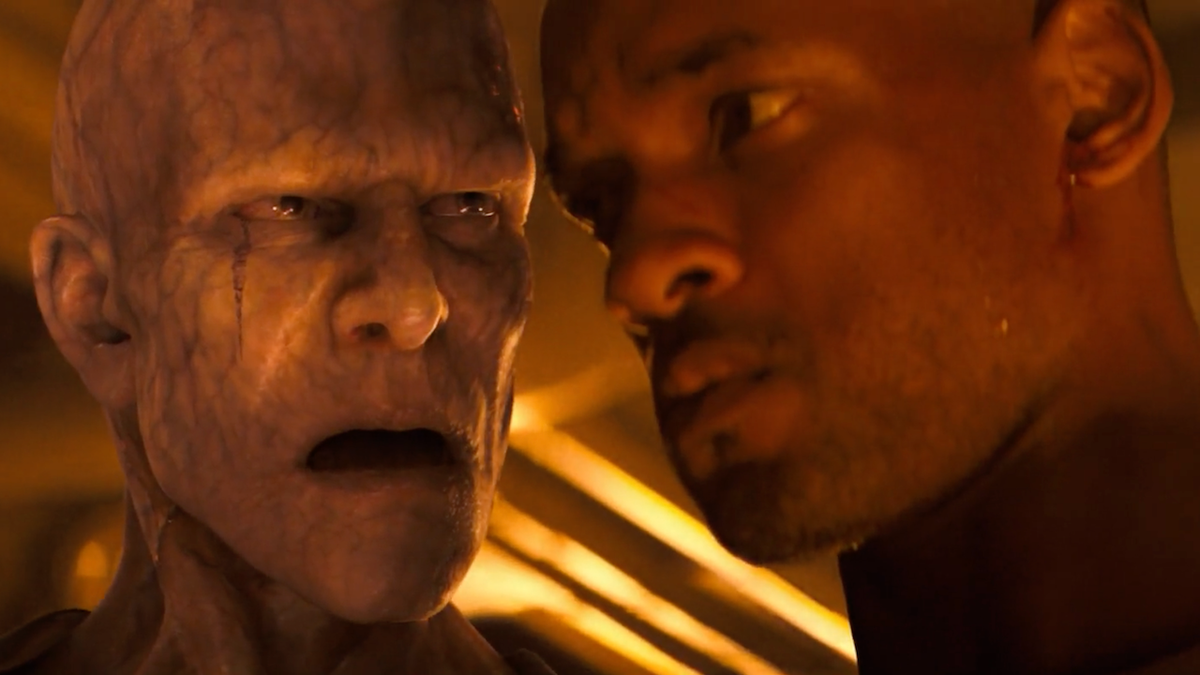
I am Legend – The zombies in I am Legend all look fairly similar. They tend to have pale skin, with visible veins, sunken eyes and mouths, with bruising and cuts around their faces.

Screenwriter Forced to Tell Anti-Vaxxers 'I Am Legend' is Fake

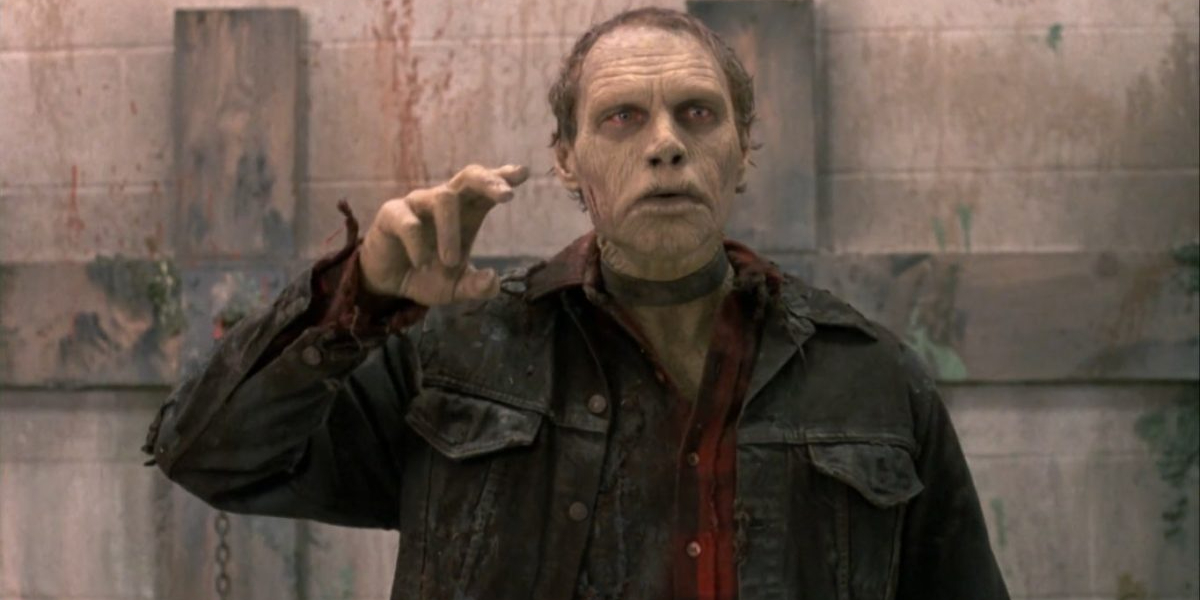
Day of the Dead – Most of the zombies in Day of the Dead have pale green skin, with dark sunken eyes, viable veins, purple lips, bloody eyeballs, and holes in their skin exposing flesh and bone.

Bub And 5 Other Best Movie Zombies Ahead Of Army Of The Dead | Cinemablend

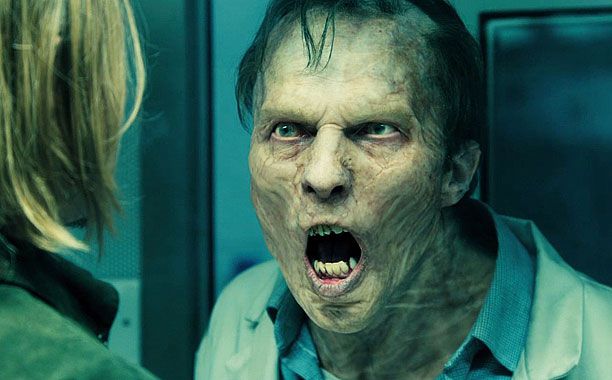
World War Z – Many of the zombies in this movie appear human like, with wrinkles, bruising, and green toned skin.

World War Z' DVD: Go behind the scenes of zombie thriller's climax | EW.com

Train to Busan – The zombies in this movie have pale skin, large black veins, and bright, glassy eyes.

Zombie Virus in 'Train to Busan' Sequel Spreads Across Korea

Resident evil – The zombies in resident evil have a red and black skin tone – almost like burning lava. Furthermore, they have white eyes, and often sport exposed flesh and organs.

Producer Confirms New RESIDENT EVIL Movie Will Sport CGI Zombies

Video Games

Zombies are also extremely popular characters in video gaming, therefore I also decided to look into some depictions of the un-dead in different video games.

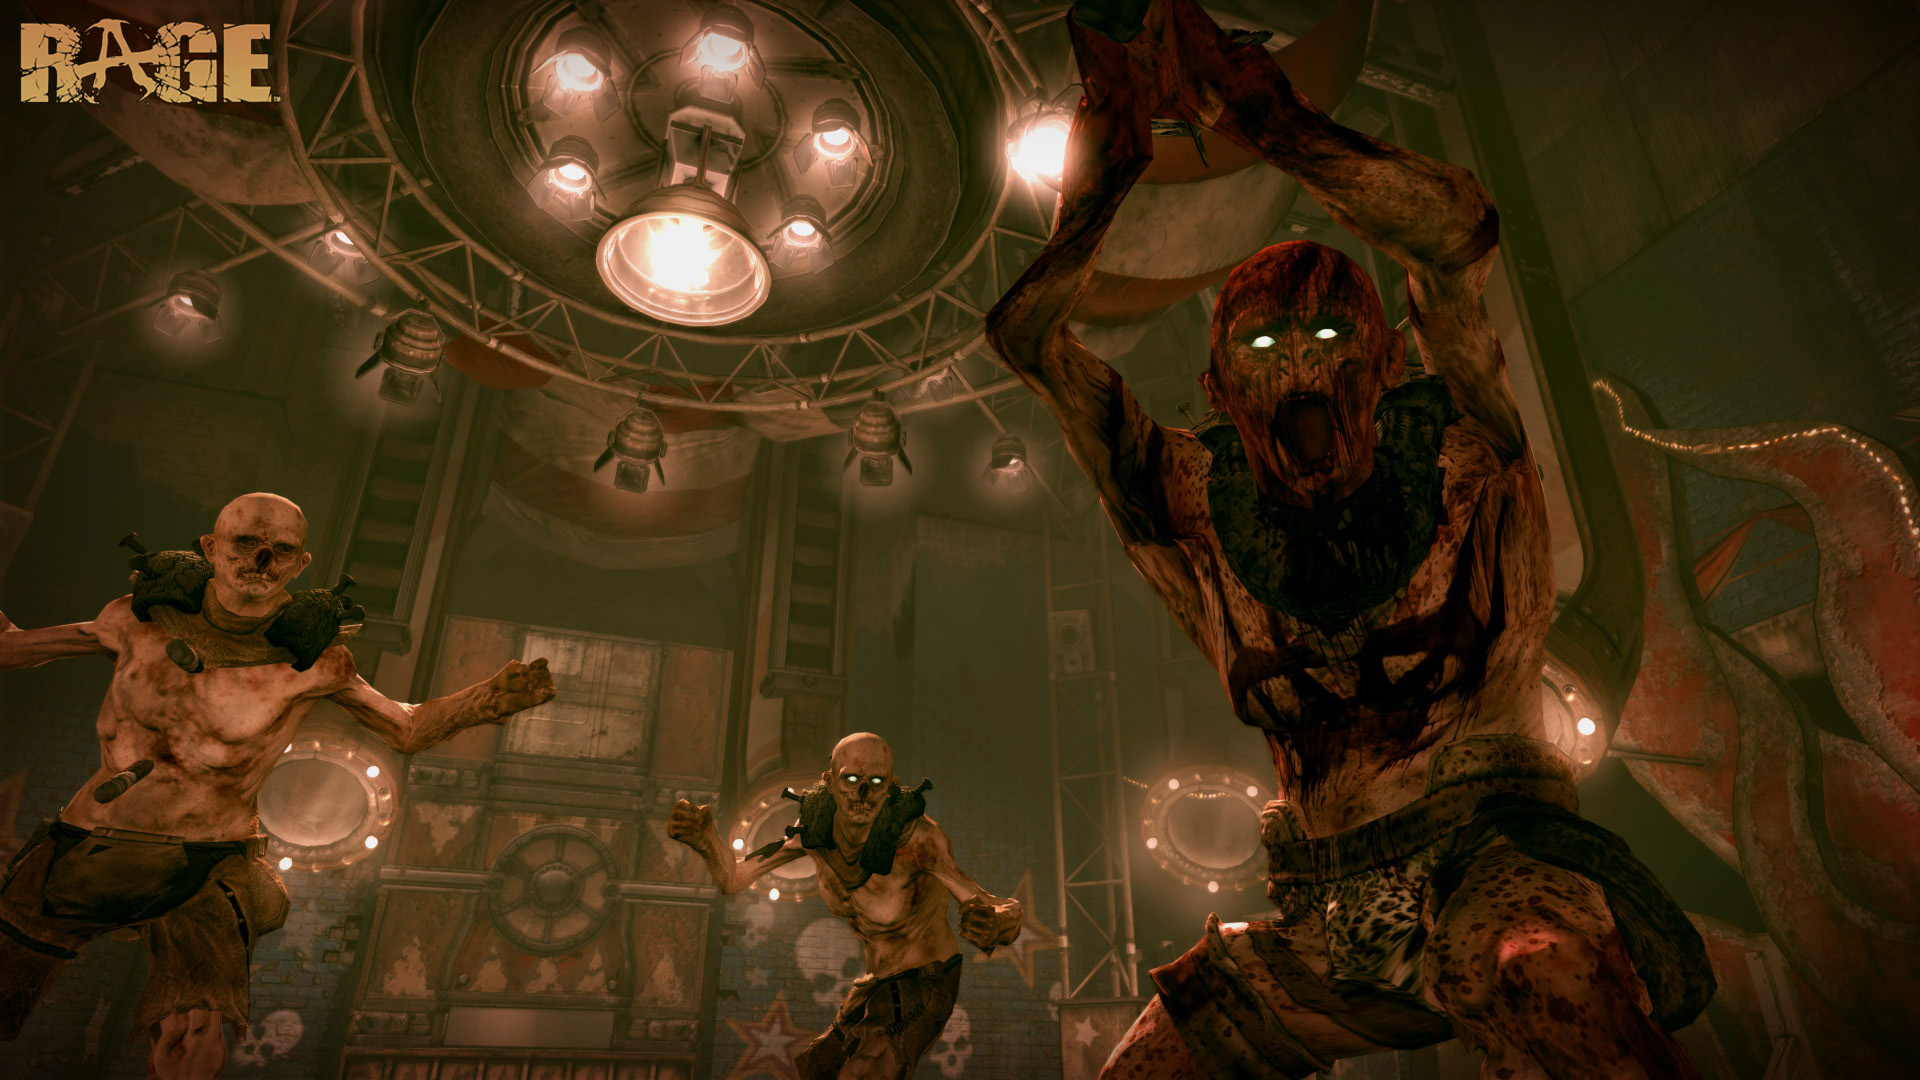
Rage ; The un-dead creatures in this game have a pink/yellow toned skin, with bright eyes and missing facial features (sunken noses) making them look very in-human.

How to play Rage on PS4 and Xbox One - GameRevolution

Dead Island ; These characters have a very human-like appearance, however are covered in blood and have glassy/ white or red eyes. Some may also have exposed flesh, organs and/or bone.

Dead Island: Riptide' a gory, mediocre zombie thriller

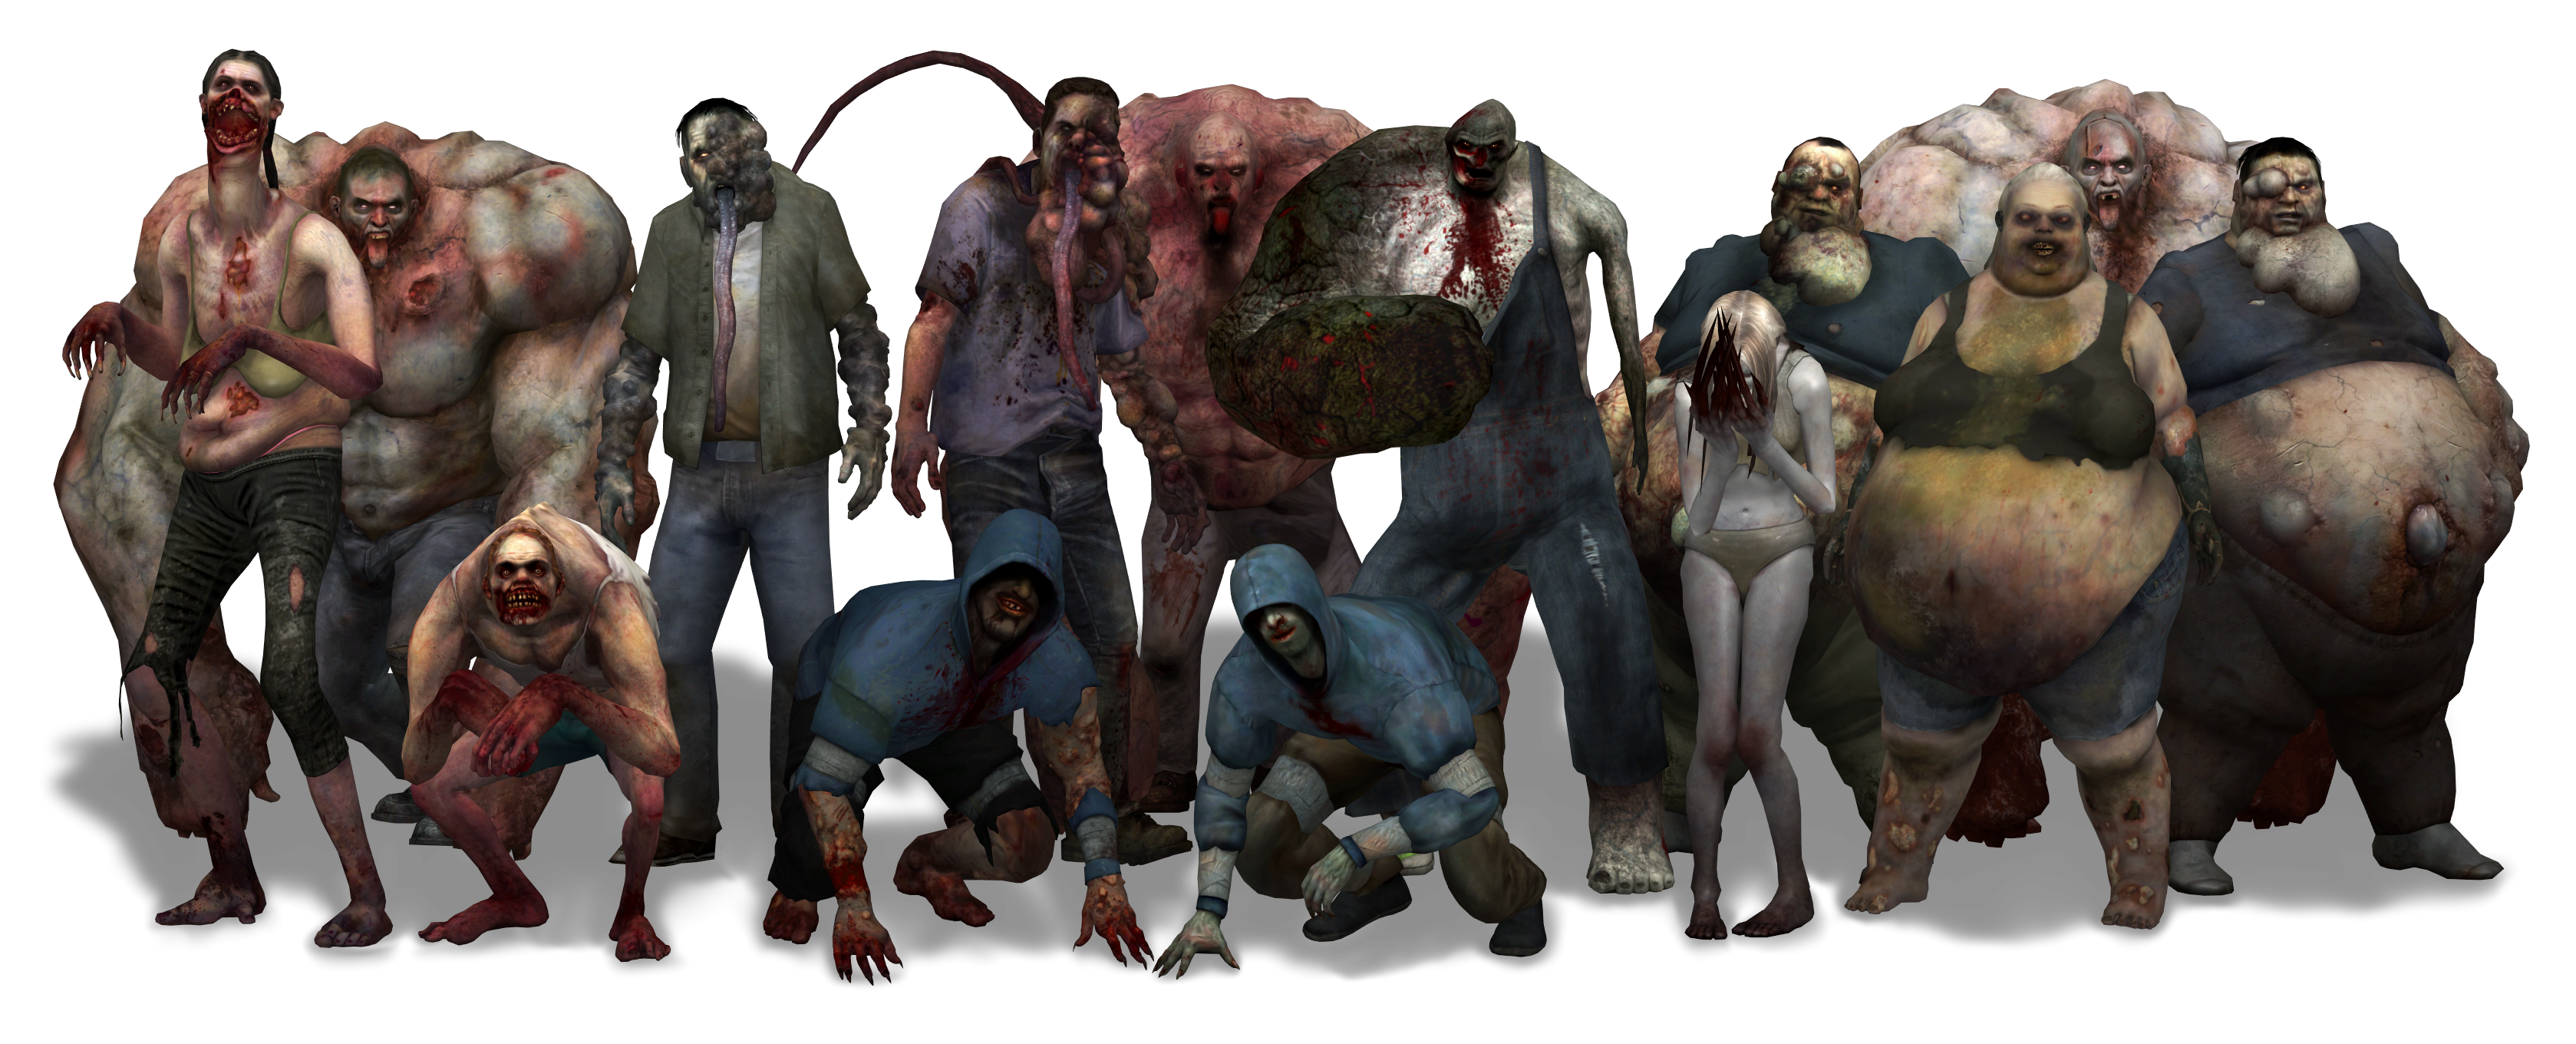
Left 4 Dead ; The zombie creatures in this game (known as the infected) come in a range of appearances. Some are human-like, with white or green skin, however some are of an overley exaggerated size, with exposed flesh and organs.

L4D XPS - Special Infected Gang by TamiIsntHere on DeviantArt

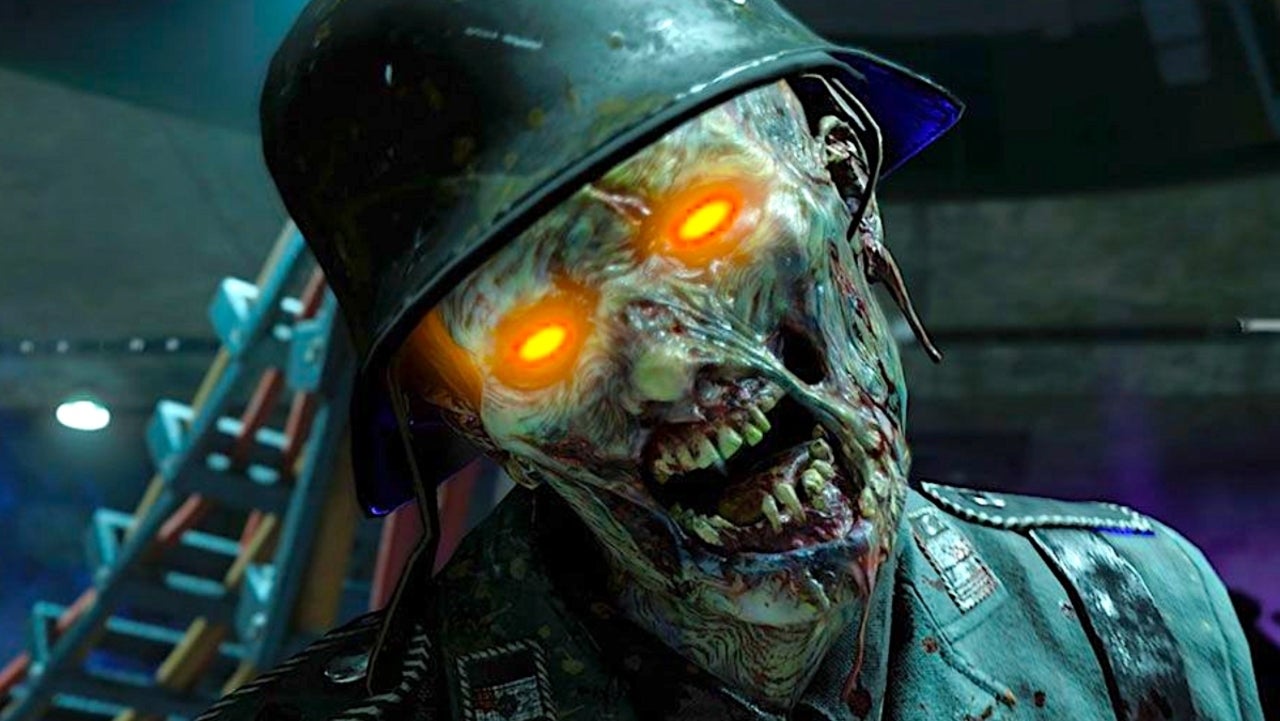
Call Of Duty – Black Ops Zombies ; The zombies in this game consist of a gray skin tone, with bright glowing eyes, exposed teeth, and rotting flesh.

COD: Black Ops Cold War Update to Fix Ring of Fire

Gears of War ; These characters consist of gray skin, large veins, huge dark teeth, wrinkles and are wearing heavy armor.

Neca Gears Of War 2 Boomer Locust Loose | Envío gratis

Zombie Army ; These zombies have exposed teeth and flesh, with a grey skeleton like appearance.

Zombie Army 4: Dead War

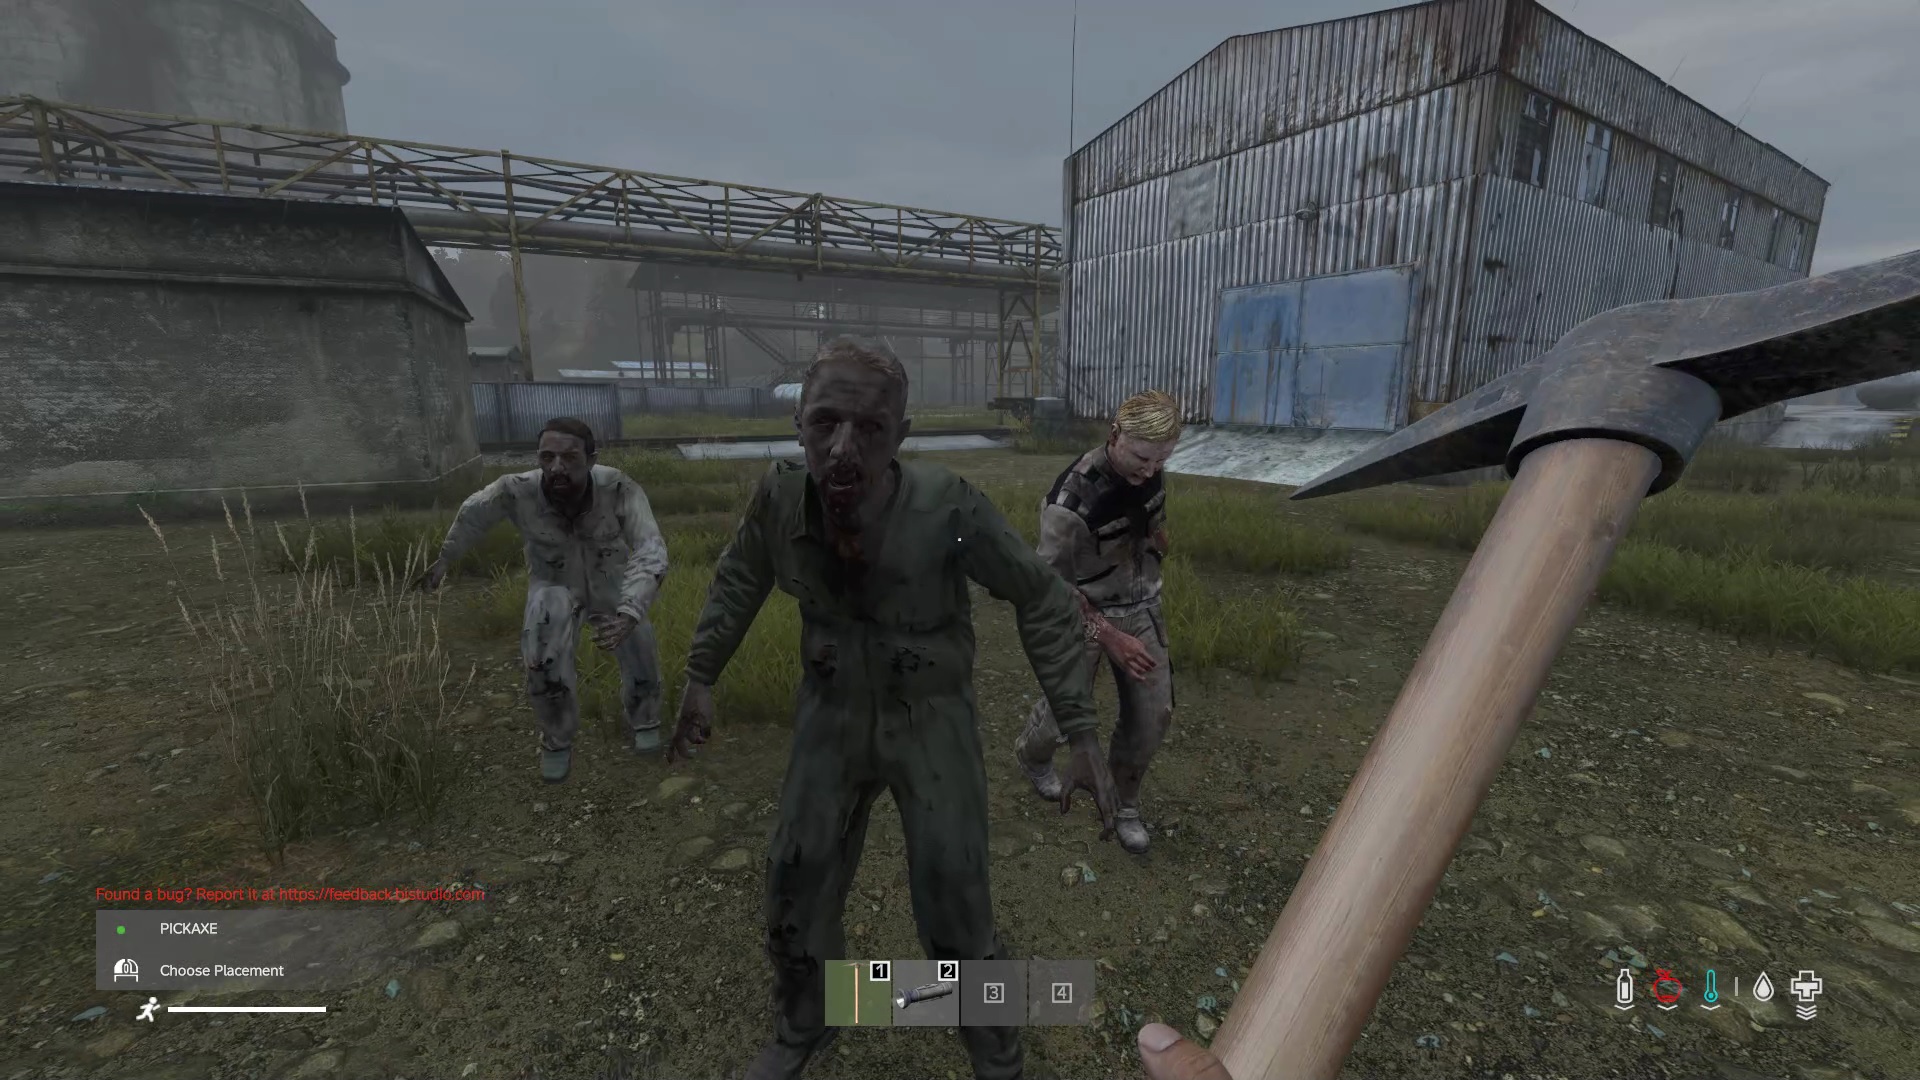
Day Z ; These characters have a human appearance, with blood covered skin and exposed flesh.

DayZ tips: your survival guide to the zombie apocalypse | GamesRadar+

Phasmobia ; These zombies consist of cuts and exposed flesh, with large mouth’s exposing their teeth, and blood covered, pale skin.

PHASMOPHOBIA: A Scare Down Memory Lane - Fangoria

Resident Evil ; The zombies from this game have green skin, with exposed flesh and bone, large teeth, bright eyes and wrinkles.

Movie Review] 'Resident Evil: Vendetta' has genuinely scary moments -  marcusgohmarcusgoh
Design a site like this with WordPress.com
Get started